Laminate (Part 3)

True to the unofficial agreement, 6 months had passed and more carpet has been removed.  The central room–long a moldering and pee-soaked common area–harbored years of finely-sifted debris which had worked itself through to the subfloor over the decades.  It was unpleasant enough to undermine the purpose of a relaxing reading room.

It seems nice, until you breathe

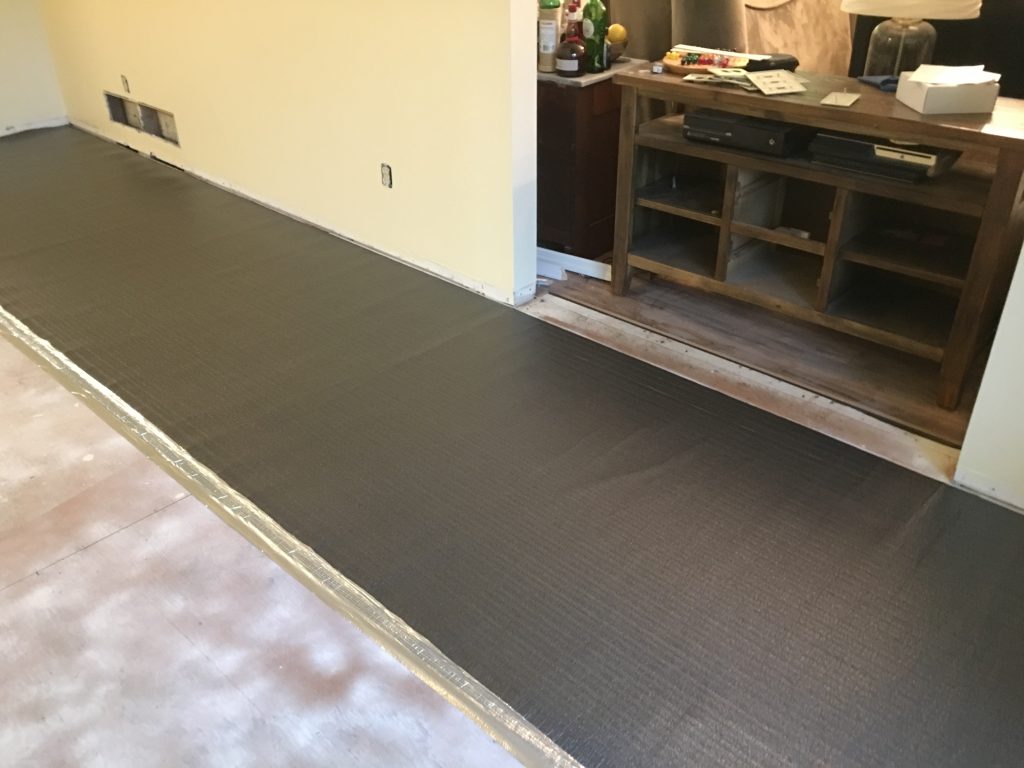
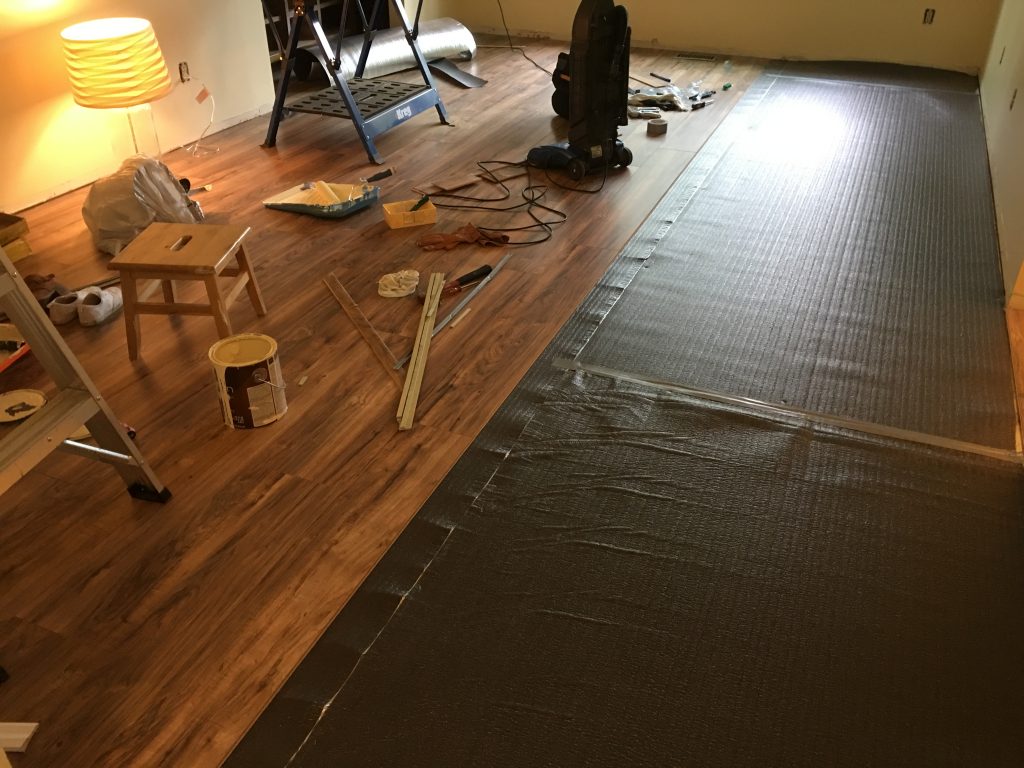
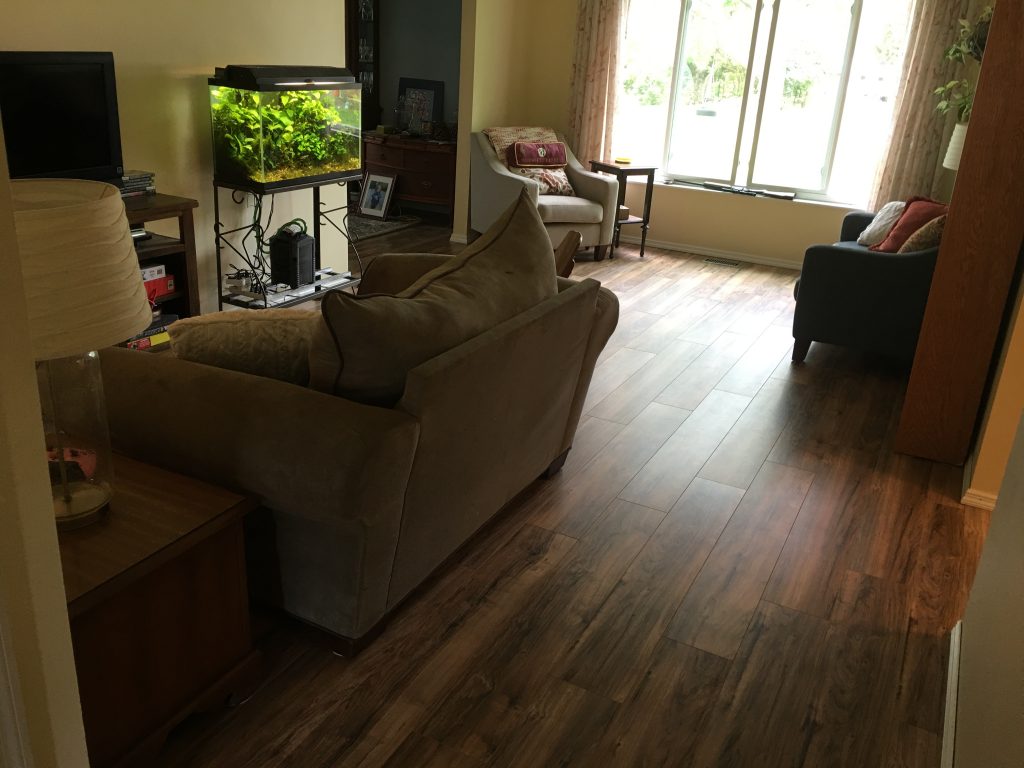
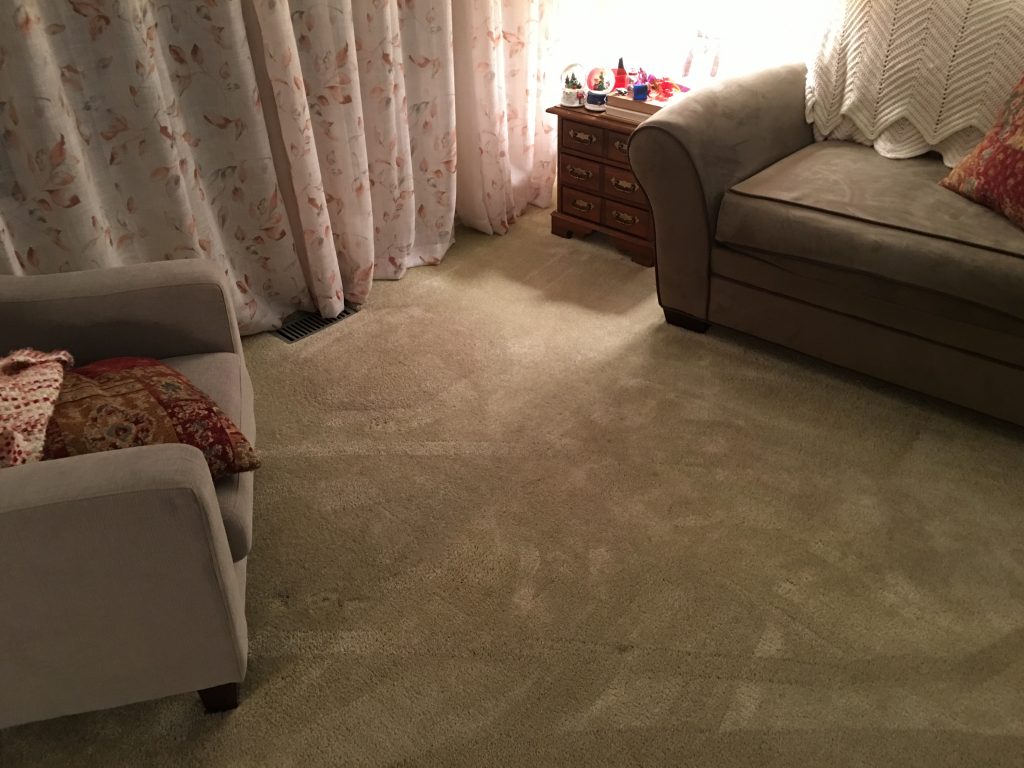
The city forced my hand with its unlimited trash pickup day.  The carpet and molding was removed in time to avoid paying for special pickup, and with the floor barren and the furniture stacked in the dining room, there was no going back.  It was time for laminate.

But this time, I possessed experience.  I knew that there was no easier way to custom-cut these boards than with a coping saw.  I also knew that the underlayer wouldn’t stay put, so I stapled it.  I also knew that no matter how hard I scored the wall against the baseboards with a razor, removing them would always rip off paint and drywall–there was no way around this, so I just had to accept it.

In the end, I had become good enough at this that the project’s completion presented little humorous content to share.

But fear not!  Next, I shall post about the foyer, and how fun it is to grout vinyl tile!  Till next time.

–Simon

The River is Now a Canal

Two years ago I addressed the terrible sump drainage.  At the time we bought the house, an old vacuum hose had been stuck to the output and draped across the lawn and out into the yard.  It was and ugly and inefficient solution, so I dug a trench instead.

The trench worked and looked much nicer, but had a tendency to fill in with debris.  I concluded then that I would use the plethora of unearthed bricks (which we uncover every time a shovel is stuck into the ground) and pave the trench, my reasoning being that the reduced friction would channel the water faster and flush out anything in its way.  And it would look nicer, and hopefully hold up better.

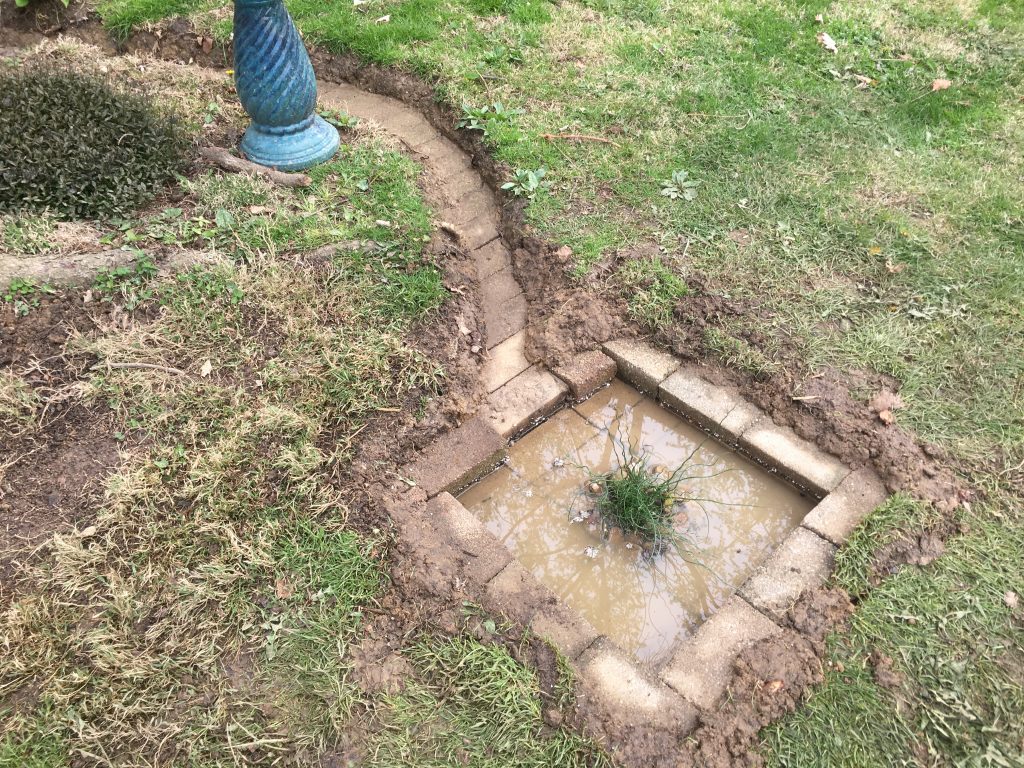
Additionally, I planned to sink a small recess to hold some of the water to give it time to soak into the ground–a rain garden, more or less.  I installed something similar on a downspout, but it was gravel and I don’t want that look in the garden.

And so I dug until I had the desired pit.  Then, as I began placing bricks, the sump pump clicked on and flooded it.  Perhaps I should have unplugged that before starting this project.  Ah well, I’m not one to allow simple forces of the universe, in this case hydrodynamics, to interrupt me.  I continued.

I put a rush in the center

When full, it looks like a reflection pool.  It’s also accumulating mud because it hasn’t dried out yet with all the Spring rain, so I can’t clean it.  And it’s overflowing constantly.  What I should have done was dug out a deep dry well and filled it with rocks, then arranged my bricks on top of that.  Whatever redesign I decide upon, one thing is certain–it needs more capacity.  I will, no doubt, be revisiting this.

–Simon

Ring 2

Not the “Ring 2”–I mean part deux of the Ring products saga

A year ago we got the Ring doorbell.

Thankfully, it hasn’t been instrumental in solving any crime, but it definitely brings peace of mind.  And, it’s very convenient to see who’s walking up to the door while I’m in the basement working.

But paranoia has no terminus, and I found myself eyeing Ring’s line of cameras for the back door for the same reason: I want to see if anyone’s walking up to it.  Not that anyone has, but I often leave the dog in the back to run while I work, and with reports of dog-snatchers, I wanted to keep an eye on things.  I decided upon the Stickup cam wired.

My reasoning was thus:

  • I don’t want a floodlight back there, so no-go on that model
  • I wanted wired, as I always prefer to run dedicated lines to unreliable WiFi
  • It supports PoE, which would not only allow a single cable run, but the PoE injector could then be plugged into my UPS, thus keeping the camera online in the event of a power outage

The only thing left to do then, was actually run the cable.

But the drawback of cable is that it limits placement of jacks, due to the simple matter of me not being able to squeeze into tiny places (unlike my father, I don’t have a son to task with those jobs).  I had wanted to run the cable to the attic and down the eaves and into the middle of the deck, but as I attempted to do so it became very clear that if I actually managed to drop down through the attic and into the eave space, Liz would have had to call the fire department to chop me out.

So I would have to drill through the outer wall–which was brick, so no easy feat.  But there is a pointlessly-placed back window into the garage, with a wooden frame.

The wood posed little challenge, and in short order I had a 3/8 in hole from the garage to the back yard.
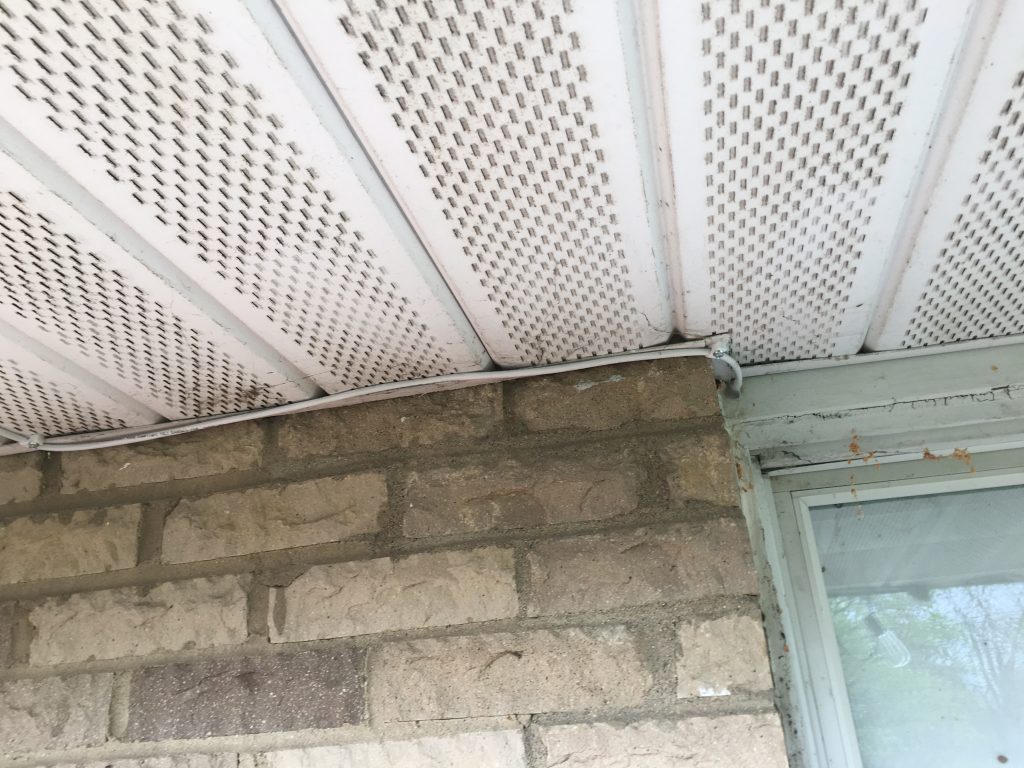
From there, I ran a patch cable connecting the camera to an electrical box I installed on the garage ceiling, which housed the cable termination and ethernet jack.
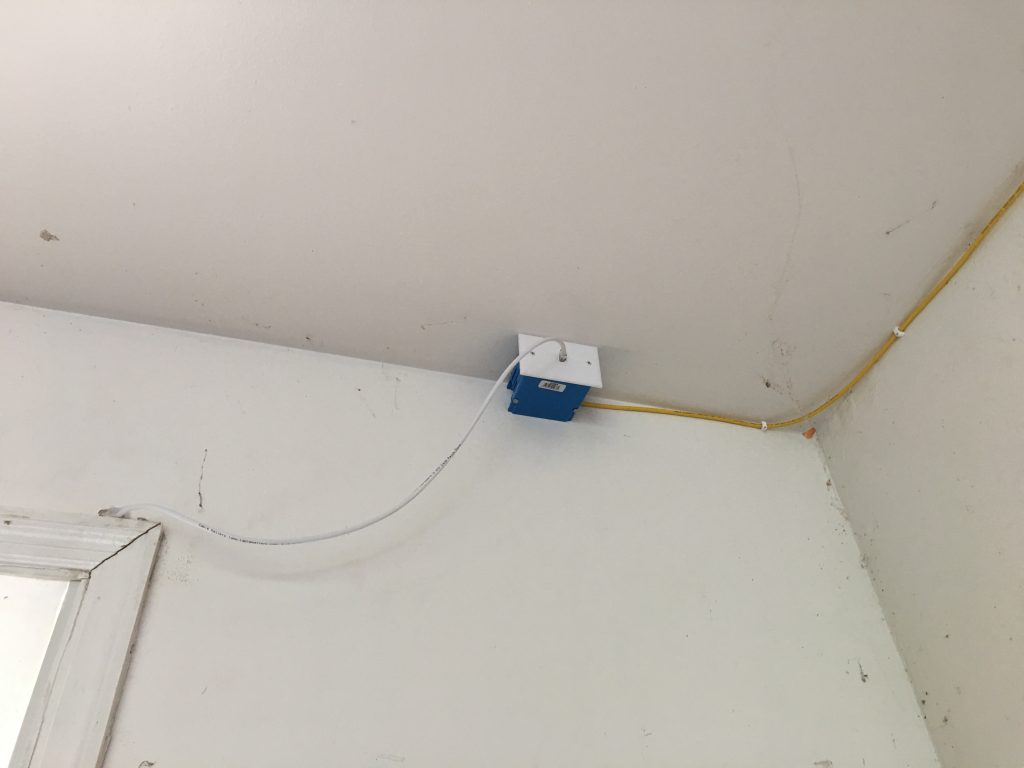
From there, the cable ran into the attic and followed the path of a prior cable install for the garage hotspot, ultimately terminating in the patch panel.  Then it was through the aforementioned PoE injector, then to the switch.
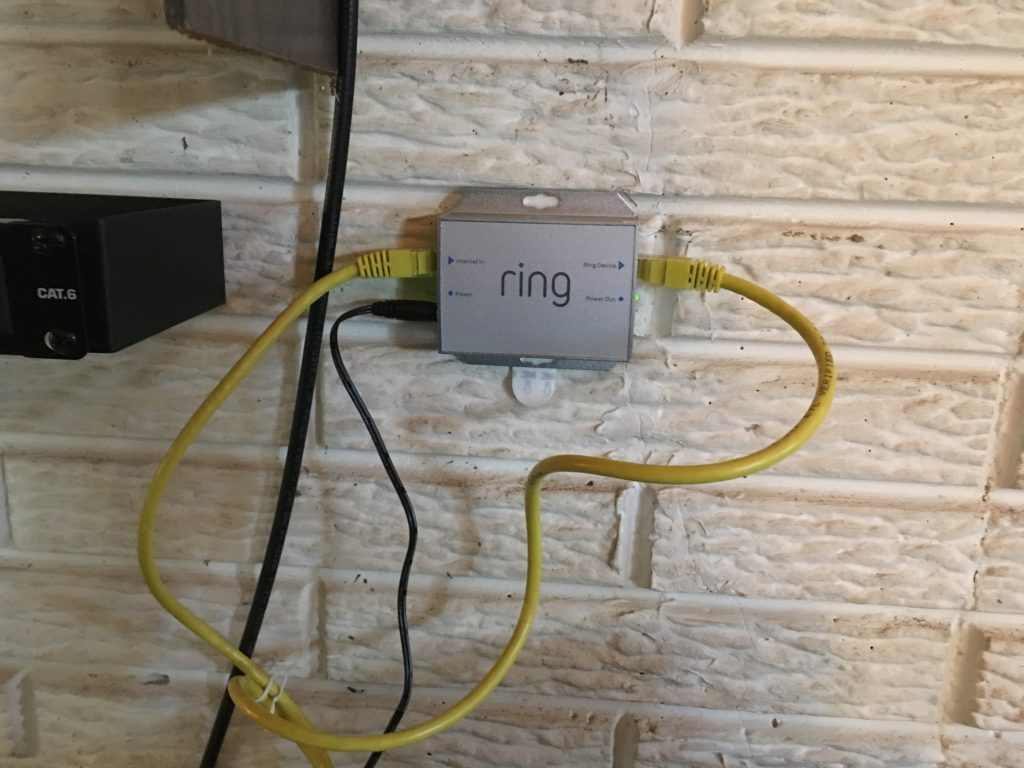
Voila: my longest cable run yet.

Now for some thoughts on PoE:

I noted that after all was up and running, the switch indicated that the connection was not gigabit.  All the equipment was rated for it, including the injector, but the amber light stubbornly refused to turn green.  Concerned that one of my punchdowns was bad (as was the case in a recent project–totally not my fault), I disconnected the injector and tested the line with a laptop.  All connections were confirmed gigabit, so I researched how PoE operates.

Surprisingly, I couldn’t find any bandwidth figures for the various specs, maybe because PoE isn’t in itself a form of data transfer, but rather a means of transmitting power over a data cable.  Still, the lack of discussion on the matter was not encouraging.  I concluded that what was happening is that I had one of the specs that sacrificed two of the 8 CAT6 wires for power, thus dropping the connection speed to Fast ethernet.  Apparently, therein lies the PoE tradeoff.

But the speed seems adequate, and while live view appears somewhat grainy, the recordings are perfectly clear.

I’m still pleased to say it hasn’t recorded any crime either.  And, apart from some rabbit-chasing videos, it’s dutifully served its primary function–notifying me when there’s backyard movement I should know about.
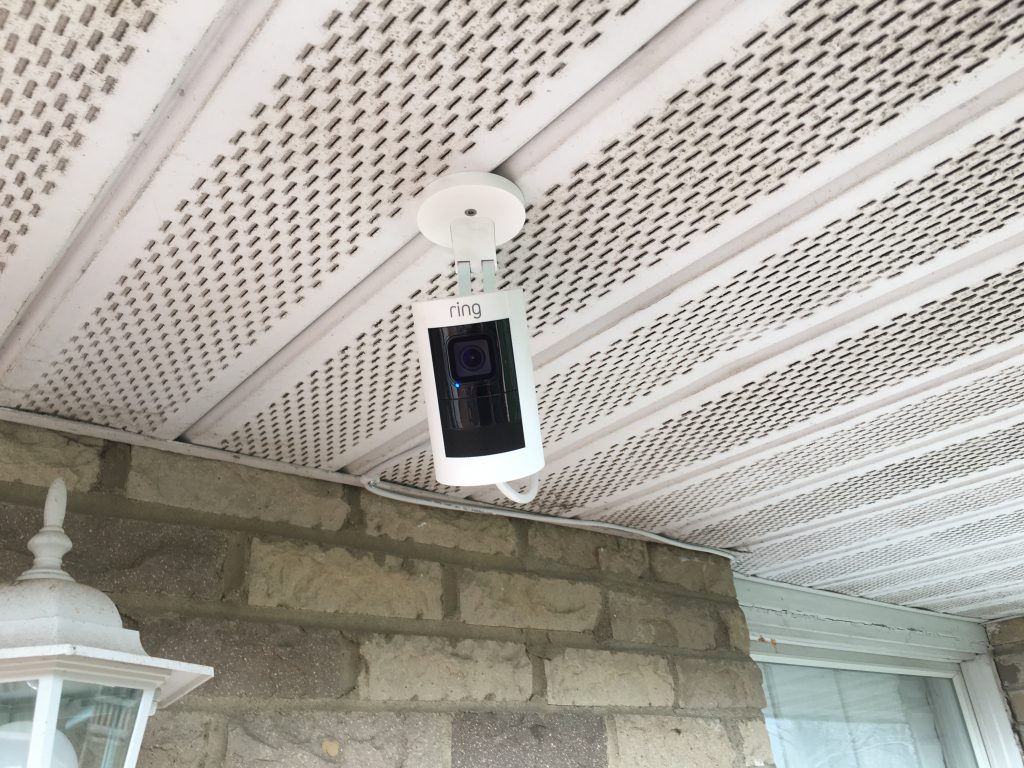
Recommended.

–Simon
Patch Panel

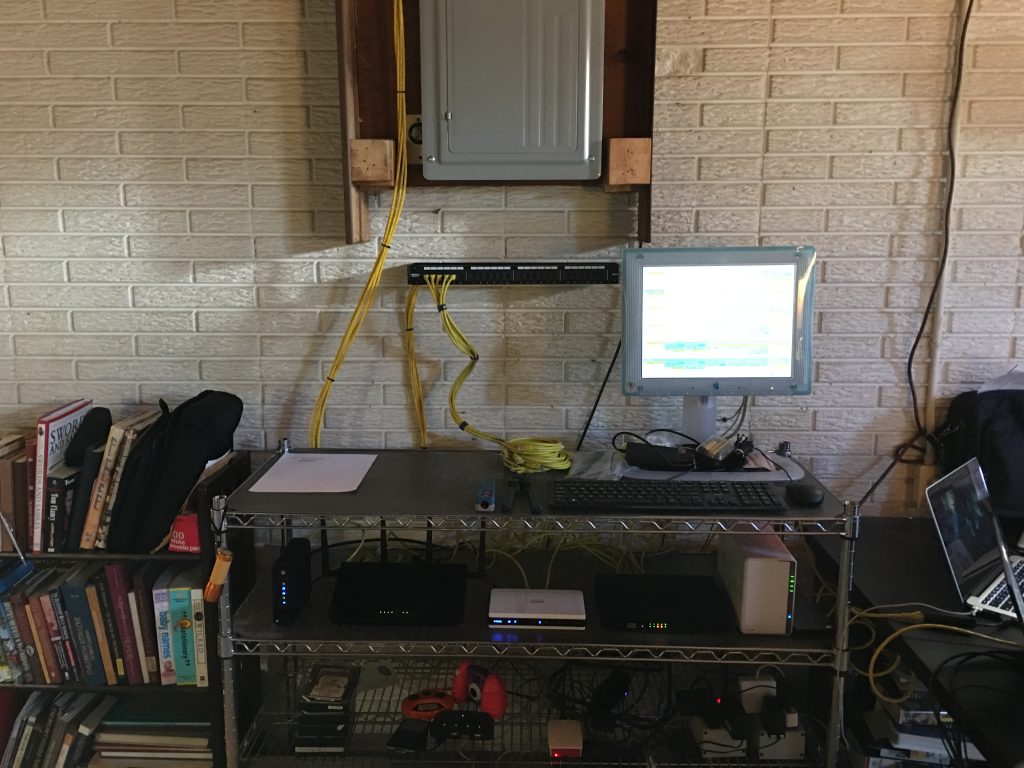
A while back I offered my thoughts on the benefits of wiring devices rather than relying on WiFi, and my efforts with installing Ethernet drops.  The system worked well, but I had nagging doubts about my install.  Specifically, my jack punchdowns were not up to spec, my patch cables were self-made, and my drops terminated in the basement with RJ45 connectors.  In short, it was an amateurish install and didn’t look good.

After re-punching my wall jacks with the proper method, I decided that I would finally bite the bullet and buy a patch panel.  The only thing that had been holding me back was the price, and the fact that I lacked a networking rack to hold it, but these concerns were alleviated with a little bit of searching.  I decided upon these two items:

TRENDnet 24-Port Cat6 Unshielded Wallmount or Rackmount Patch Panel, Compatible with Cat 3/4/5/5e/6 Cabling, TC-P24C6
Monoprice 1.75 by 19 by 4-Inch 1U Wall Mount Bracket 108623

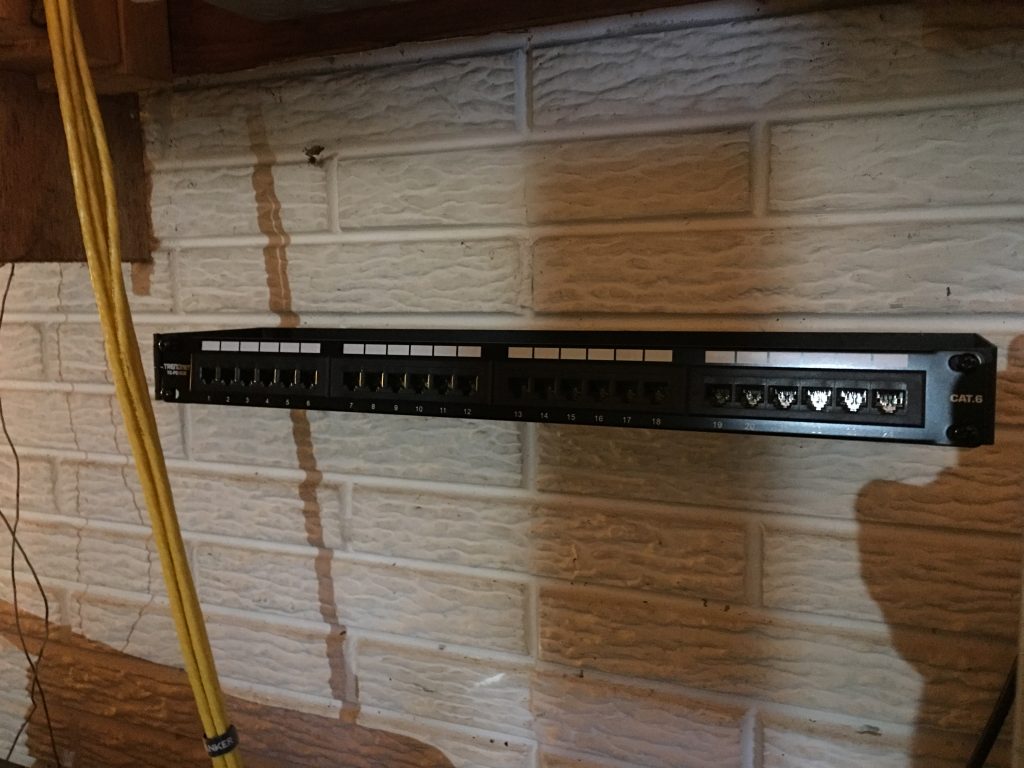
The intent was to mount the patch panel in the bracket on the concrete wall in the basement.  And, despite the irritations involved with drilling concrete, this idea played out perfectly:

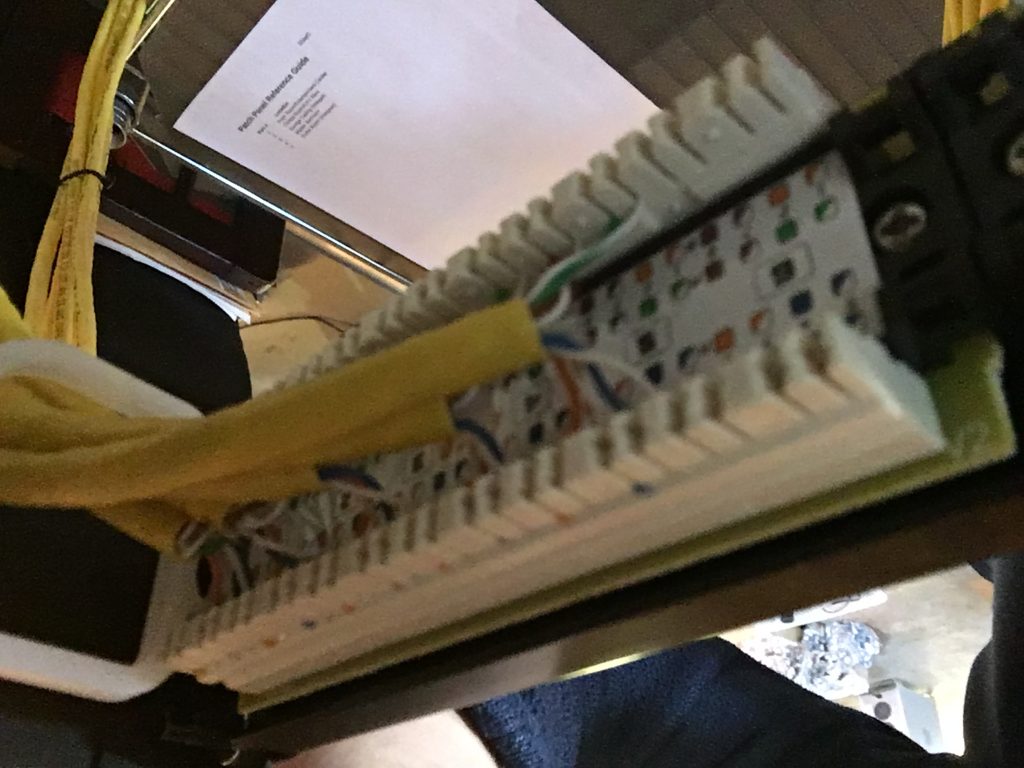
It was also much easier than crimping.  A simple punchdown tool secured the wires and clipped the excess, and in short order I had secured my existing 5 drops.

For the record, I chose T-568A.  Although now, having purchased patch cables all configured in B, I probably should have chosen B.  Ah well, the difference is pretty negligible.  Regardless, though I haven’t benchmarked anything, the network does seem a little snappier now.  The previous RJ45s were properly rated for solid-core CAT6, but I still don’t think it’s possible to manually crimp a connection as well as punching.

And besides, it looks much cooler now.

–Simon

Elusive Photogenics

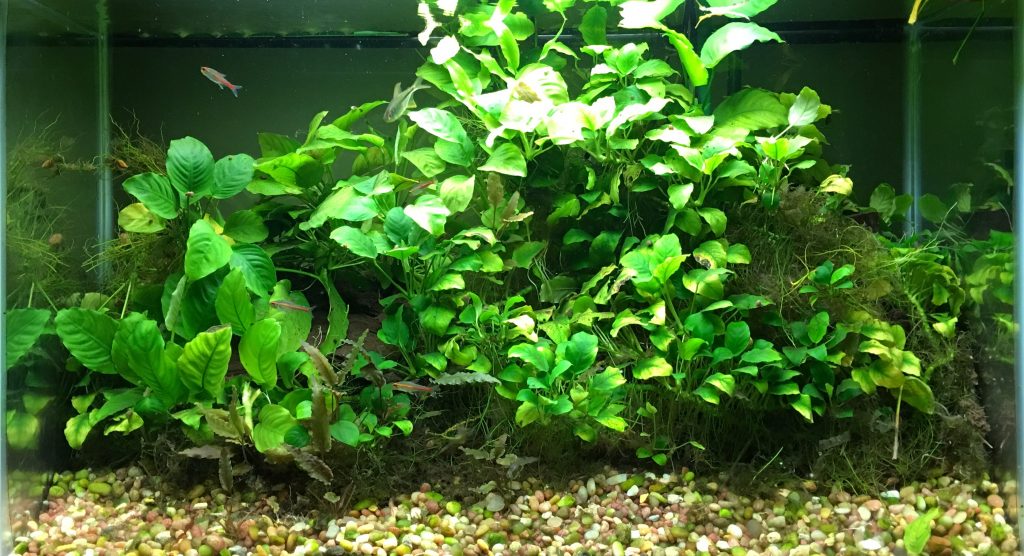
A couple weeks back, I bought a new aquarium.  This reminded me that my main aquarium really needed a pruning, especially so as it was starkly contrasted to the Amano-style tank in the basement.  And a pruning is really not an arduous undertaking, so I finally forced myself to do it.  Behold:

I’ve always struggled to get a good close-up photo of that tank.  I think digital consumer camera technology finally advanced enough to make it possible.  Oooo, purdy.

–Simon