Laminate (Part 3)

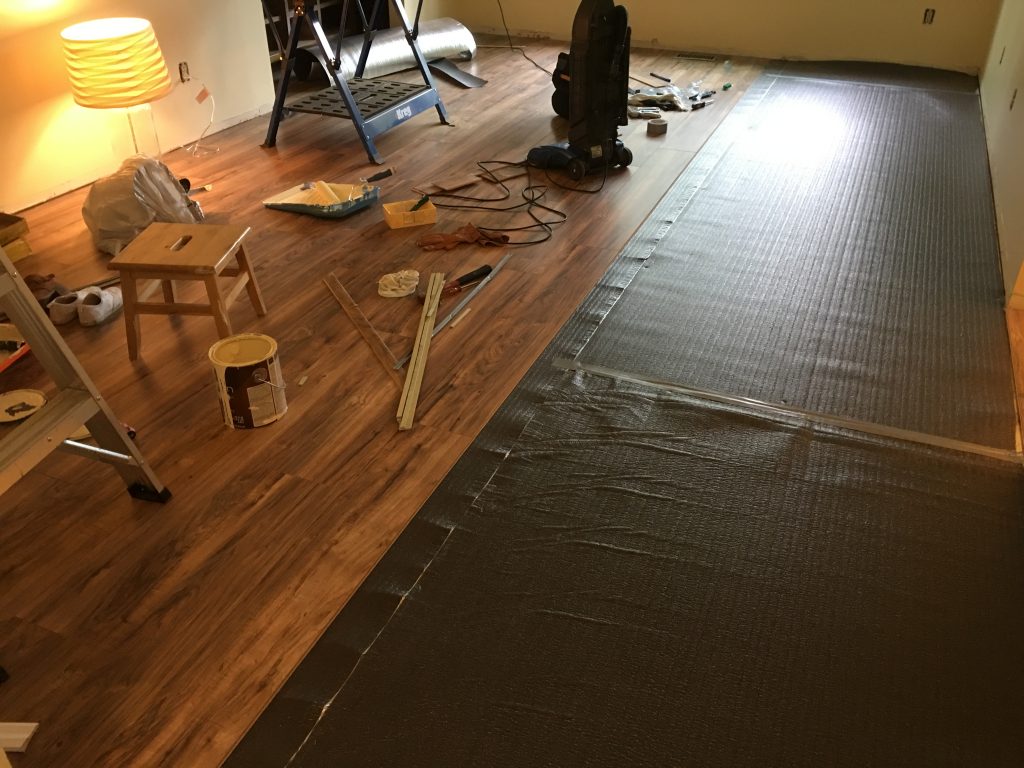
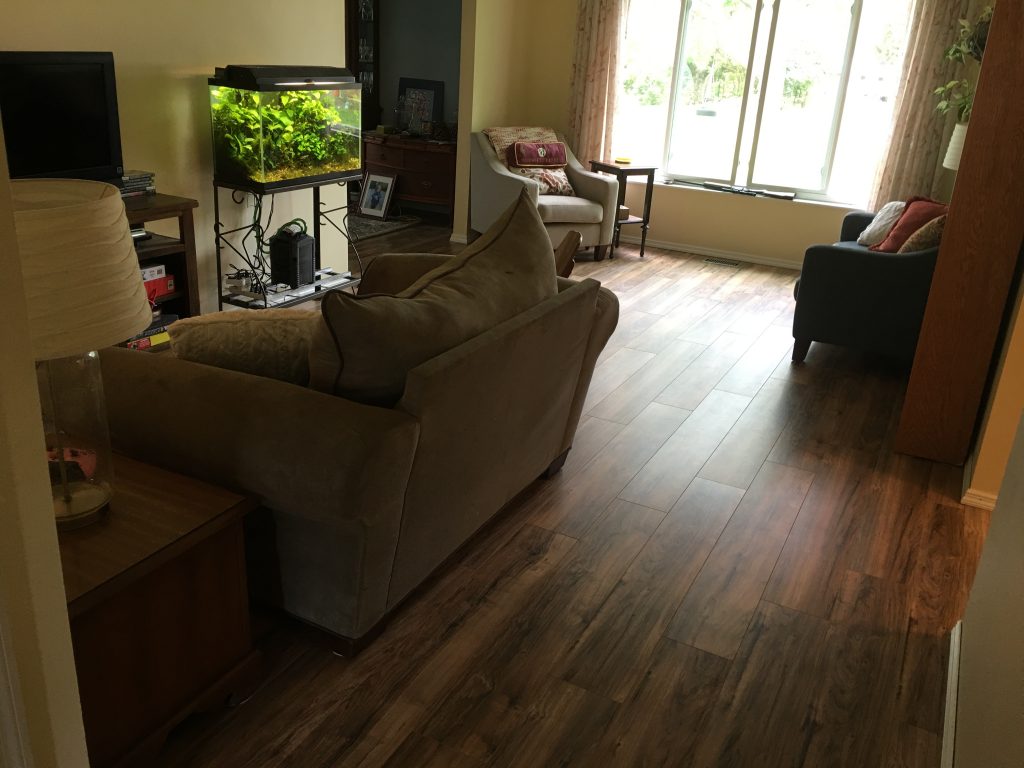
True to the unofficial agreement, 6 months had passed and more carpet has been removed.  The central room–long a moldering and pee-soaked common area–harbored years of finely-sifted debris which had worked itself through to the subfloor over the decades.  It was unpleasant enough to undermine the purpose of a relaxing reading room.

It seems nice, until you breathe

The city forced my hand with its unlimited trash pickup day.  The carpet and molding was removed in time to avoid paying for special pickup, and with the floor barren and the furniture stacked in the dining room, there was no going back.  It was time for laminate.

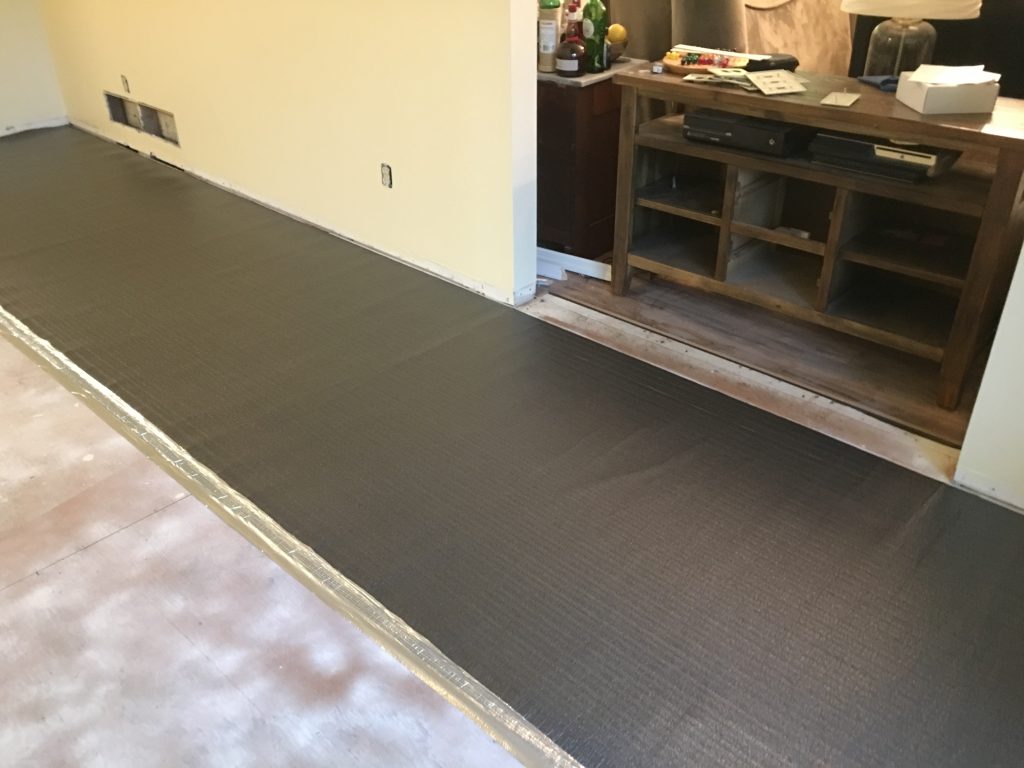
But this time, I possessed experience.  I knew that there was no easier way to custom-cut these boards than with a coping saw.  I also knew that the underlayer wouldn’t stay put, so I stapled it.  I also knew that no matter how hard I scored the wall against the baseboards with a razor, removing them would always rip off paint and drywall–there was no way around this, so I just had to accept it.

In the end, I had become good enough at this that the project’s completion presented little humorous content to share.

But fear not!  Next, I shall post about the foyer, and how fun it is to grout vinyl tile!  Till next time.

–Simon

Tomatoes, Again!

Yes, I like tomatoes.

And this year, I started them earlier.  I also reinforced the net, mulched, and am spraying neem oil.  Yes–I’m getting serious.

Why?

Because I discovered home-grown tomatoes make the best Bloody Marys.  Mmmmm.

–Simon

The River is Now a Canal

Two years ago I addressed the terrible sump drainage.  At the time we bought the house, an old vacuum hose had been stuck to the output and draped across the lawn and out into the yard.  It was and ugly and inefficient solution, so I dug a trench instead.

The trench worked and looked much nicer, but had a tendency to fill in with debris.  I concluded then that I would use the plethora of unearthed bricks (which we uncover every time a shovel is stuck into the ground) and pave the trench, my reasoning being that the reduced friction would channel the water faster and flush out anything in its way.  And it would look nicer, and hopefully hold up better.

Additionally, I planned to sink a small recess to hold some of the water to give it time to soak into the ground–a rain garden, more or less.  I installed something similar on a downspout, but it was gravel and I don’t want that look in the garden.

And so I dug until I had the desired pit.  Then, as I began placing bricks, the sump pump clicked on and flooded it.  Perhaps I should have unplugged that before starting this project.  Ah well, I’m not one to allow simple forces of the universe, in this case hydrodynamics, to interrupt me.  I continued.

I put a rush in the center

When full, it looks like a reflection pool.  It’s also accumulating mud because it hasn’t dried out yet with all the Spring rain, so I can’t clean it.  And it’s overflowing constantly.  What I should have done was dug out a deep dry well and filled it with rocks, then arranged my bricks on top of that.  Whatever redesign I decide upon, one thing is certain–it needs more capacity.  I will, no doubt, be revisiting this.

–Simon