
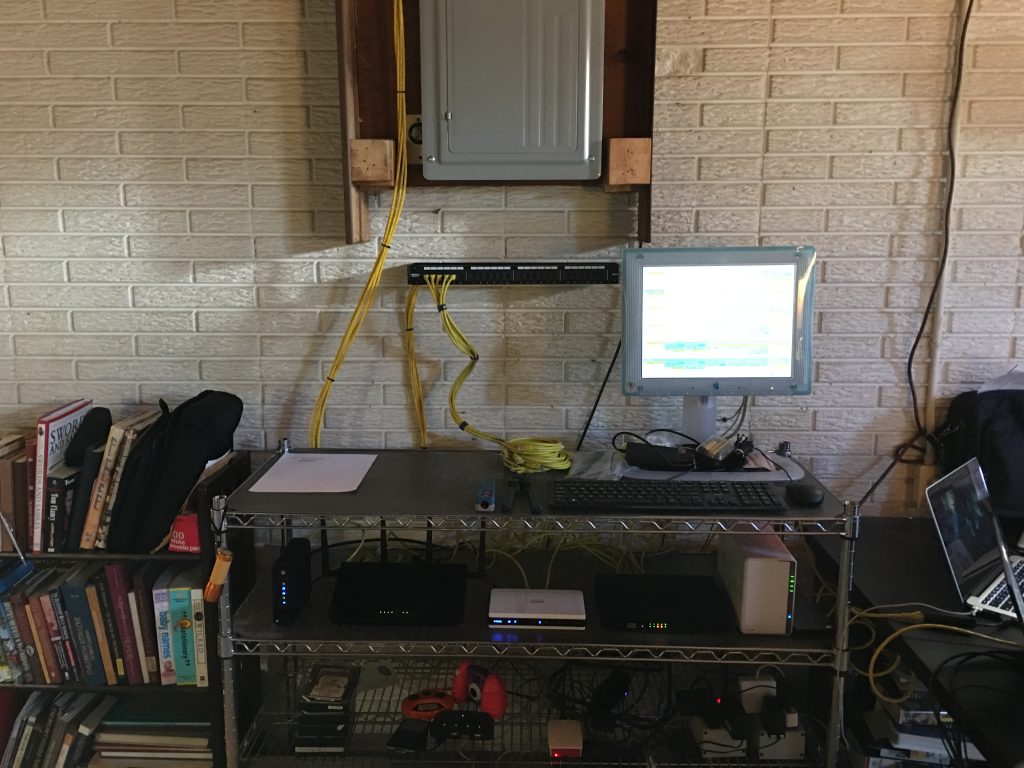
A while back I offered my thoughts on the benefits of wiring devices rather than relying on WiFi, and my efforts with installing Ethernet drops. The system worked well, but I had nagging doubts about my install. Specifically, my jack punchdowns were not up to spec, my patch cables were self-made, and my drops terminated in the basement with RJ45 connectors. In short, it was an amateurish install and didn’t look good.
After re-punching my wall jacks with the proper method, I decided that I would finally bite the bullet and buy a patch panel. The only thing that had been holding me back was the price, and the fact that I lacked a networking rack to hold it, but these concerns were alleviated with a little bit of searching. I decided upon these two items:


The intent was to mount the patch panel in the bracket on the concrete wall in the basement. And, despite the irritations involved with drilling concrete, this idea played out perfectly:
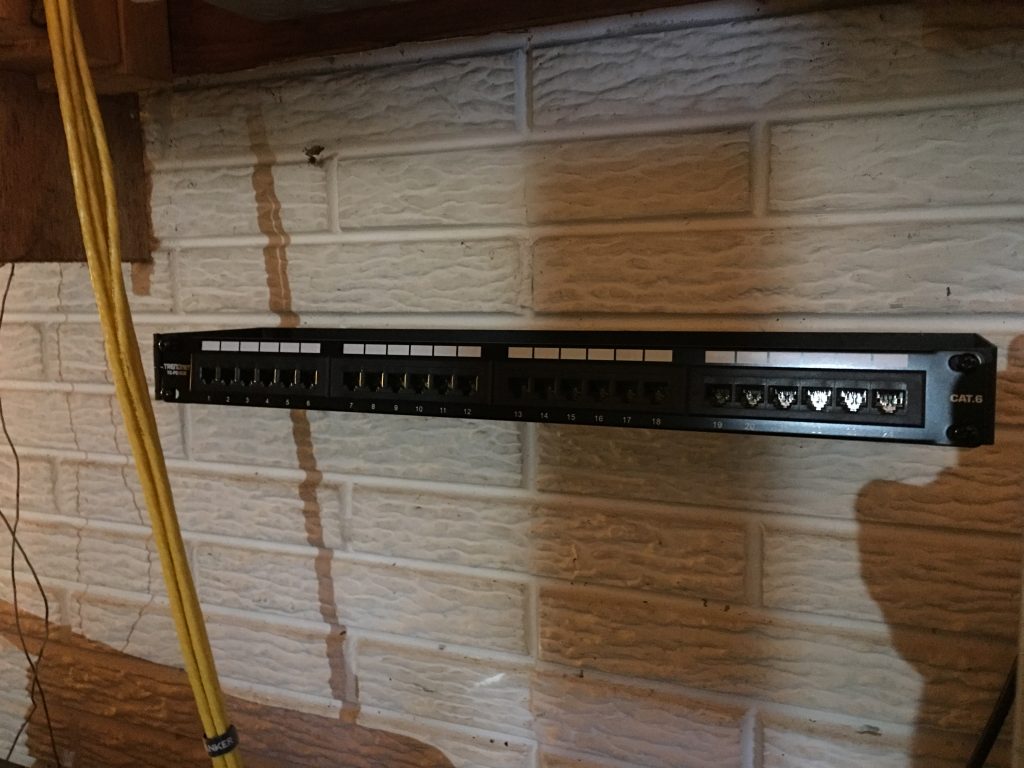
It was also much easier than crimping. A simple punchdown tool secured the wires and clipped the excess, and in short order I had secured my existing 5 drops.
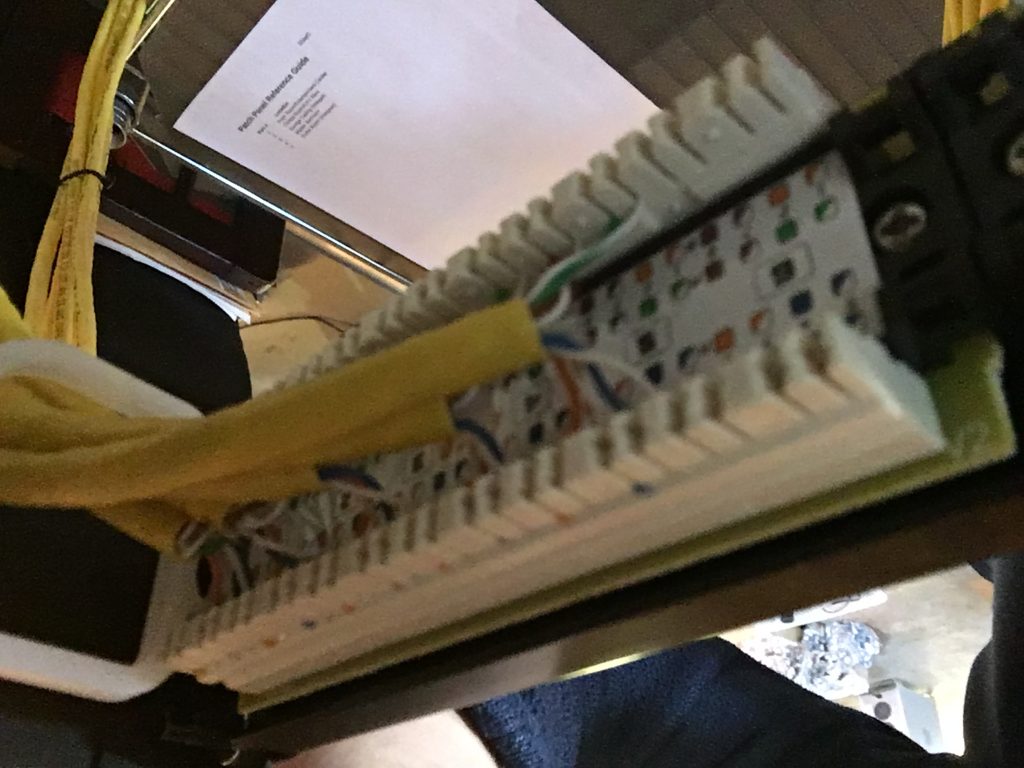
For the record, I chose T-568A. Although now, having purchased patch cables all configured in B, I probably should have chosen B. Ah well, the difference is pretty negligible. Regardless, though I haven’t benchmarked anything, the network does seem a little snappier now. The previous RJ45s were properly rated for solid-core CAT6, but I still don’t think it’s possible to manually crimp a connection as well as punching.
And besides, it looks much cooler now.
–Simon