Okay I admit, I didn’t make that joke up. But I like it so I’ll “repost” it.
My recent post on cursive got me thinking about text again. In it, I briefly mentioned the common knowledge that sans-serif fonts were supposedly easier to read on a digital medium, whereas serif fonts were better in their printed form. Of course, the CSS class I had taken once also touted an ideal single-line character limit as the easiest to read. I was skeptical at the time, and talked about how to override the default WordPress line limit. Now, staring at what I consider to be a juvenile-looking default sans-serif font, I decided that needed changing too. In short–the Internet is wrong and I have to take matters into my own hands.
And so, you might have noticed that the fonts on this site are different now. After some trial and error, I decided upon “Freight Text”, based on nothing more than the fact that I found it the most visually pleasing.
I have no idea who develops fonts and what’s involved with the process of their standardization. That’s a topic for another day’s adventure through the interwebs. But I found this brief description:
Phil’s Fonts evolved from one of the most well known and respected photolettering studios in the industry – Phil’s Photo. We carry on the traditions and standards established by its founders. As the state of typography changes in the digital era, Phil’s Fonts continues its love affair with beautiful faces, making fine typography available to artists and communicators around the world.”
Apparently there’s some studio that makes these and people decide whether or not to adopt them? Whatever
Regardless, if you don’t have the font installed, your browser will revert to its default serif font:
And that’s it, really. I changed the CSS for a number of elements. Sure, fonts might be a pointless argument, but in this specific instance, I’d rather choose a more sophisticated-looking variant over its overly-simplified modern counterpart.
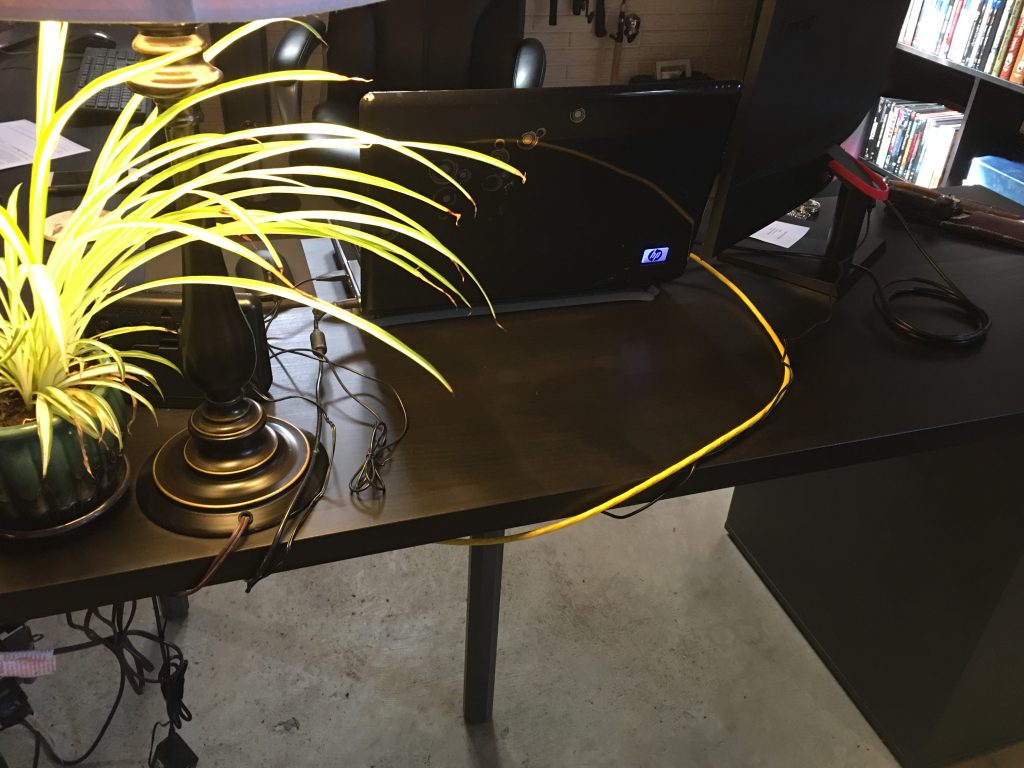
But still–something nagged at me. My Linux machine demanded more respect. It was connected to the intranet via a crimped CAT6, but that connection was merely a hack. The wire was solid core, and not intended to be crimped to an RJ-45. It needed improvement, and that improvement would ordinarily be very low-priority, were it not February. But then Liz took the kid out shopping for summer clothes, and I found myself suddenly free of time. I decided it was as good an excuse as any.
I concluded that I would wire the desk itself and install two CAT6 jacks into the middle of the second section, next to the Linux machine, and attach the cables to the underside via a cable organizer. The desk, being of IKEA construction, was a laminated particle board and surprisingly tough. I considered the daunting task of drilling out a rectangle for a low-voltage box, but that hardly seemed necessary. There wouldn’t be any need to shield the wires since they wouldn’t be exposed in dead space, and if I drilled the plate down directly into the wood, there wouldn’t be any advantage to the box’s drywall tension wings. Plus, selective drilling would minimize undermining the desk’s structural integrity. I would just need two holes, just large enough to accommodate CAT6 keystone jacks, which I would then push up through the desk, snap into the plate, then mount the plate. I had a plan–it was off to the hardware store (Home Depot)!
Initially, I planned to wire both desks, so I purchased 2 2x white keystone plates, 4 white CAT6 keystone punchdown jacks, 2 5ft cable organizers plus elbow, and a small bag of wood screws. Side note: keystone jacks and cable organizers are kind of expensive. The total price came to about $60.
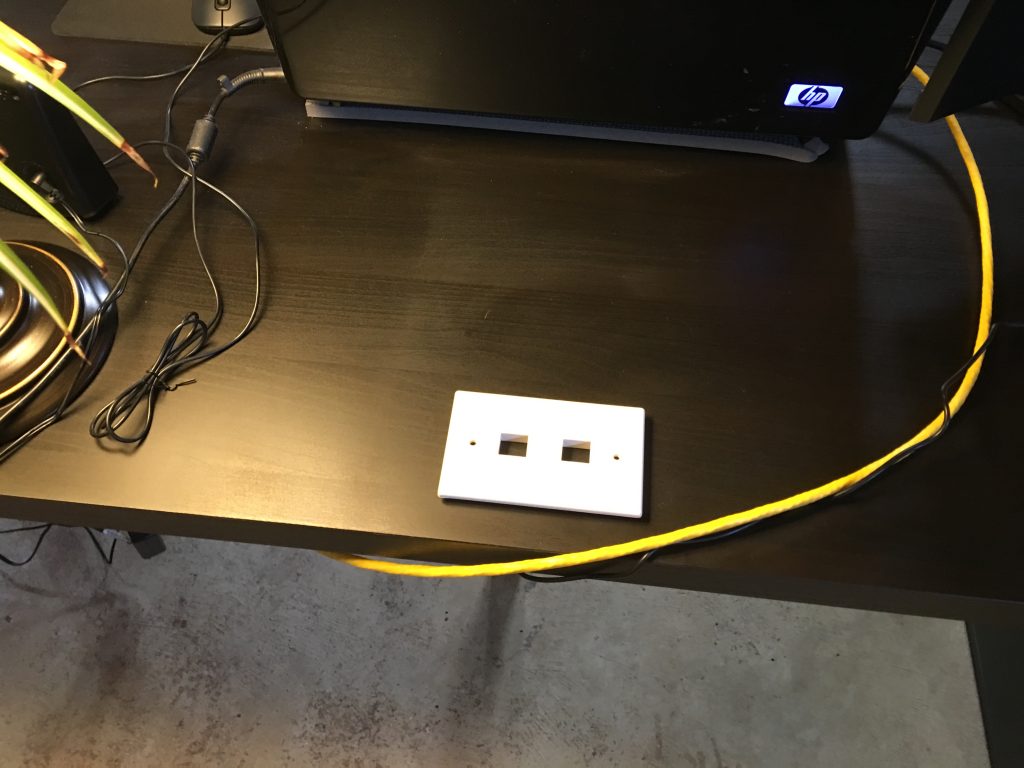
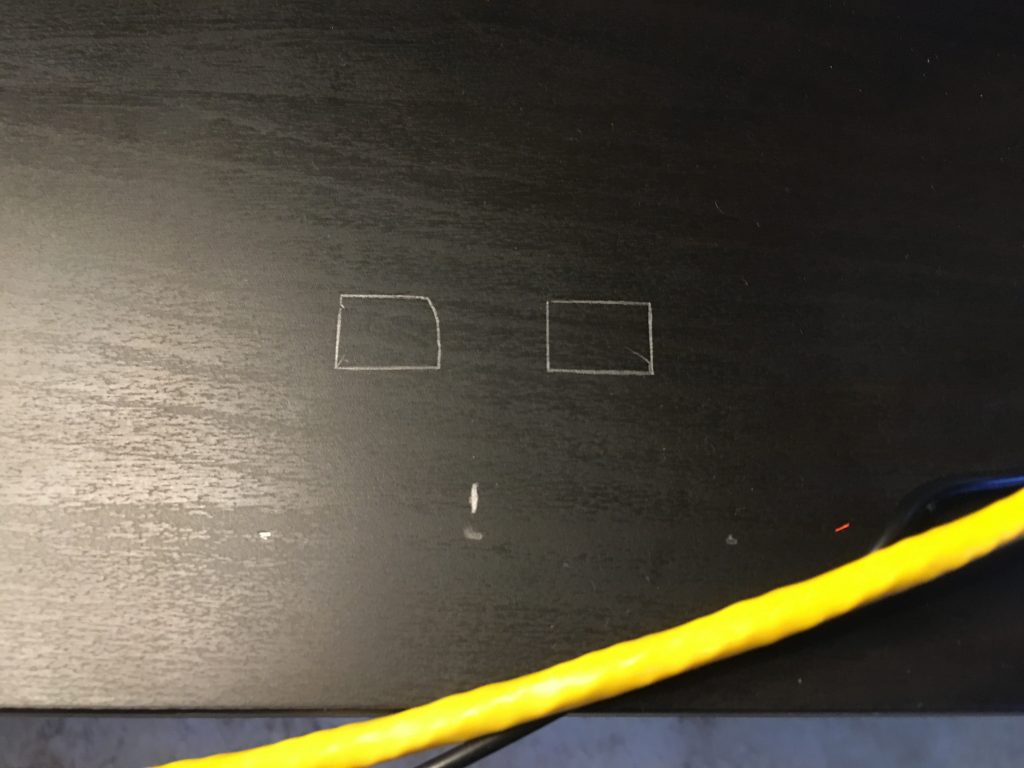
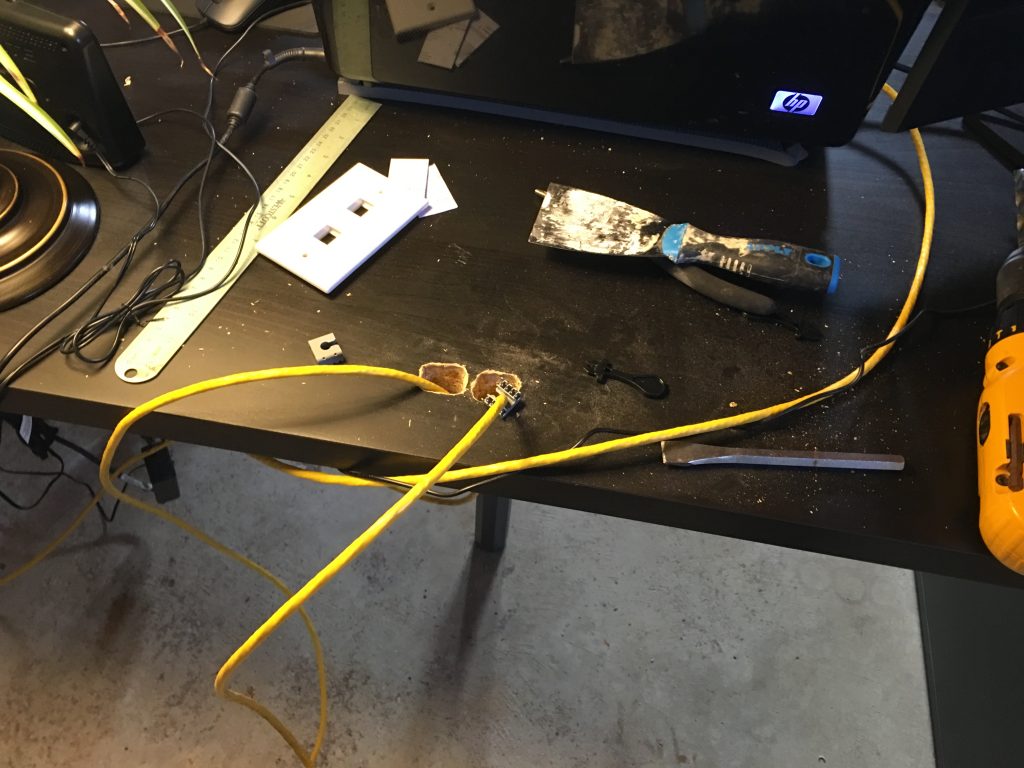
Back home, I measured and placed the plate to my liking, then traced its shape.
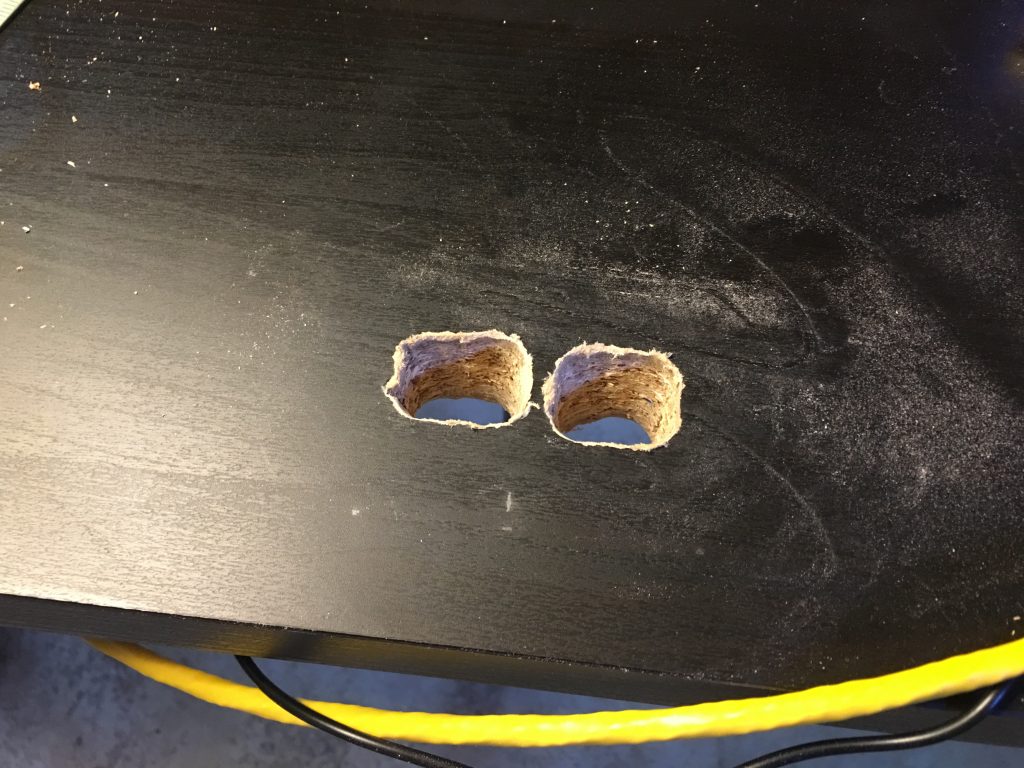
Then I started drilling. In hindsight, I should have started with a 1/2″ bit and made the initial holes just deep enough for the jacks, then finished the cable drops with a 3/8″, but at the time I just continually widened the holes with the 3/8″–a minor end result, but using the 1/2″ would have looked cleaner.
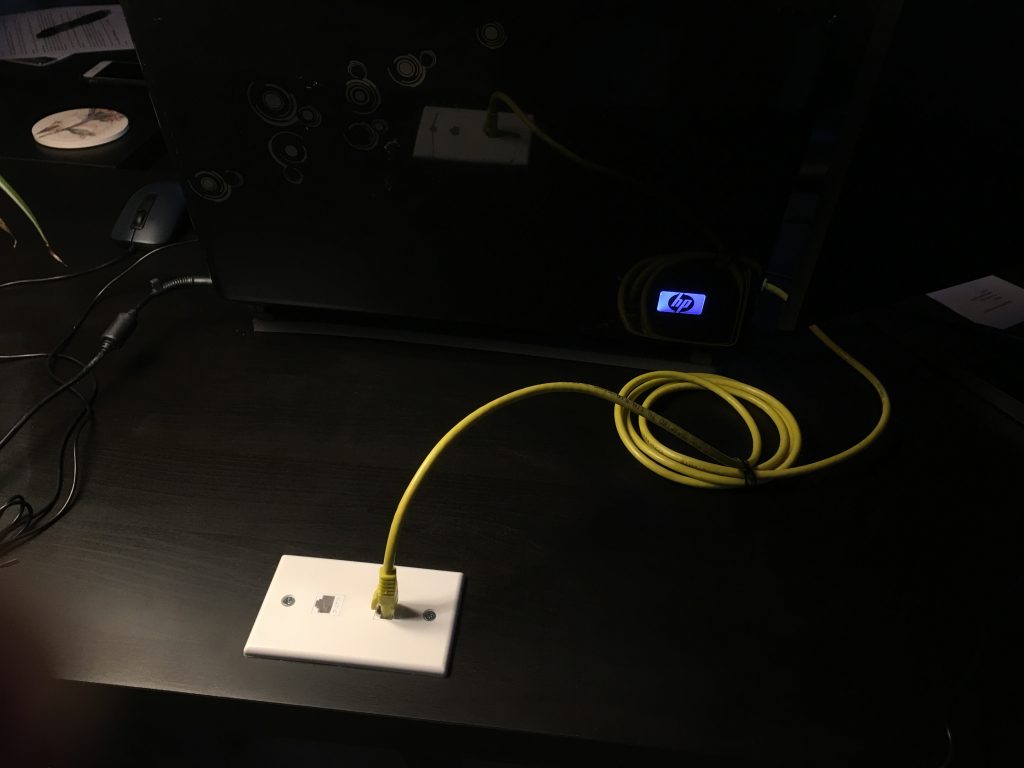
Then I measured off some bulk CAT6, punched the two into the patch panel, then fed the cables up through the two drops, punched those ends down into the jacks, connected the new patch panel drops to the switch via CAT6 patch cables, then tested the new connections by plugging in the laptop. And everything worked perfect and life was grand.
Kidding. Neither line registered any signal.
To be clear, I’m no rookie at this. I stared, confused, at my failed handiwork, and let the universe know my displeasure with a manly battle shout of despair towards the heavens. Then I contemplated the sources of failure.
The cable itself should be good, as I had already used 500ft of it. The patch cables so far hadn’t been a problem, but I tried swapping them out anyway to no avail. The patch panel should be okay, as the first 5 lines punched down just fine. I then tried a different computer, but still no connection.
My theory, then, was the most untested variable: the keystone jacks. So I ripped them off and tried a new one. Same problem. It was irritating, seeing as they cost $5 each. So I repackaged them and headed back to the store.
At the return desk, I mentioned that they might have a bad batch of these. The lady didn’t acknowledge me, and simply refunded my purchase. I have no doubt that those same jacks ended up right back on the wall, and some other home renovator would soon also be wasting 2 hours trying to figure out a bad ethernet drop. Sigh.
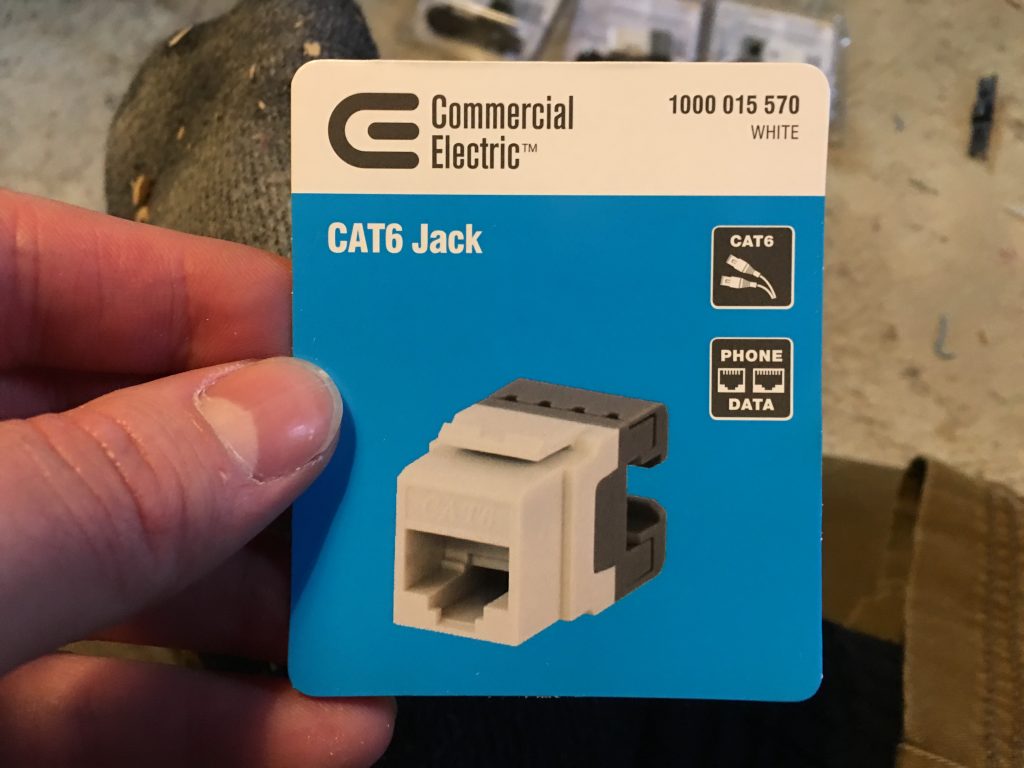
For the record, they were this brand (Commercial Electric):
I’ve bought this kind before, so I dunno why I got so many that were bad this time around.
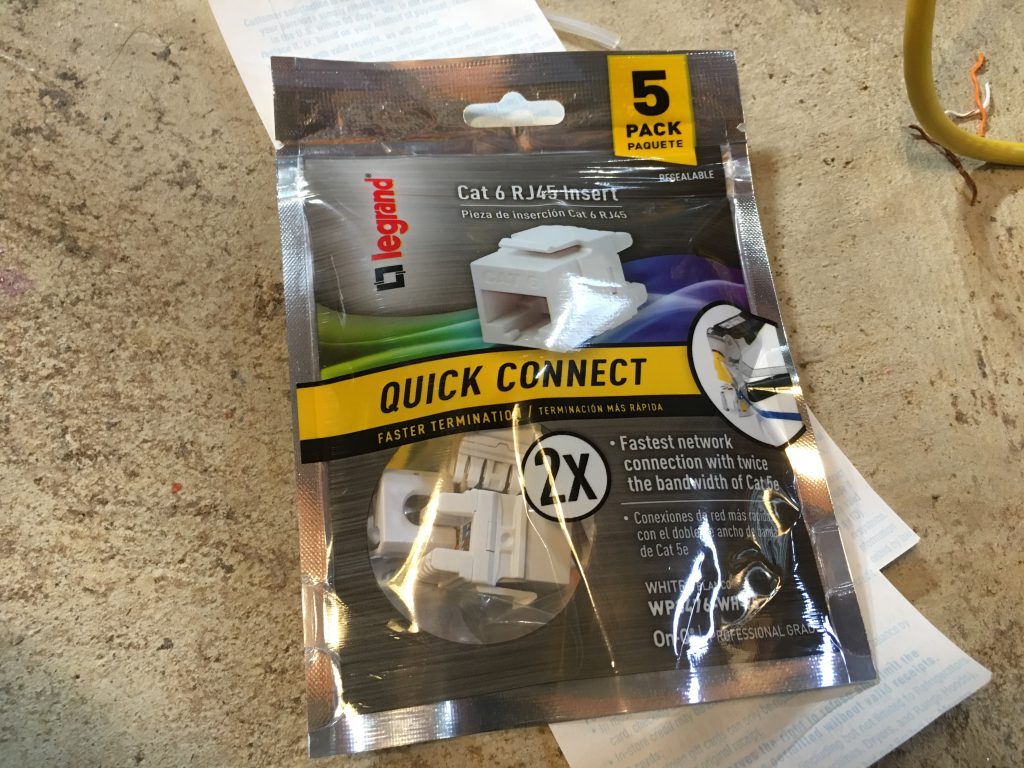
I initially had gone to Home Depot because they cater a little more to home repair, rather than improvement, and as such they carry more contractor-grade inventory. When I was forced to try Lowe’s, I only found bags of jacks, and since I didn’t need a whole bag, I had to pay for more than I wanted–$10 more in fact. The bill was up to $70 now.
CAT6 isn’t 2X the speed of CAT5e–it’s “potentially” 10X.
This was especially irritating since I only chose the color white to better match the minimalist theme of the basement setup, but everyplace else in the house used almond. Maybe I would install a proper jack in the garage ceiling next (it currently has an RJ-45 crimped on the end, feeding the hotspot. That would be another place to use white.
But anyway, I was antsy to get this project done, so I simply grumbled at the price, took them home, attached one, and it worked instantly. Same deal with the second. So I guess no more Commercial Electric for me.
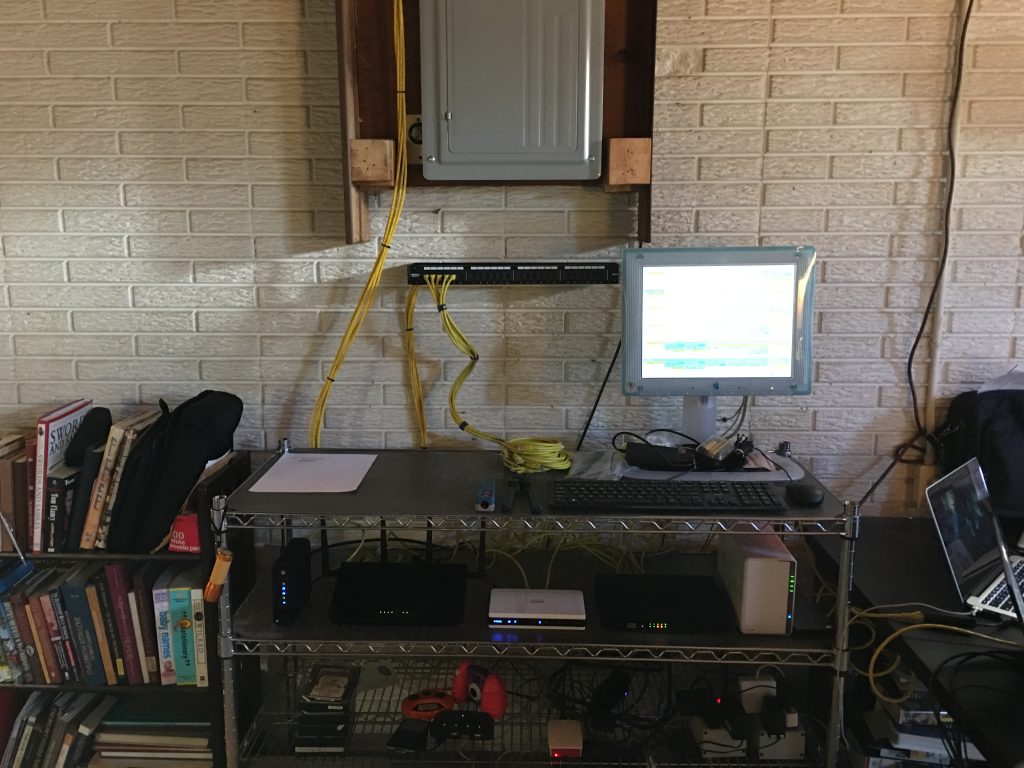
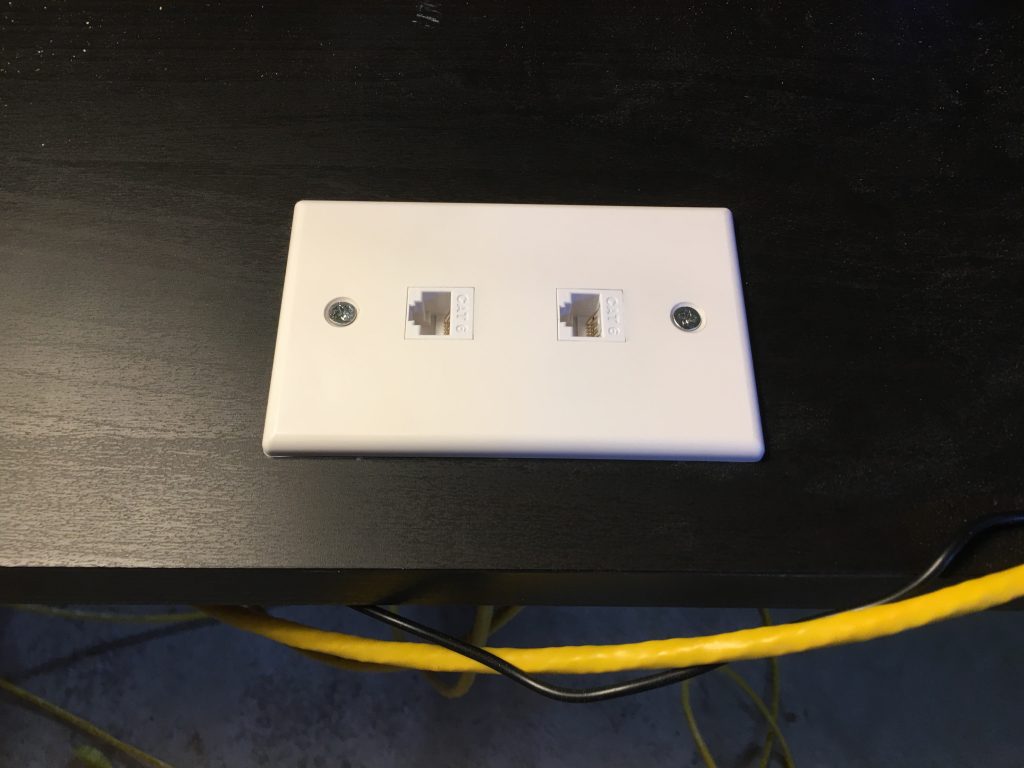
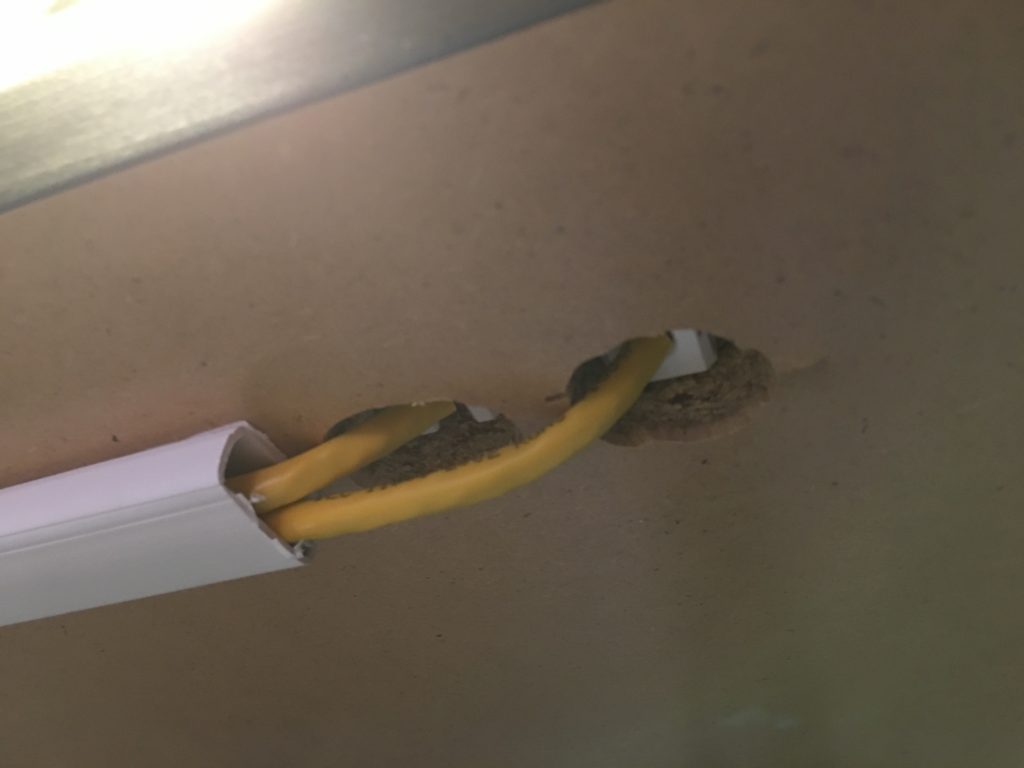
After that, it was a simple matter of snapping in the jacks, bolting down the plate, sticking up the cable organizers and popping in the cable. Here’s some photos of the final result:
Few things are more satisfying than a bundle of well-organized highspeed data cables.
The burdens of SSL certificate maintenance to a website admin are, I’m guessing here, universal. Even after the process of acquiring one is complete, the installation and configuration can be somewhat daunting. And if this were a one-time deal, it’s be far more tolerable, but as the certificates regularly expire, it’s a constant hassle. So I’ve bounced between certificate authorities as my own circumstances, as well as those of the industry, have changed.
I began this site with with a company called StartSSL. At the time, I found them efficient, affordable (as in–free), and with an easy to use website. My user ID was assigned via browser certificate (as opposed to the username/password method), and on their dashboard I could mint on-demand website and email certificates with standard WHOIS-based domain name validation.
But when I went to renew one day, I found the site to no longer be functioning properly. The basic operations to which I was accustomed had vanished, and my attempts at minting new certificates resulted in incompatible file types. I searched for info, but as the service was free, it was hard to come by. Further research revealed that they had been acquired, and shortly thereafter made the tech news for their new parent company’s bad security practices (and secret acquisition). Ultimately, they got themselves blacklisted by browser vendors and once my certificates expired, I would not be able to use StartSSL as a CA.
By this time, however, the EFF’s certificate project had launched and was gaining traction. The service, Let’s Encrypt, boasted hassle-free and automatic domain-validated SSL certificates. The best part was that my server’s manufacturer released an update which integrated the process into their stock software. With just a few selections, I could request a certificate, then be issued one with no further input on my part to install it. And even better, the service would reissue automatically prior to the certificate’s expiration (which was limited to 90 days, but that’s not a bother when they reissue on their own). I made the switch.
Then I received an email. The domain validation system used (a variant of the HTTP file-based verification method–more on this in a bit), was being sunsetted due to security vulnerabilities. I checked with my server manufacturer’s forums, but couldn’t find any information on how to change the default verification method. So with 30 days of lead time, I looked into finding a new certificate issuer.
I would have thought that because of the EFF’s efforts, certificates would have become very affordable. And they are, but you have to dig, because the majority of advertised products are intended for business and/or ecommerce use. Securing a certificate for a personal non-business home-based server proved to be somewhat trying, but I did eventually find such a line of products: COMODO’s PositiveSSL certificates.
These certificates are domain-validated only, meaning to acquire one you only have to prove you control the domain. This is the only type I’ve ever used, as their application is rather low-risk, this being a blog. Their price point is due to the ability to automate the process, and while it offers the same level of encryption as any industry-standard certificate, it’s a very basic level of authentication. Here’s Wikipedia’s explanation (https://en.wikipedia.org/wiki/Domain-validated_certificate):
“The sole criterion for a domain validated certificate is proof of control over whois records, DNS records file, email or web hosting account of a domain. Typically control over a domain is determined using one of the following:[3]
Response to email sent to the email contact in the domain’s whois details
Response to email sent to a well-known administrative contact in the domain, e.g. (admin@, postmaster@, etc.)
Publishing a nonce provided by an automated certificate issuing system
A domain validated certificate is distinct from an Extended Validation Certificate in that this is the only requirement for issuing the certificate. In particular, domain validated certificates do not assure that any particular legal entity is connected to the certificate, even if the domain name may imply a particular legal entity controls the domain.”
But alas, with COMODO, this was my first encounter with a certificate-signing request. With StartSSL, the service generated the public/private key and installed it into my browser, which then required me to export the file and import it into my server. I’m assuming that’s okay, but it is placing a lot of trust in the certificate issuer, as in theory they’d have/had access to the private key. A certificate-signing request, on the other hand, eliminates that security hole.
The process is as follows: the server creates a certificate/private key pair, wherein the certificate is signed by the private key (standard procedure). The certificate is then exported, which in turn is uploaded to the CA. After validation, the CA then signs the certificate with their own certificate’s private key (the intermediate certificate), and then provides that now-signed certificate alongside the signing intermediate certificate. Both are uploaded to the server, along with the original private key. The three files now supply encryption and identity validation (via the certificate chain path through the intermediate certificate).
It sounds complicated, but from the user end it’s mostly automatic. The burden lies in the validation process.
As stated above, domain validation is merely the process of confirming that the requestor actually controls the domain to which they’re requesting a signed certificate. And, as Wikipedia explained above, COMODO chose to do this in one of 3 ways:
The CA queries the requestor’s domain WHOIS record–the ICANN-required information supplied along with the original domain registration. Specifically, the registered email address. The problem for me was that, because of the amount of spam email I received as a result of keeping that information public, I had to purchase a WHOIS-masking service that prevented my registered email address from being visible. As a result, the CA had no way to query my email, and therefore no email by which to contact me.
This led me to method 2: the CA generates an ASCII nonce and tells me to paste it into a text file in the /.well-known directory. This directory is, in theory, only write-accessible to the server’s admin, and is also publicly visible. Logic follows that I, the admin of the server to which the domain name is pointed, would not be able to make this file unless I had full control of both the domain and the server (which I do). I created the file and was in turn sent a link to download the now-signed certificate. (Note: the /.well-known is not a mountable directory by default. This required me to save a file directly to the directory via the server’s integrated text editor, although I’m sure a more advanced user could perform a simple SSH command).
Had this second method not worked, the third method of verification involves creating a TXT record with my domain registrar. It is, more or less, the equivalent of option #2, but at the domain registrar’s level instead of the server’s. Being able to add any domain record here proves de facto that the individual controls the domain. Fortunately, I didn’t have to go quite this far, but it’s nice to know the option is available in the event of server/network problems.
Uploading the certificate files was pretty straightforward after that, and a quick setting change switched it over. I’ve kept my Let’s Encrypt certificate just to see what will happen with the renewal, but if that fails and it expires, I’ll still be good now with a 2-year COMODO one. Hopefully when renewal time comes up for that, I’ll have this article available to remind me how I did it. And…if anyone else besides myself ever discovers this article and finds it useful, that’s cool too.
A while back I offered my thoughts on the benefits of wiring devices rather than relying on WiFi, and my efforts with installing Ethernet drops. The system worked well, but I had nagging doubts about my install. Specifically, my jack punchdowns were not up to spec, my patch cables were self-made, and my drops terminated in the basement with RJ45 connectors. In short, it was an amateurish install and didn’t look good.
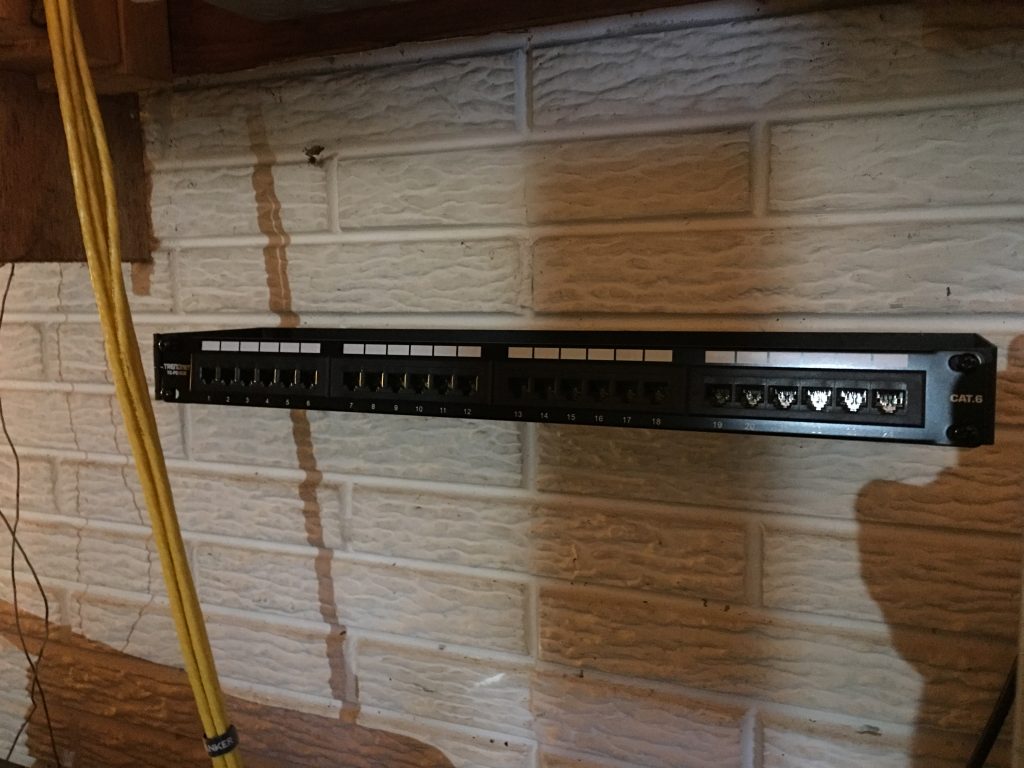
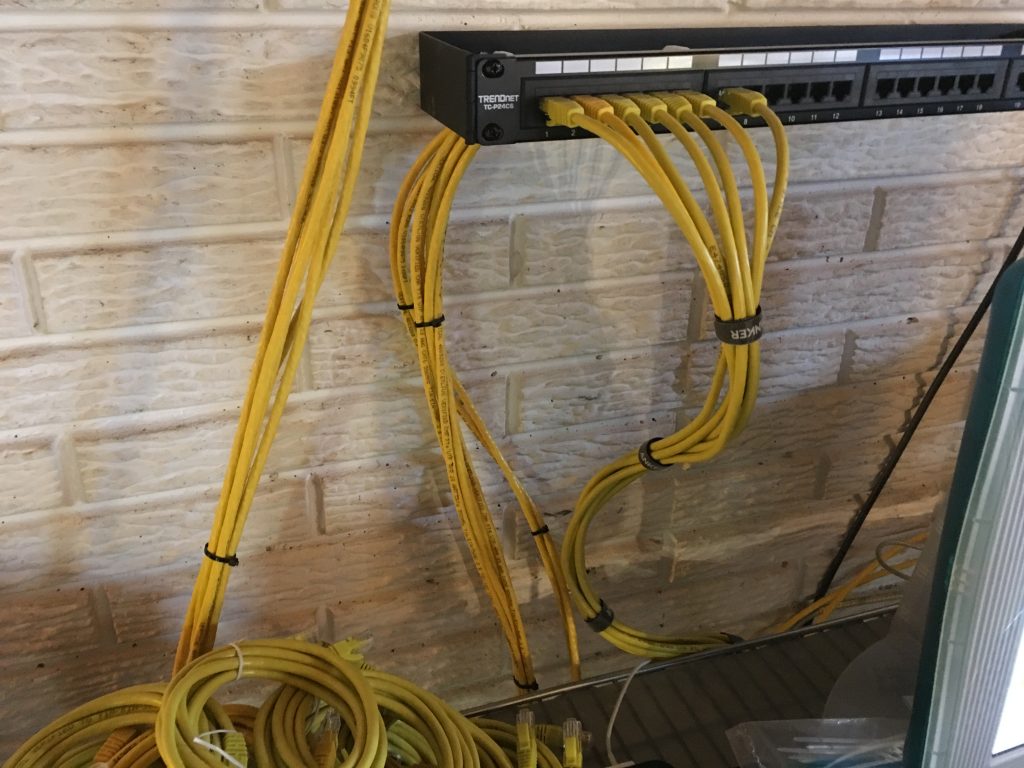
After re-punching my wall jacks with the proper method, I decided that I would finally bite the bullet and buy a patch panel. The only thing that had been holding me back was the price, and the fact that I lacked a networking rack to hold it, but these concerns were alleviated with a little bit of searching. I decided upon these two items:
TRENDnet 24-Port Cat6 Unshielded Wallmount or Rackmount Patch Panel, Compatible with Cat 3/4/5/5e/6 Cabling, TC-P24C6Monoprice 1.75 by 19 by 4-Inch 1U Wall Mount Bracket 108623
The intent was to mount the patch panel in the bracket on the concrete wall in the basement. And, despite the irritations involved with drilling concrete, this idea played out perfectly:
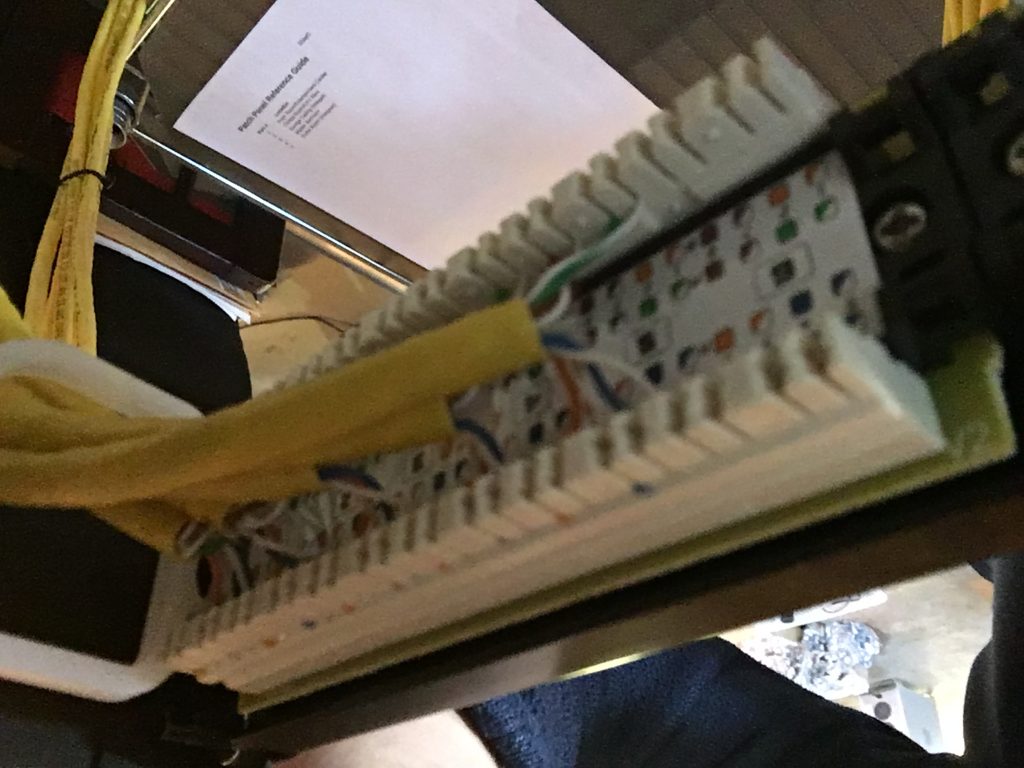
It was also much easier than crimping. A simple punchdown tool secured the wires and clipped the excess, and in short order I had secured my existing 5 drops.
For the record, I chose T-568A. Although now, having purchased patch cables all configured in B, I probably should have chosen B. Ah well, the difference is pretty negligible. Regardless, though I haven’t benchmarked anything, the network does seem a little snappier now. The previous RJ45s were properly rated for solid-core CAT6, but I still don’t think it’s possible to manually crimp a connection as well as punching.
I’m sure at some point I’ve complained about internet tracking. There’s no way I haven’t, but I can’t find the right article to link to at the moment. So instead, I’ll ramble on for a bit about the over-discussed and tired topic.
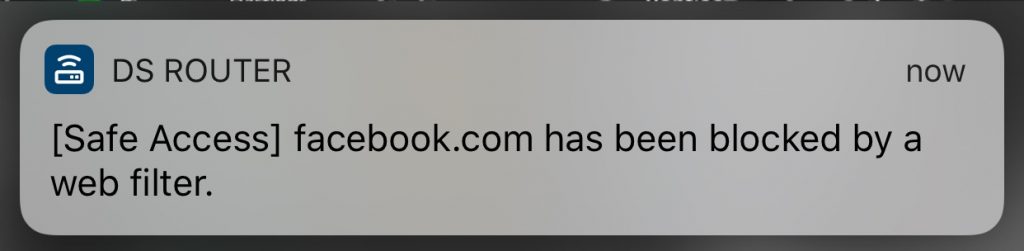
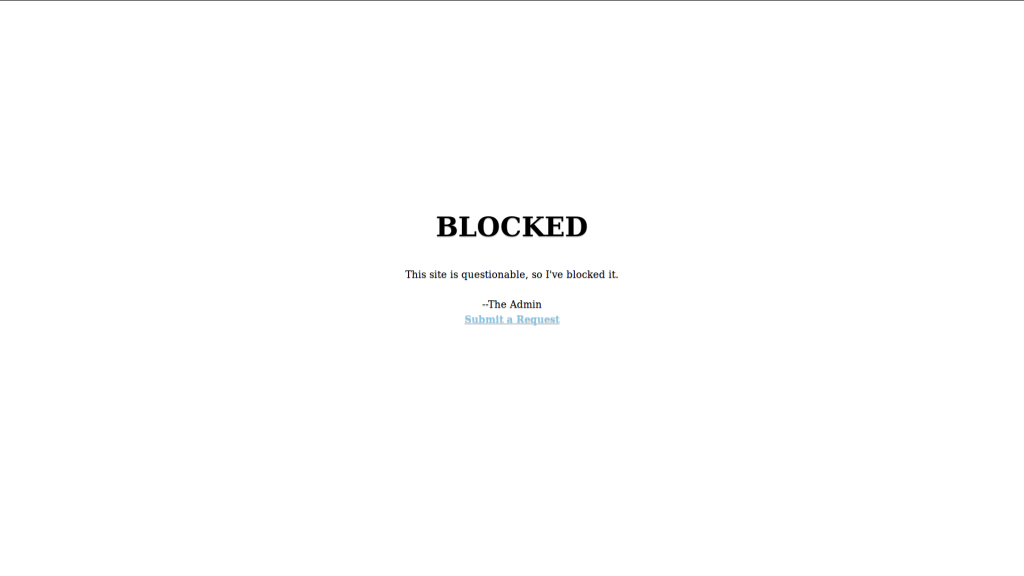
I did find this topic, wherein I discussed my router upgrade. Recently, the manufacturer pushed an update to it, and in this update I found some more robust traffic management and firewall tools. Naturally, I poked around, and discovered that I could control domain blocking with more refinement. On a whim–well, more than a whim really–I blocked Facebook and some other well-known web analytic and tracking domains in a custom rule that I then assigned to all my personal devices.
The result was even worse than I had suspected. There were all manner of things that were linking to Facebook. Even if I chose to ignore all Facebook prompts, applications and pages were still running their scripts in the background. Why?! The question, of course, is rhetorical.
One more incremental step in fighting for internet privacy.

 But when I went to renew one day, I found the site to no longer be functioning properly. The basic operations to which I was accustomed had vanished, and my attempts at minting new certificates resulted in incompatible file types. I searched for info, but as the service was free, it was hard to come by. Further research revealed that they had been acquired, and shortly thereafter made the tech news for their new parent company’s bad security practices (and secret acquisition). Ultimately,
  By this time, however, the EFF’s certificate project had launched and was gaining traction. The service, Let’s Encrypt, boasted hassle-free and automatic domain-validated SSL certificates. The best part was that my server’s manufacturer released an update which integrated the process into their stock software. With just a few selections, I could request a certificate, then be issued one with no further input on my part to install it. And even better, the service would reissue automatically prior to the certificate’s expiration (which was limited to 90 days, but that’s not a bother when they reissue on their own).