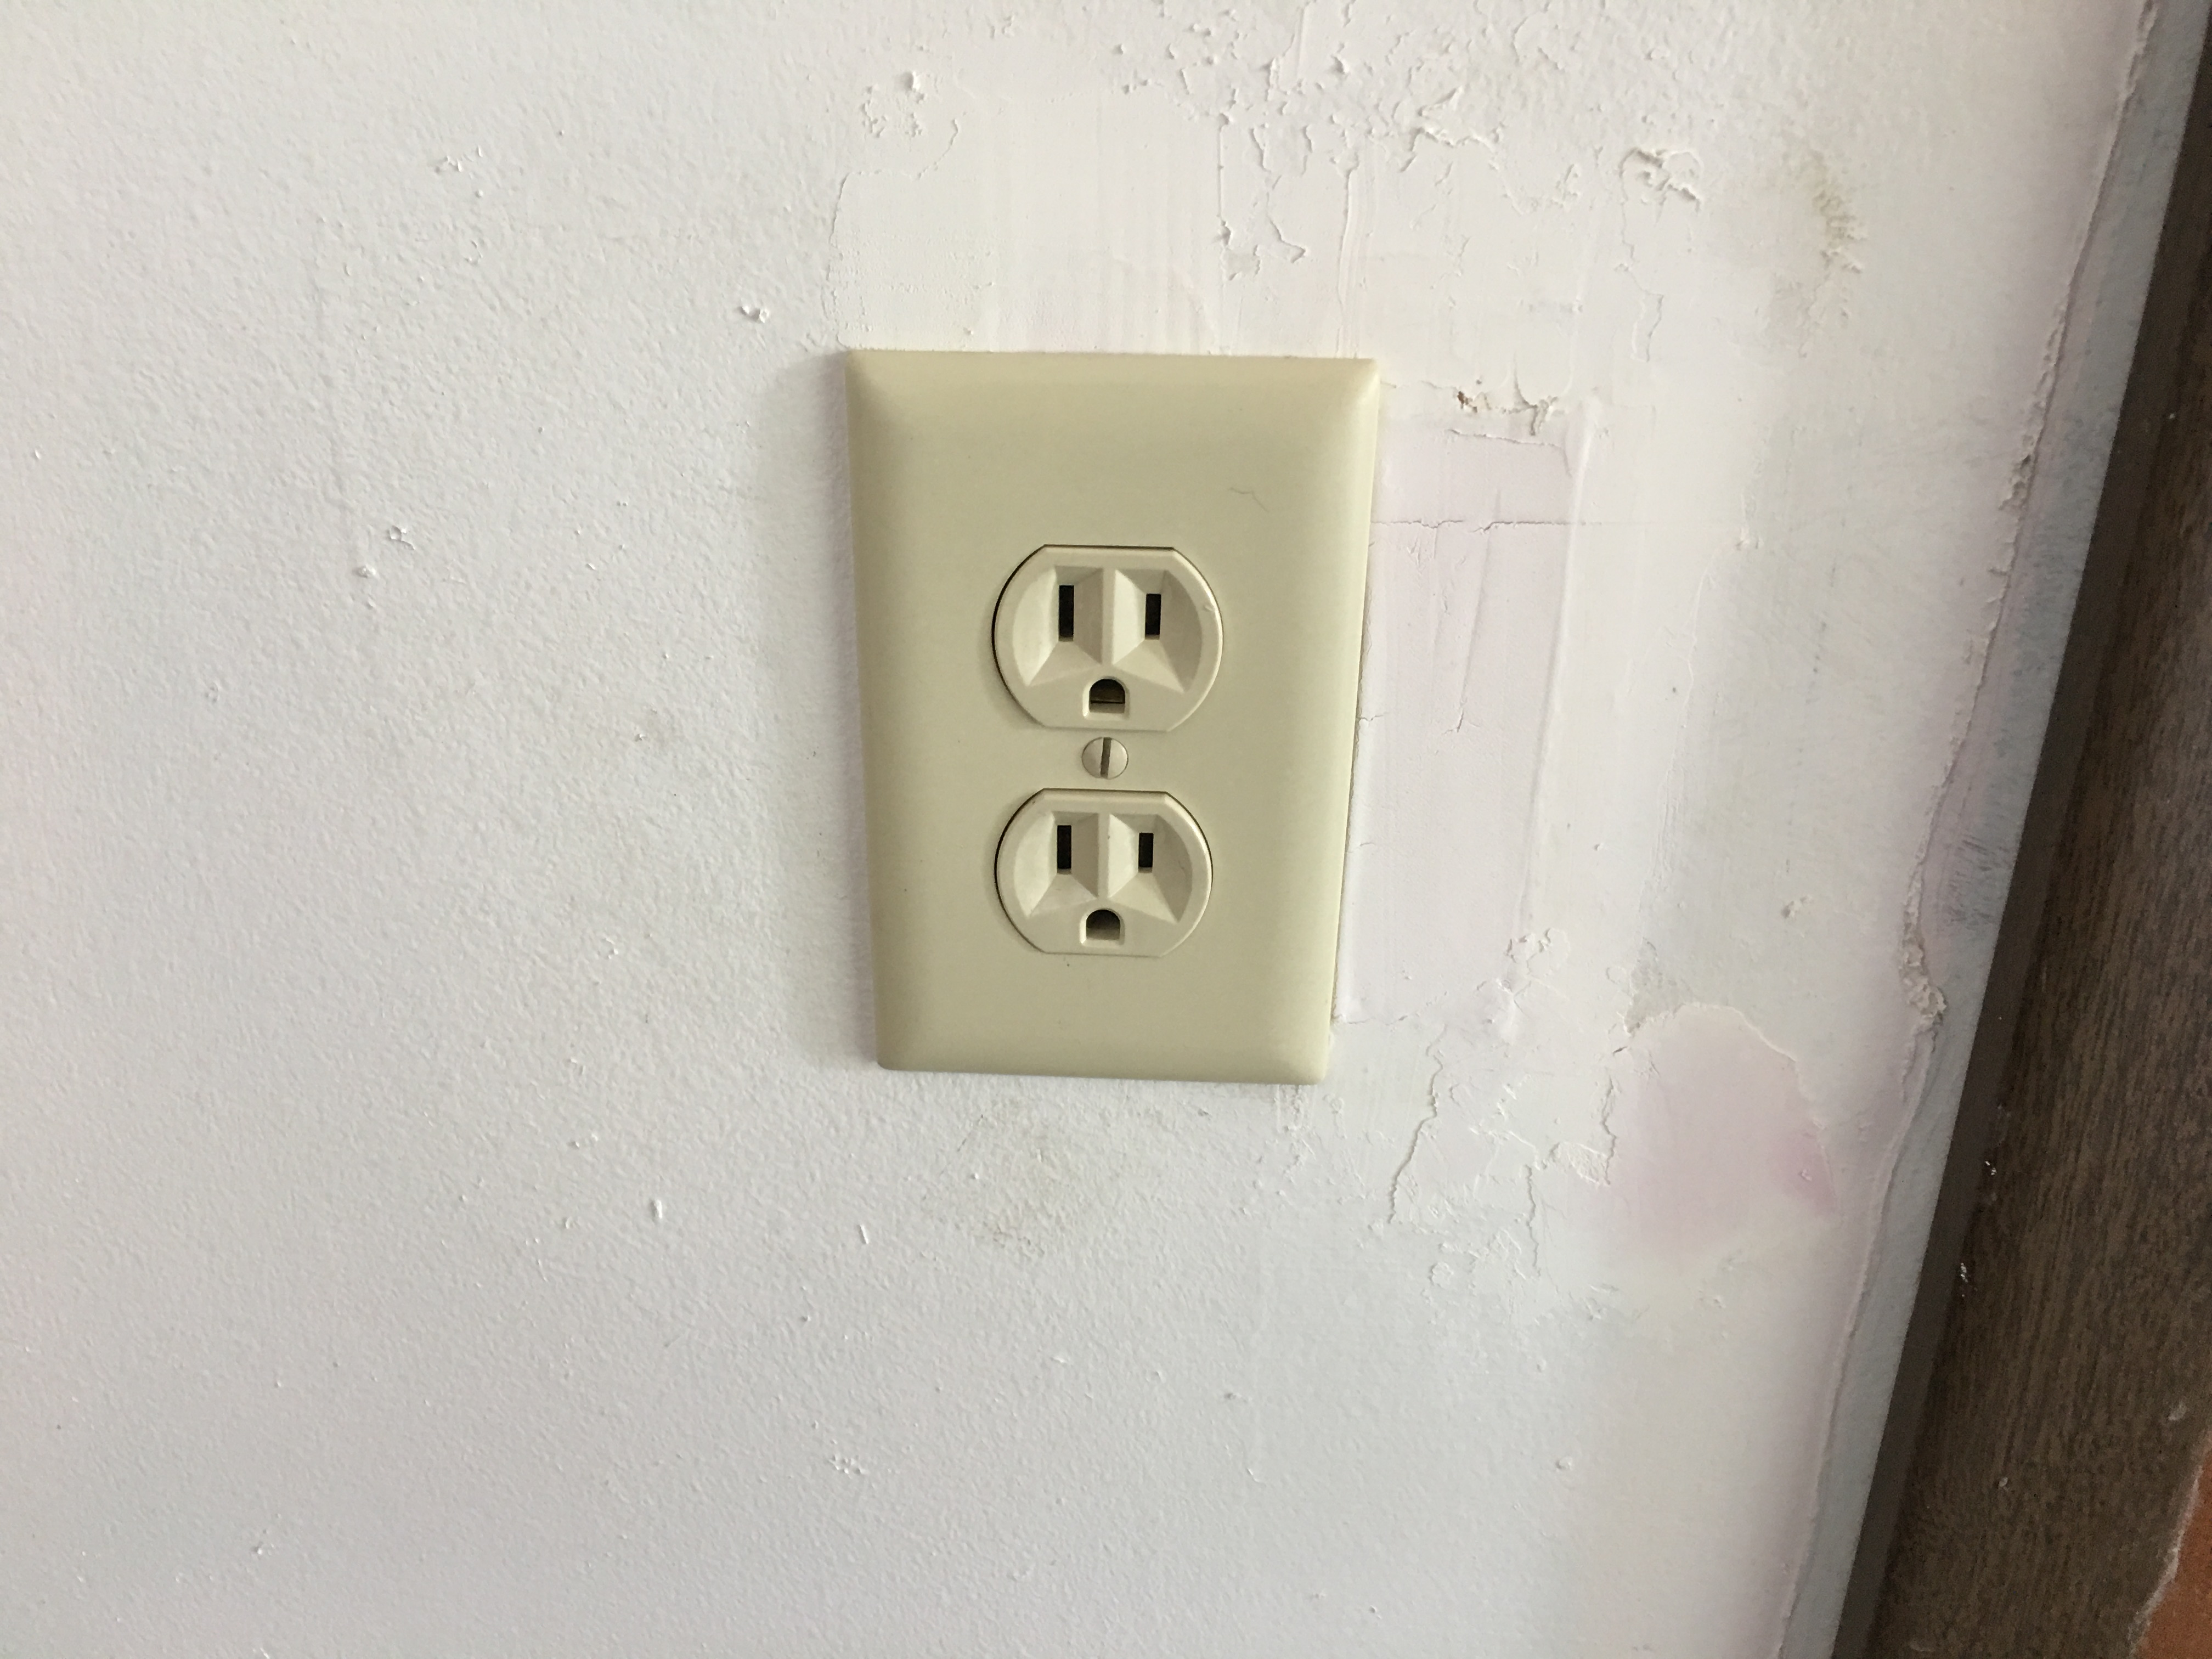
Electricity, EEEEEEEEEEEEEE-lectricity

Hehe, remember that one?:

During my recent plumbing project, I considered that connecting pipes, if done wrong, at least wouldn’t kill me.  Still, I found the process irritating, and after the pain of cinching down threaded pipe connections took its toll on my elbows, I concluded that I would much rather be doing electrical work.  Besides which, if I wear leather gloves, the shock of 120 volts is reduced to a mere tingle even if I screw up the breaker.

Still, despite this mitigated lethality, when I find something done wrong, I grow concerned.  So it was that I decided to tackle the unattached electrical outlet in the garage.  I really should remember to take before pictures, but I didn’t this time, so I’ll have to explain the setup.

First, I’ll mention that it was a 2-pronged ungrounded outlet.  That was part of the problem, as an obviously bad choice for the garage, which would presumably be more likely to power higher-amperage devices.  More troubling was that the outlet wasn’t bolted into the wall box, and the wall box itself wasn’t even attached to either the adjacent stud nor the drywall.  In short, there was an electrical line leading into a loose box, then wired into an ungrounded and unattached outlet–a hole in the wall with exposed hot wires.  What could possibly go wrong?

My main concern was that the kid might poke a finger in there, so I had taped up the cover.  And as the outlet lacked a ground, as mentioned, it was of limited use anyway.  But then, as I was shoving rolls of carpet into the attic one day, I considered: how hard would it be to run a separate ground to that outlet and make it serviceable again?  The basement has a ground line running through the joists, so perhaps the attic had one too.  I searched around, but no ground wire was to be found.  That seemed odd, seeing as this was the only outlet in the house which didn’t have a ground.  For a moment, I panicked, thinking that none of the outlets were grounded, but these fears were quieted when I opened a junction box and discovered that all the wiring was modern Romex with connected grounds.

I followed the wire from the box to the obvious spot where it dropped down and fed the outlet in question.  This wire, too, was grounded, which begged the question: Why wasn’t the outlet grounded?  And where was the ground wire?

Climbing down, I checked the outlet box again.  Turns out that the wire did indeed have a ground, but it had been clipped off at the point where the outer insulation had been stripped to separate the wires.  So someone had deliberately installed an ungrounded outlet on a grounded line, and had removed the ground.  Why?  Tugging on the line, I discovered there was no extra wire, so I couldn’t simply connect the ground to a new outlet as-is.  And of course, the box wasn’t mounted so I’d need one that would.  Sigh.

My motivation to complete this project coincided with Liz re-painting the living room.  With my entertainment center out of action, and the threat of being drawn into a painting project looming, I concluded that this electrical problem needed an immediate resolution.  Off to Lowe’s!

In the electrical isle, I wondered why both metal and plastic boxes were the norm.  Why would one be used over the other?  Maybe metal was for industrial buildings.  But for me, I rather preferred to use non-conductive material to house electrical wires.  I also bought a roll of 14 AWG wire to extend the ground.

Back at home, I followed the usual procedure of sequentially flipping breakers until the correct (and least logical) circuit was found.  Then I got to work removing the unmounted box, which wouldn’t fit through the outlet’s hole in the drywall.  I wonder how it got in there to begin with.  Was it installed before the drywall, but never mounted?  The prior owner had done some weird electrical projects in the basement, none of which inspire much confidence, so this could very well be one of them.

At least it was the garage, and the drywall isn’t painted out there, so I didn’t feel much hesitation in sawing through it.  I removed the useless metal box and installed the plastic one, having poked the wires through and extended the ground.  The outlets in this house are worn out, so I’ve been replacing them as demand necessitates.  This is the 5th such outlet to need replacing, so I have a supply of them on hand.

I patched the hole with leftover drywall and spackle.  It doesn’t look very clean, but it works and is far safer than the prior potential disaster.
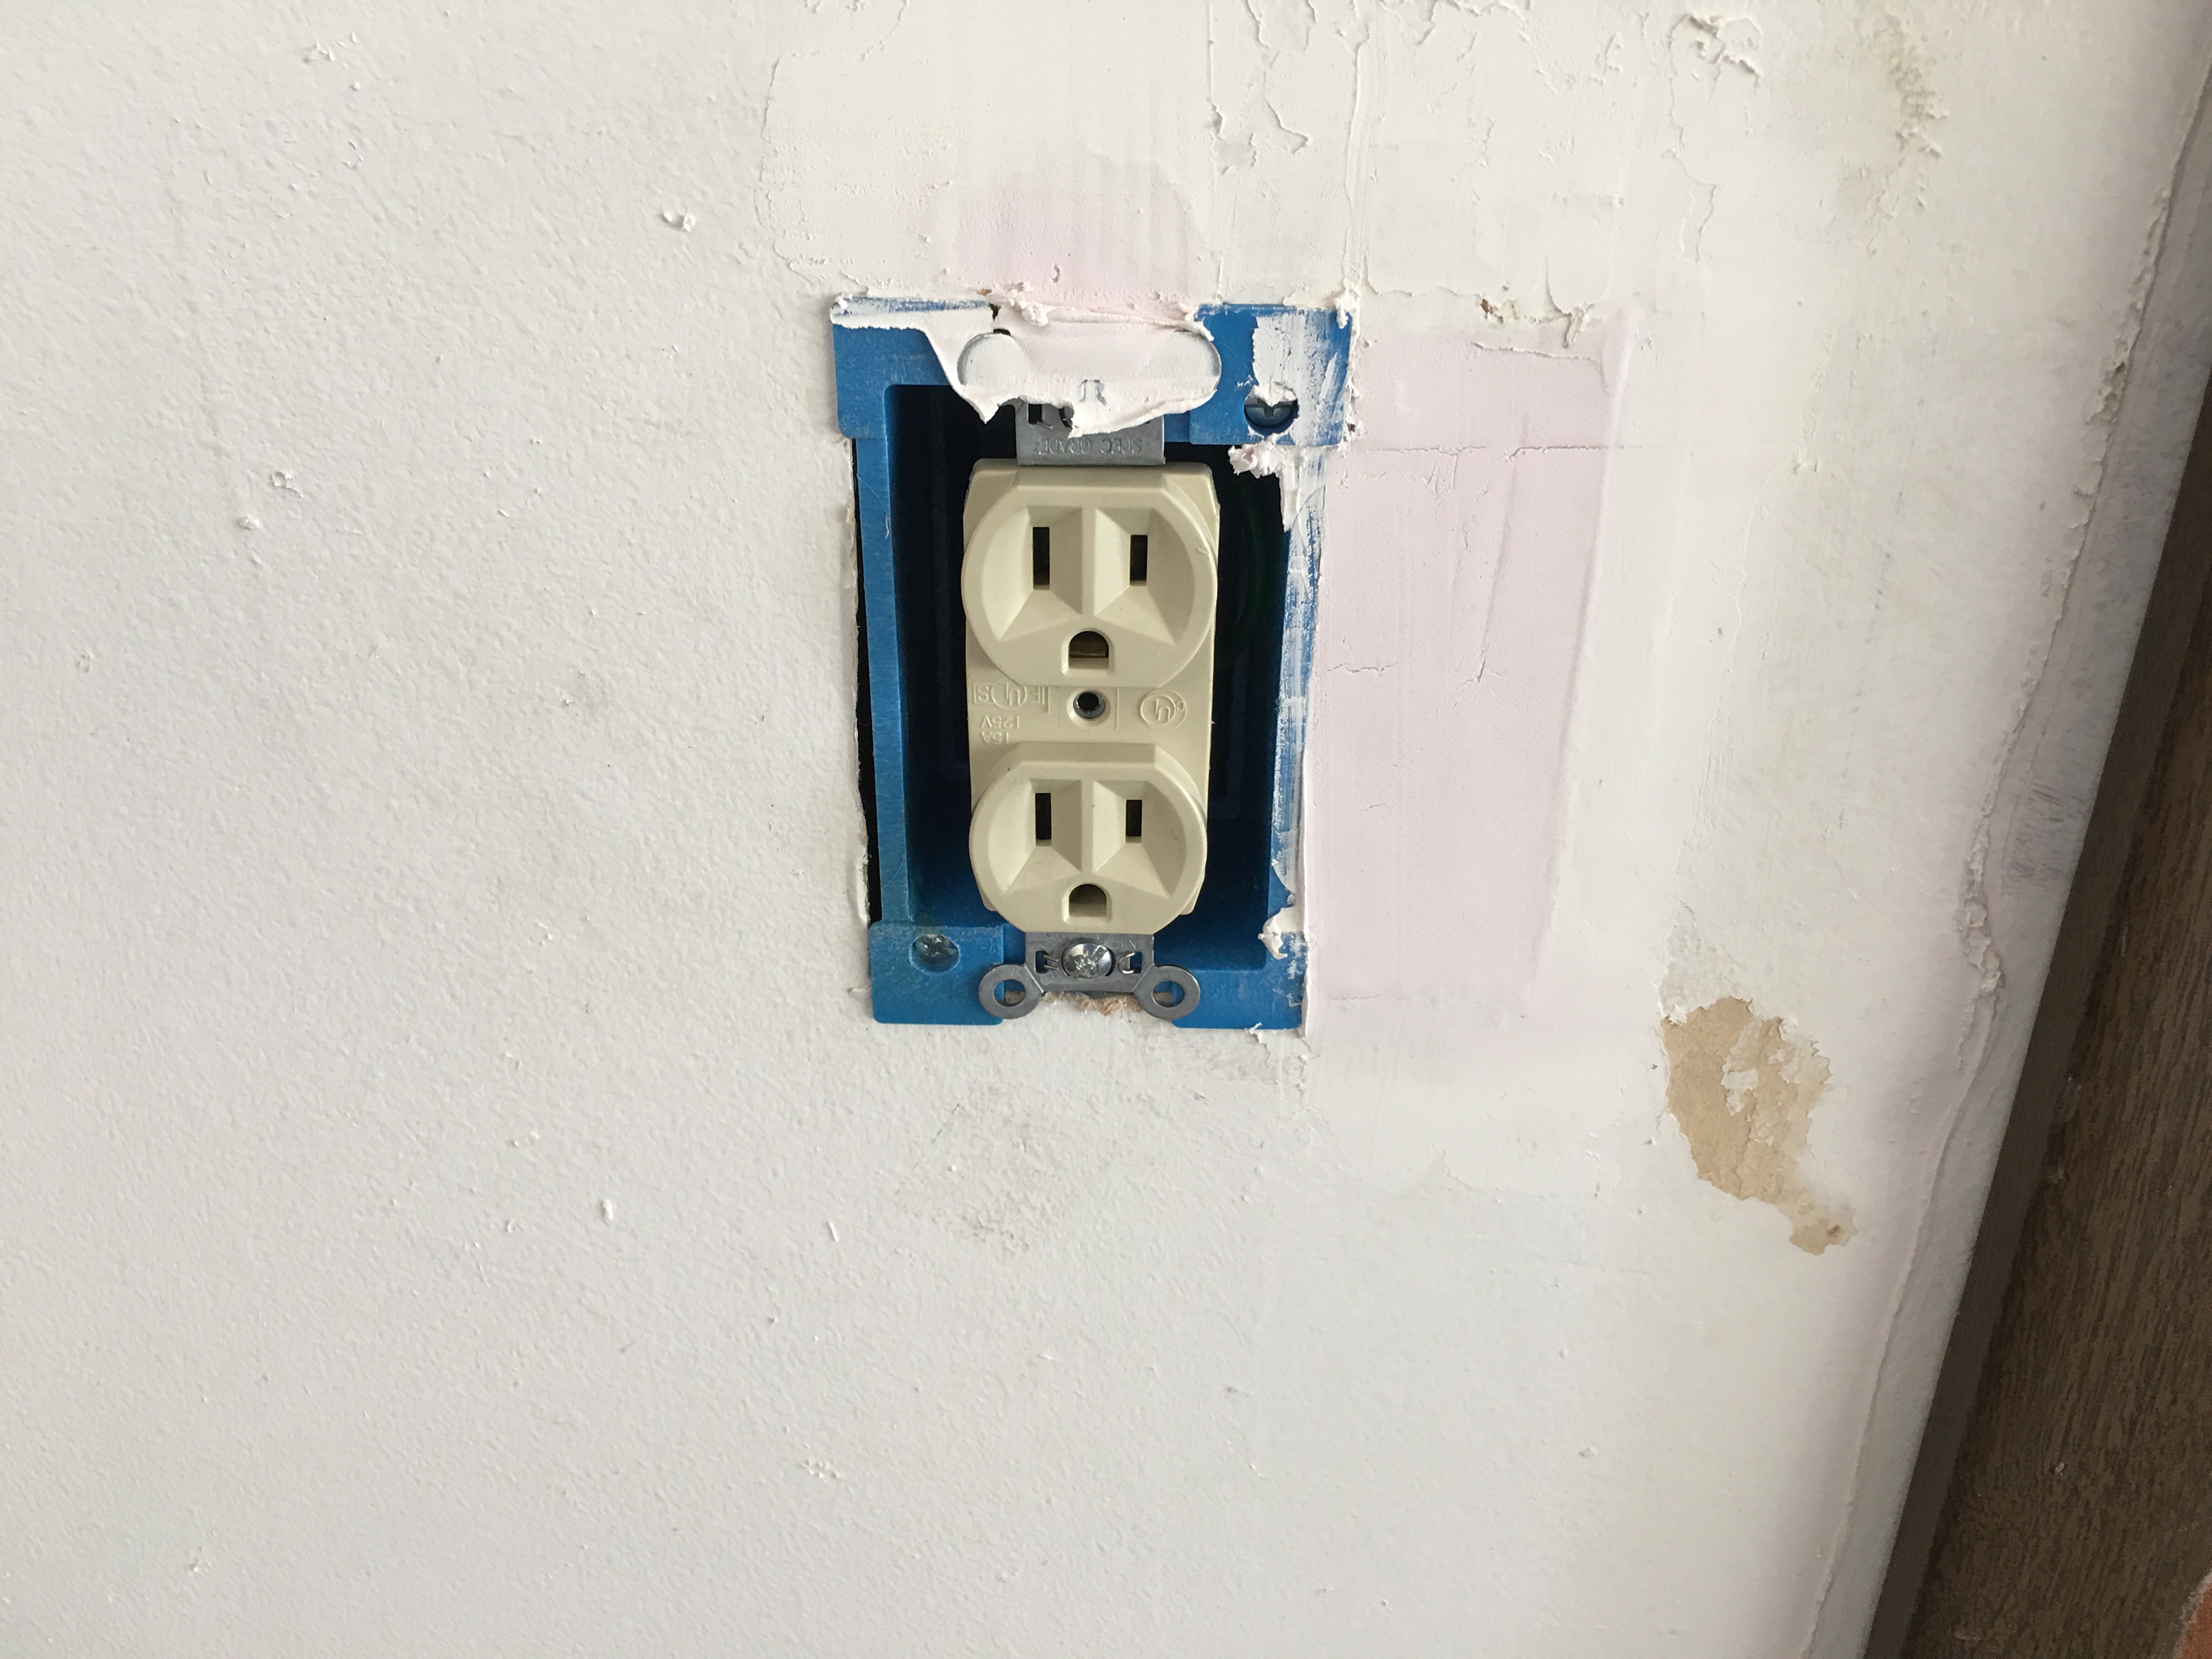
What the hell was wrong with this guy?  You’d think that electrical work is something worth doing right the first time.

Fortunately, my project was finished quick enough that I was able to help out with the painting after all…lucky me.

–Simon

Standards (Part 2)

So in Part 1, I chronicled my woes regarding a seemingly simple task: connecting a garden hose to an unused water softener spigot in the basement.  In short, it was not as easy as I had thought, and I had resorted to an unconventional solution.  Unfortunately, that unconventional solution did not withstand the test of time, and when I used the hose later, the sealant popped loudly and water sprayed the wall.  The pressure was just too great.

Curious as to how much pressure was in these lines, I researched what standard pressure should be.  The answer: 40-60 psi, no more than 75.  This only served to cause more questions though, like how deep does water have to be to reach that pressure?  Hmm, back to the Internet.

The answer to this question: about 30-40 meters.  That’s…pretty deep.  I certainly wouldn’t ever want to be that deep under water.  And that’s residential pressure, after the reducer.  It’s no wonder broken fire hydrants turn into geysers, and why water towers are so creepily tall.

But back to the job at hand.  I was determined to get this project to work, so I decided on another tactic that I had toyed with at the time: splitting the washer hookup and connecting a hose directly to that.

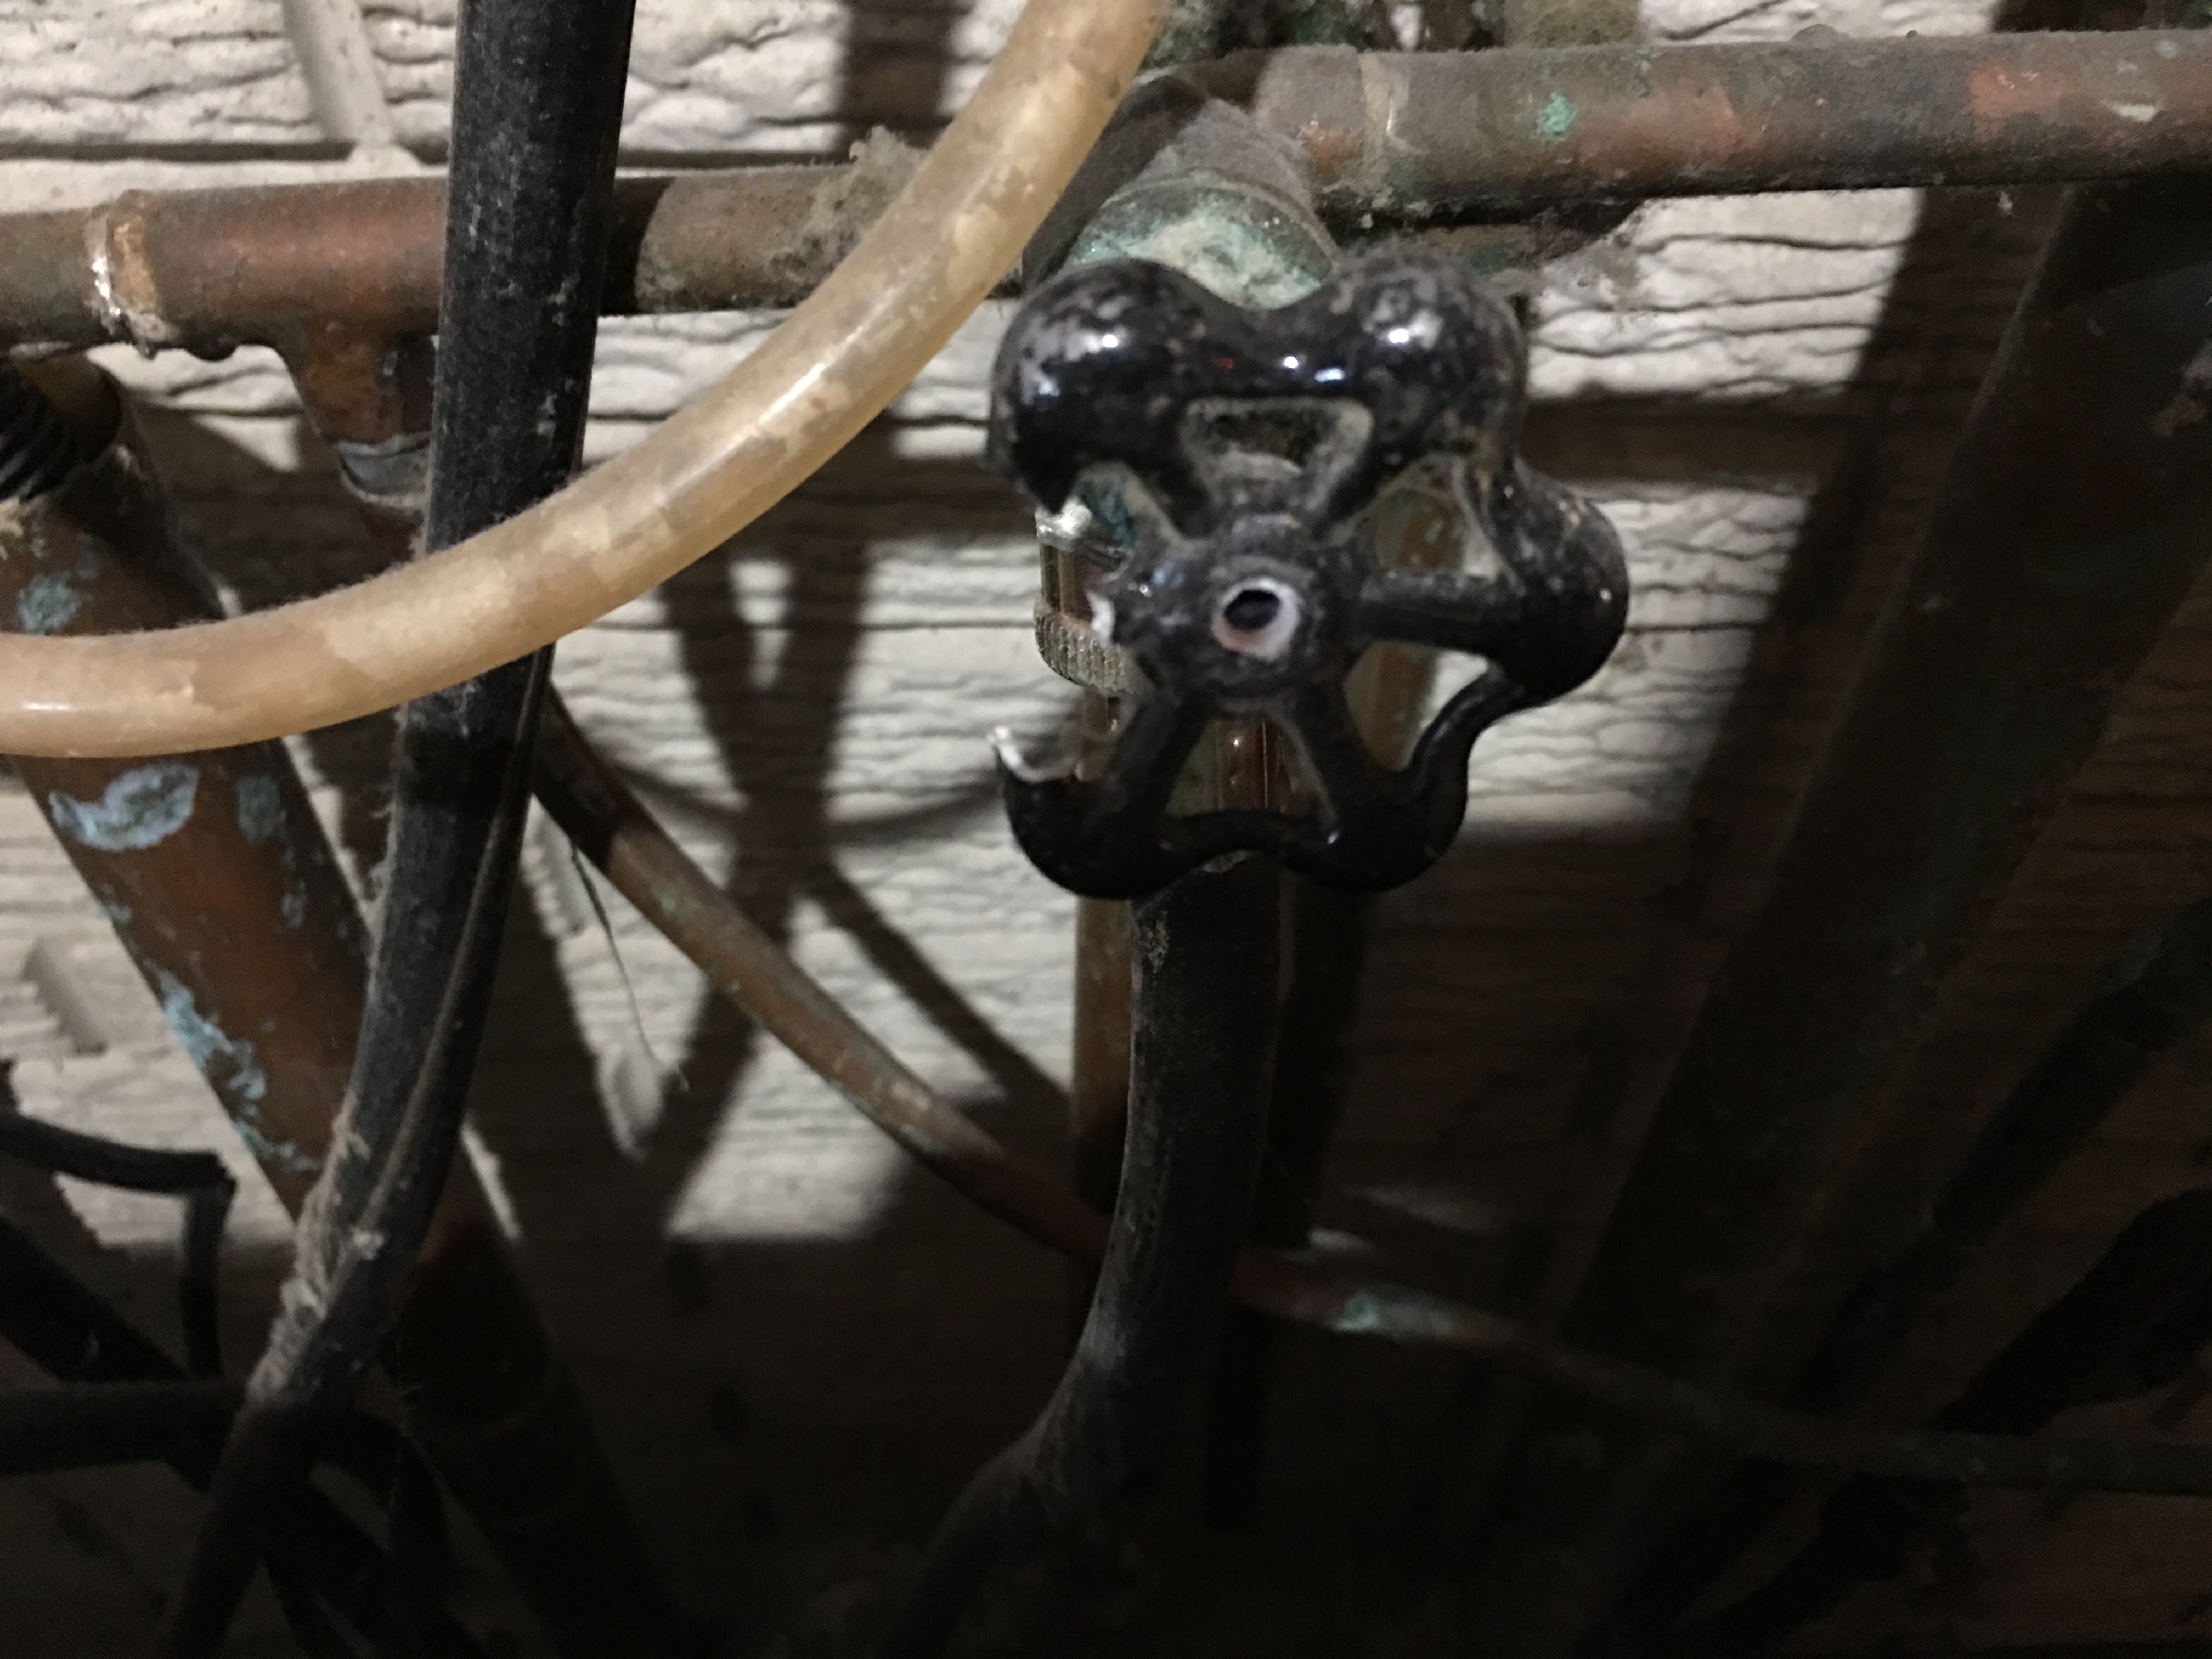
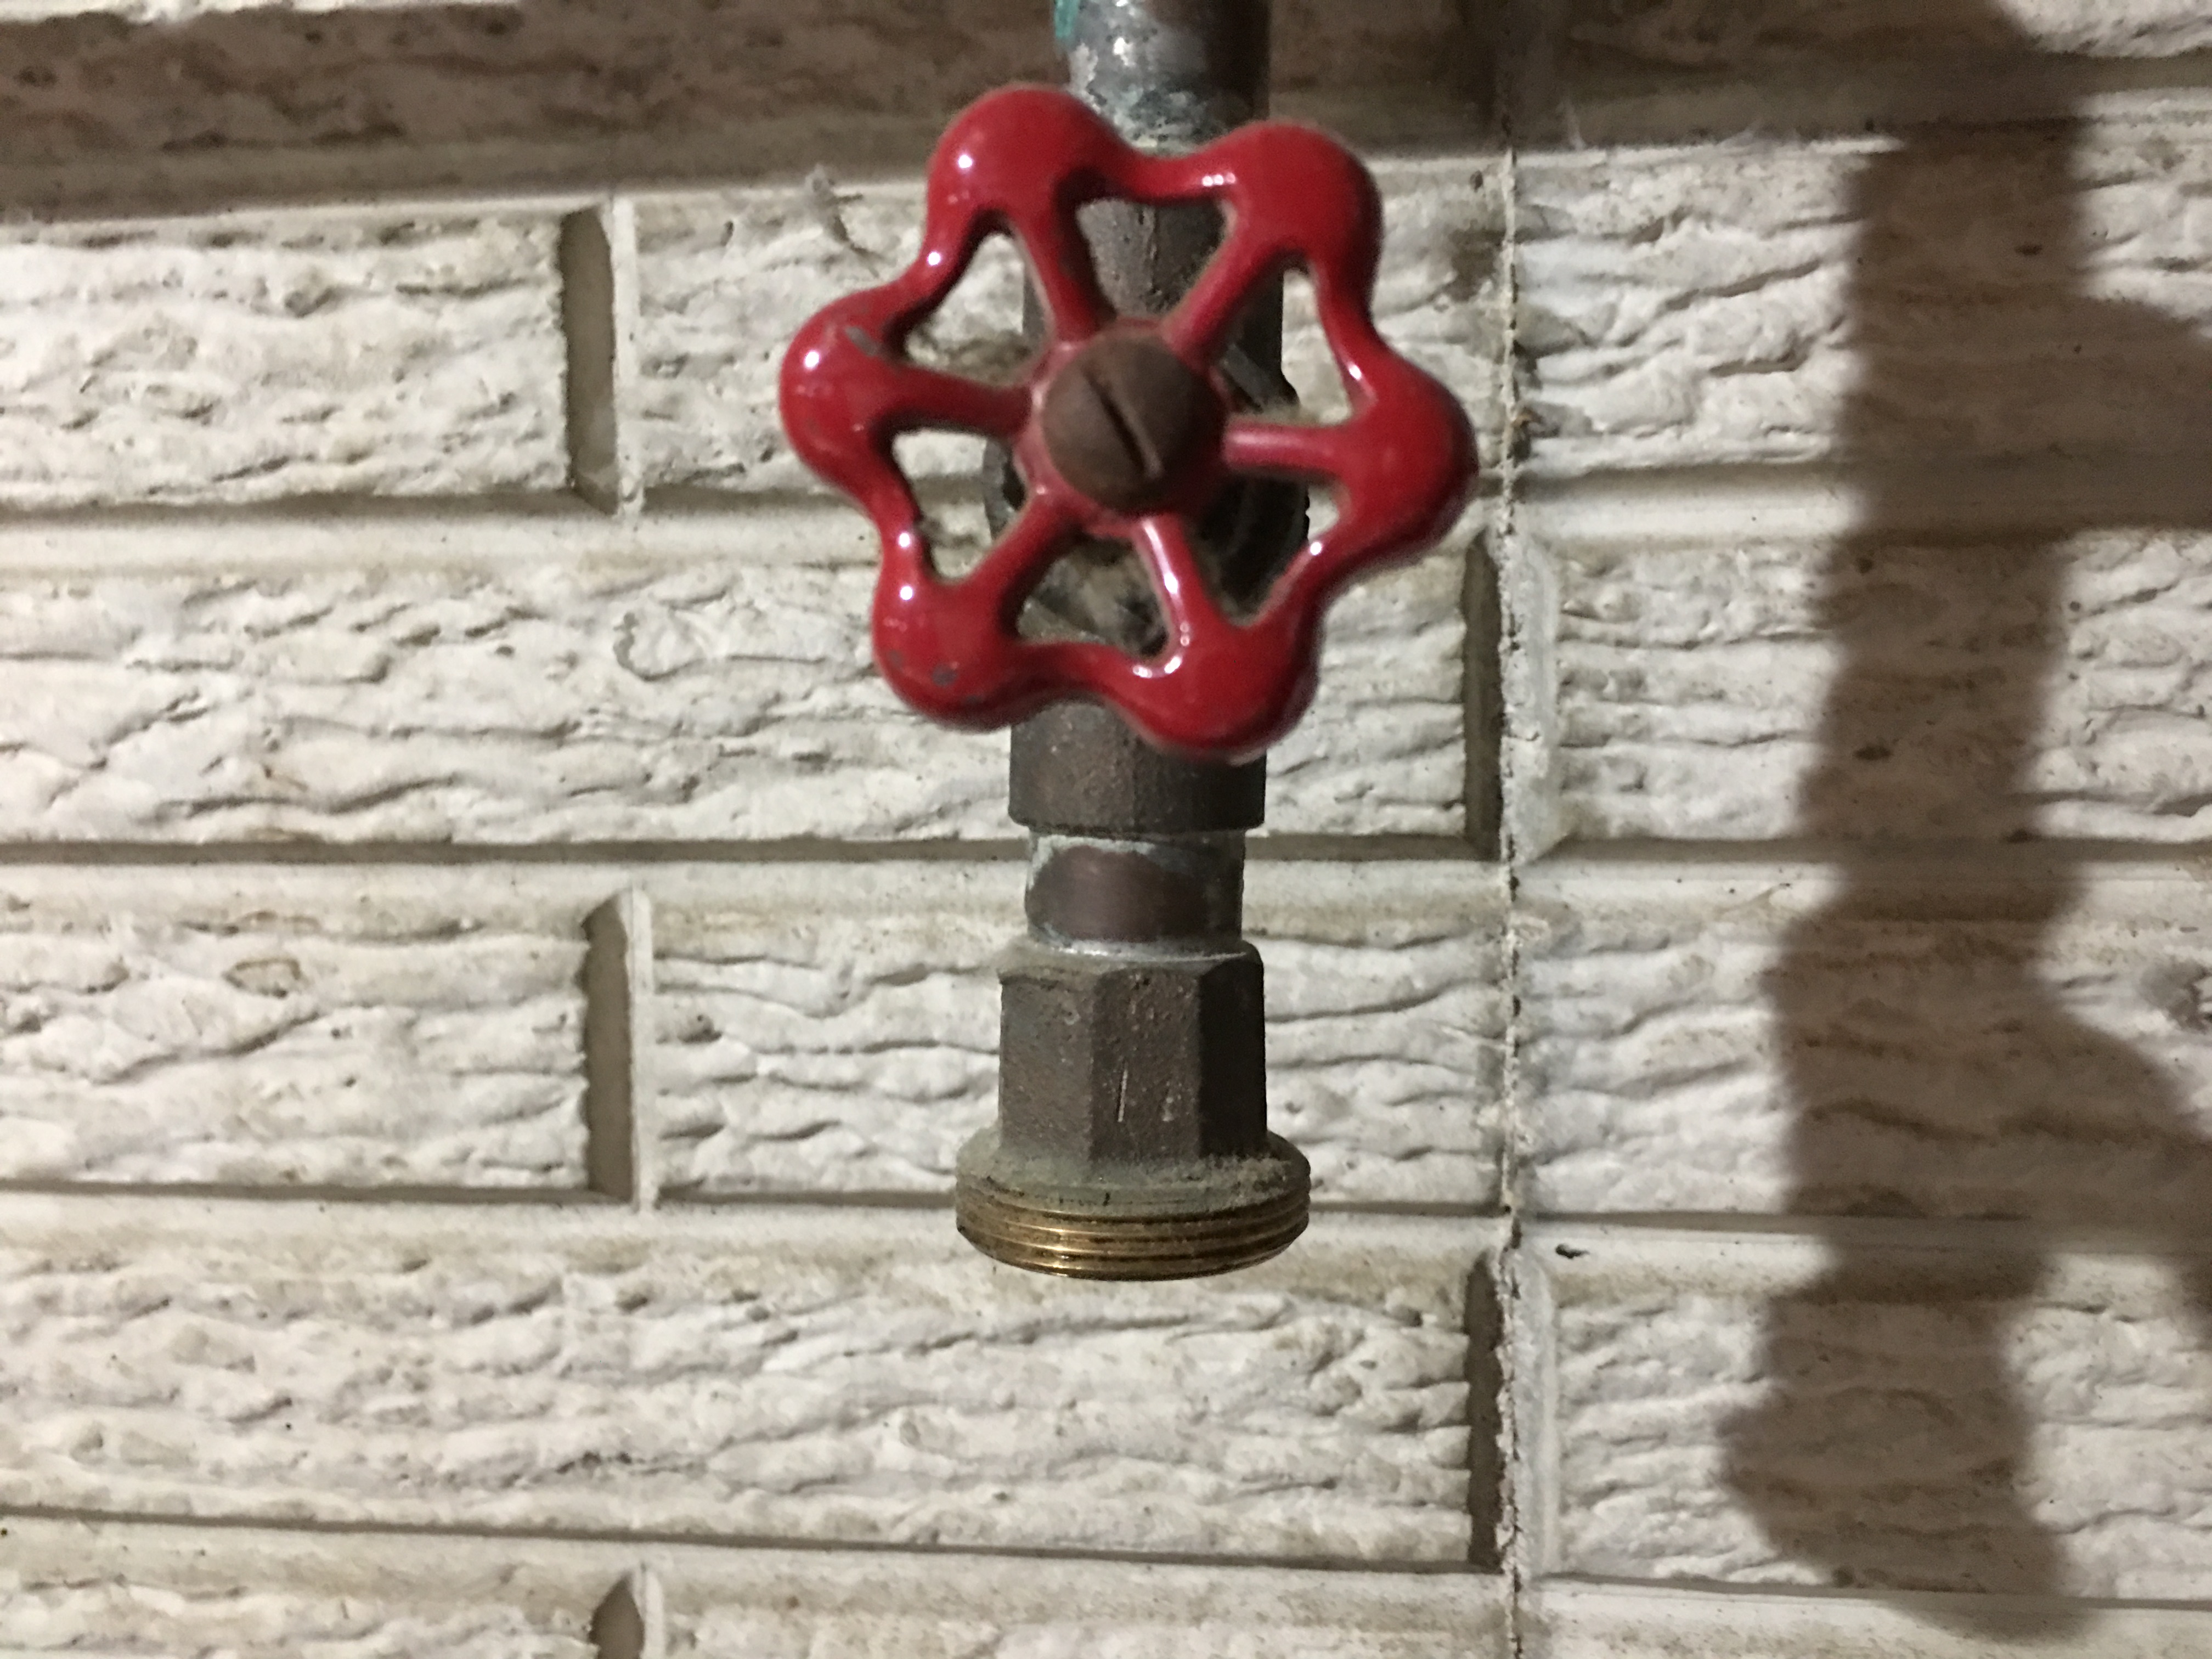
This spigot has certainly seen better days

Once again, it was off to Lowe’s to stare at pipe fittings.  I admit–I rather enjoy just looking at components like this, formulating solutions in my mind, then allowing my attention to drift to potential future projects.  The trouble is, staring blankly at rows filled with utility infrastructure sends visual messages to those around, manifesting into thoughts such as: “This guy has no idea what he’s doing,” or “He’s going to break something or hurt himself,” or “Maybe I’ve watched too much 90s-style man-of-the-house-deprecating sitcoms and I’m judging him too harshly when I really don’t know what he’s capable of.”

I highly doubt that it’s ever that latter thought, however, so in general I try not to tarry too long.  Fortunately, my years of work experience have taught me a useful skill: how to look busy when I’m not, and how to look like I know what I’m doing.  I must have pulled it off, because no one approached me.  And besides which, figuring things out is part of the fun of a project.  I don’t want a detailed walkthrough for everything I do in life.

Anyway, I quickly found a copper hose splitter.  But–would this fit the laundry hookup?  I presumed it would, but I also presumed I would find something to fit the water softener spigot, thinking everything in plumbing was standardized and easy to figure out.  Also, the laundry hose stays pressurized, and since I didn’t want to leave a garden hose pressurized constantly, I would need to split the hookup, and then install a value on the hookup I would use for the hose.

Then it occurred to me: I would buy another wash machine line, which is designed to stay pressurized, then terminate it in a valve, then attach the garden hose to the valve.  Plus, having a washer hose in my possession at the store would allow me to determine if the splitter would fit.  So, I wandered over to the appliances, found a set of hoses, opened the box, and attached the splitter.  I was gambling, of course, that the existing hookup and hose were the same size, but since I couldn’t find any size other than 3/4 in the entire store, I took that to be reasonable confirmation that it was a standard.

The next objective: attach the utility hose to a ball-valve.  All the valves were female-threaded, so I had to find a male connector.  Fortunately, that was easy through trial and error, though I later found out that hose threats and pipe threads are different, but a male 3/4 pipe thread will still attach to a 3/4 female hose thread (though not the other way around).  And fortunately, the Internet was pretty unanimous in that doing this, while not the way things were designed, wouldn’t cause any problems.  So, I didn’t bother swapping this out for another 3/4 male pipe to hose thread adapter–which is what I attached to the other side of the valve for the garden hose.  For whatever reason, it didn’t occur to me that utility hoses had hose thread–something new to learn I guess.

The difference is that hoses use pressure to seal against a rubber gasket, because they’re also designed to be removed if desired, whilst pipe thread is meant to be cranked down and left sealed eternally (bypassing the need for a washer), and is so threaded finer to reduce gaps.  For those who weren’t aware of or considered this distinction, myself included, there’s a brief explanation.

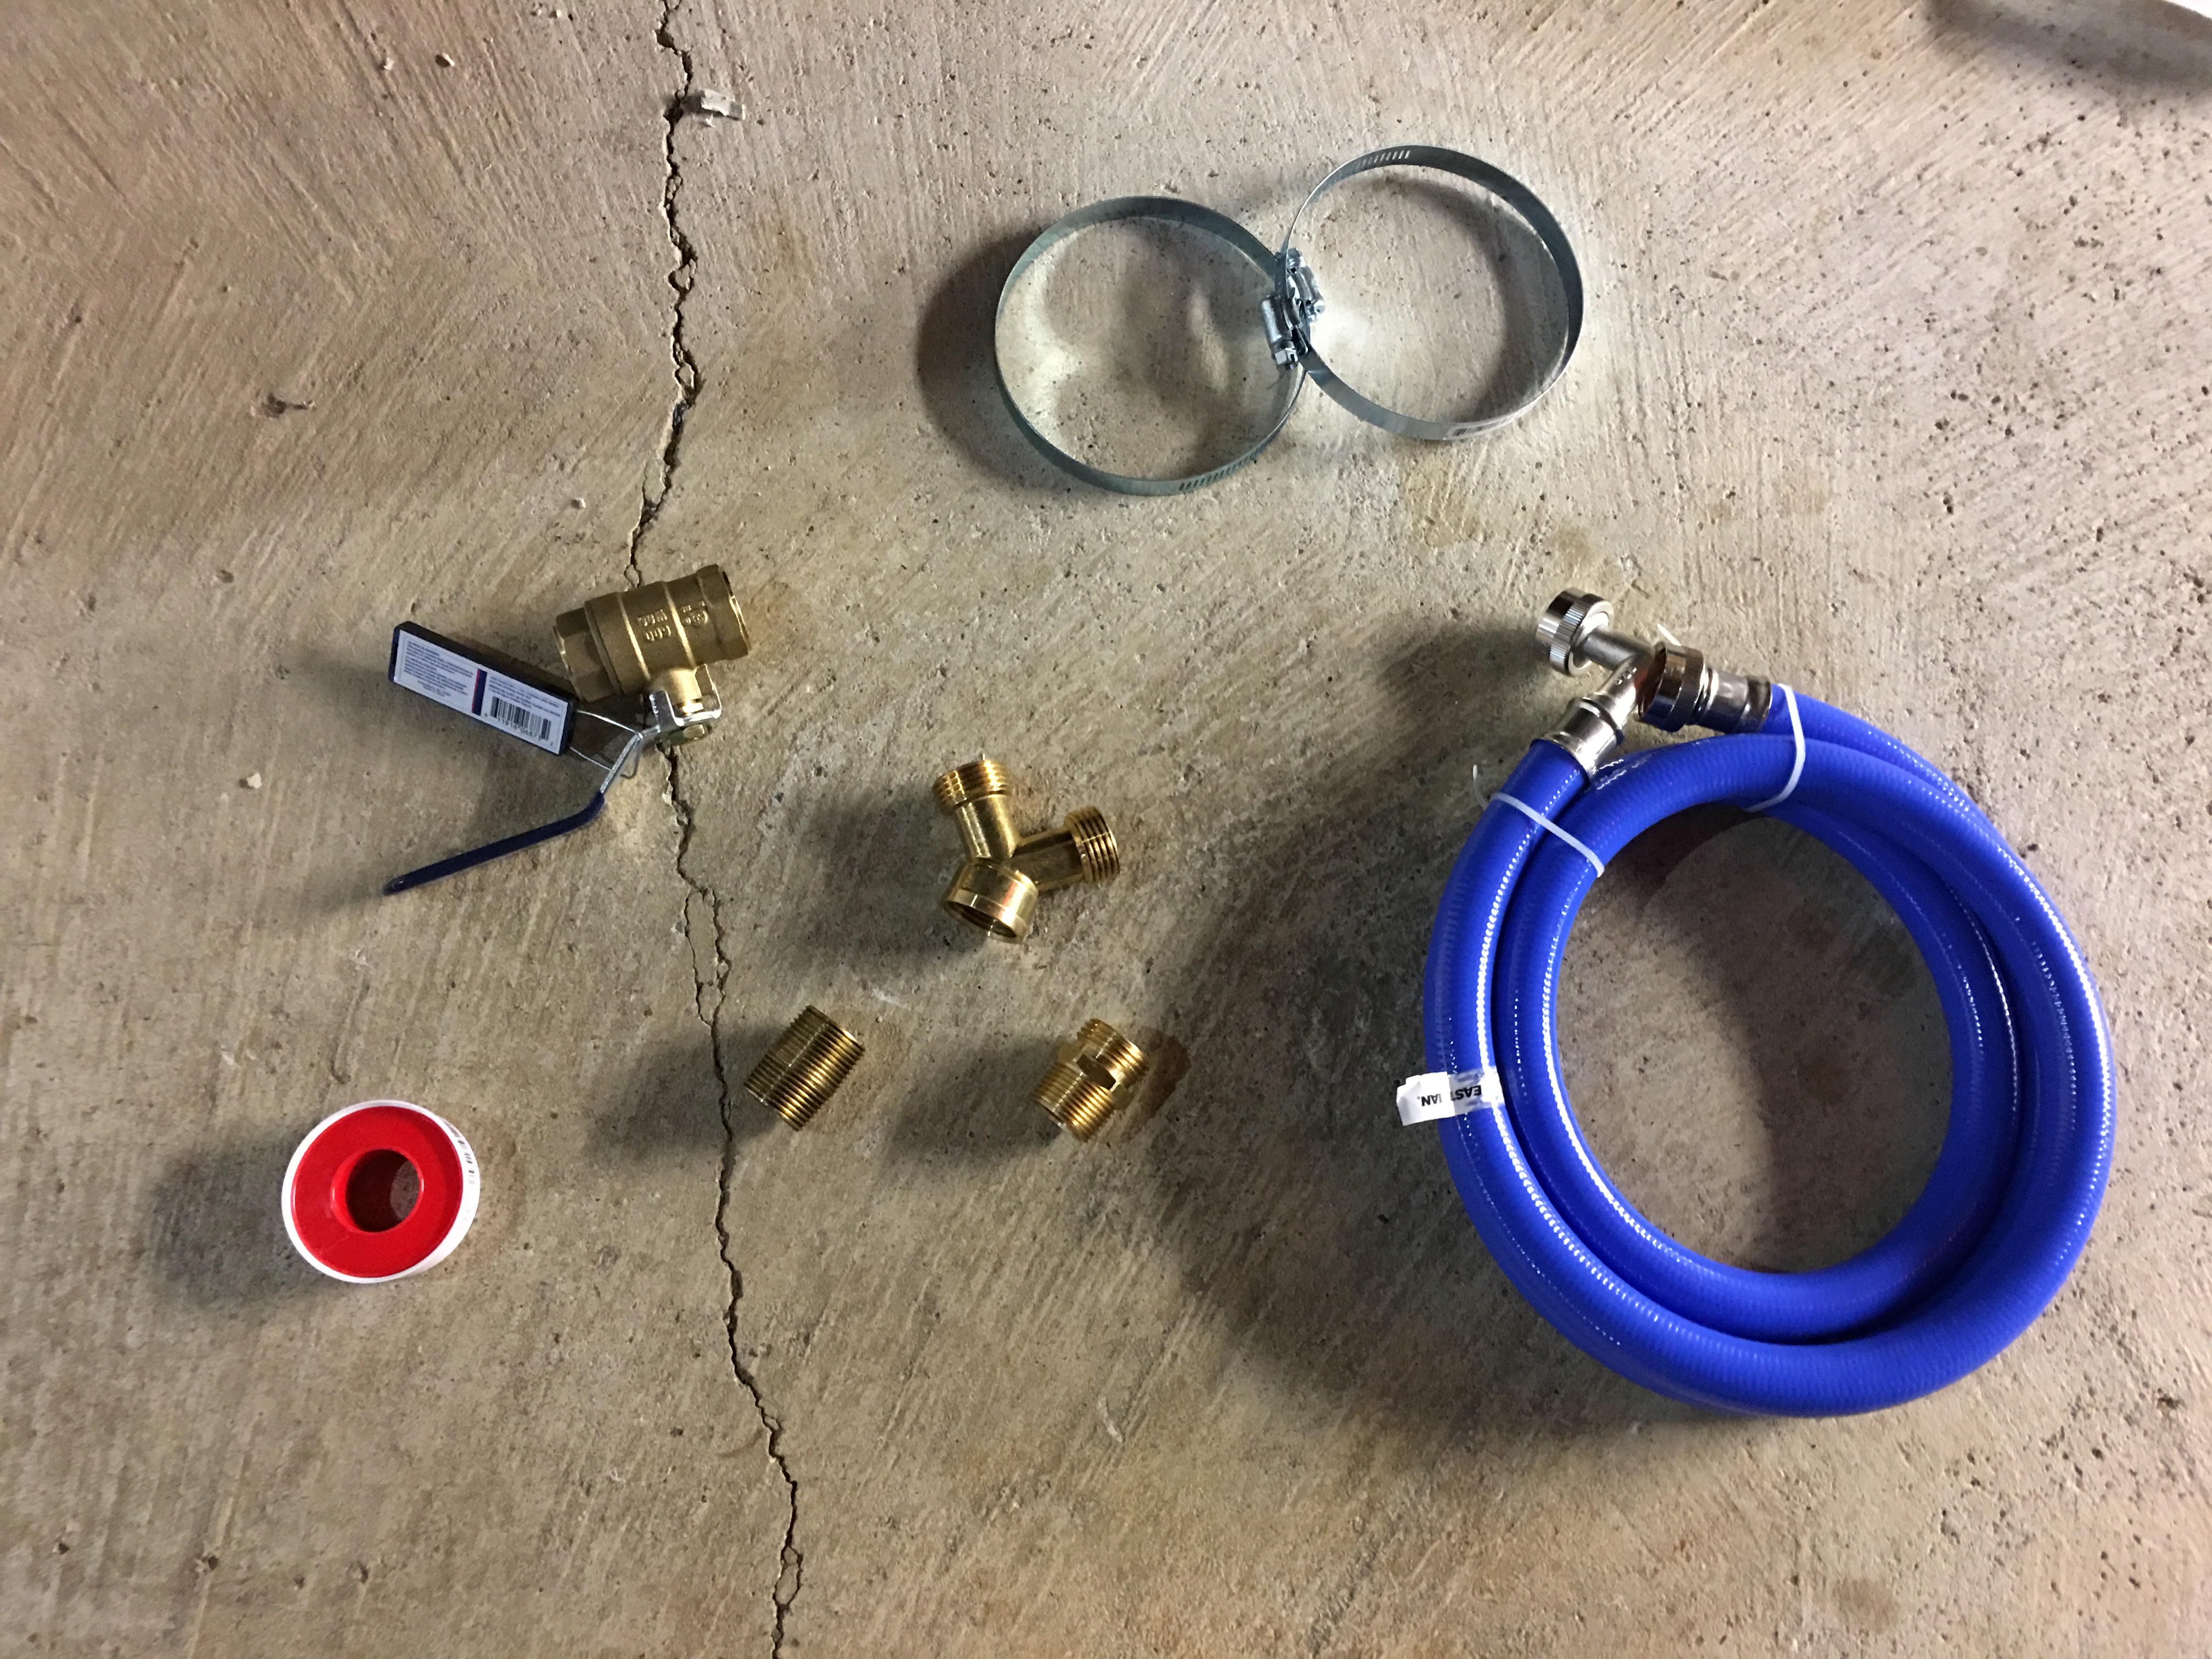
Having all the parts (splitter, utility hose, male thread connector, ball-valve, male thread connector to garden hose), I set off for home.

I never did use those hose clamps–they were too big

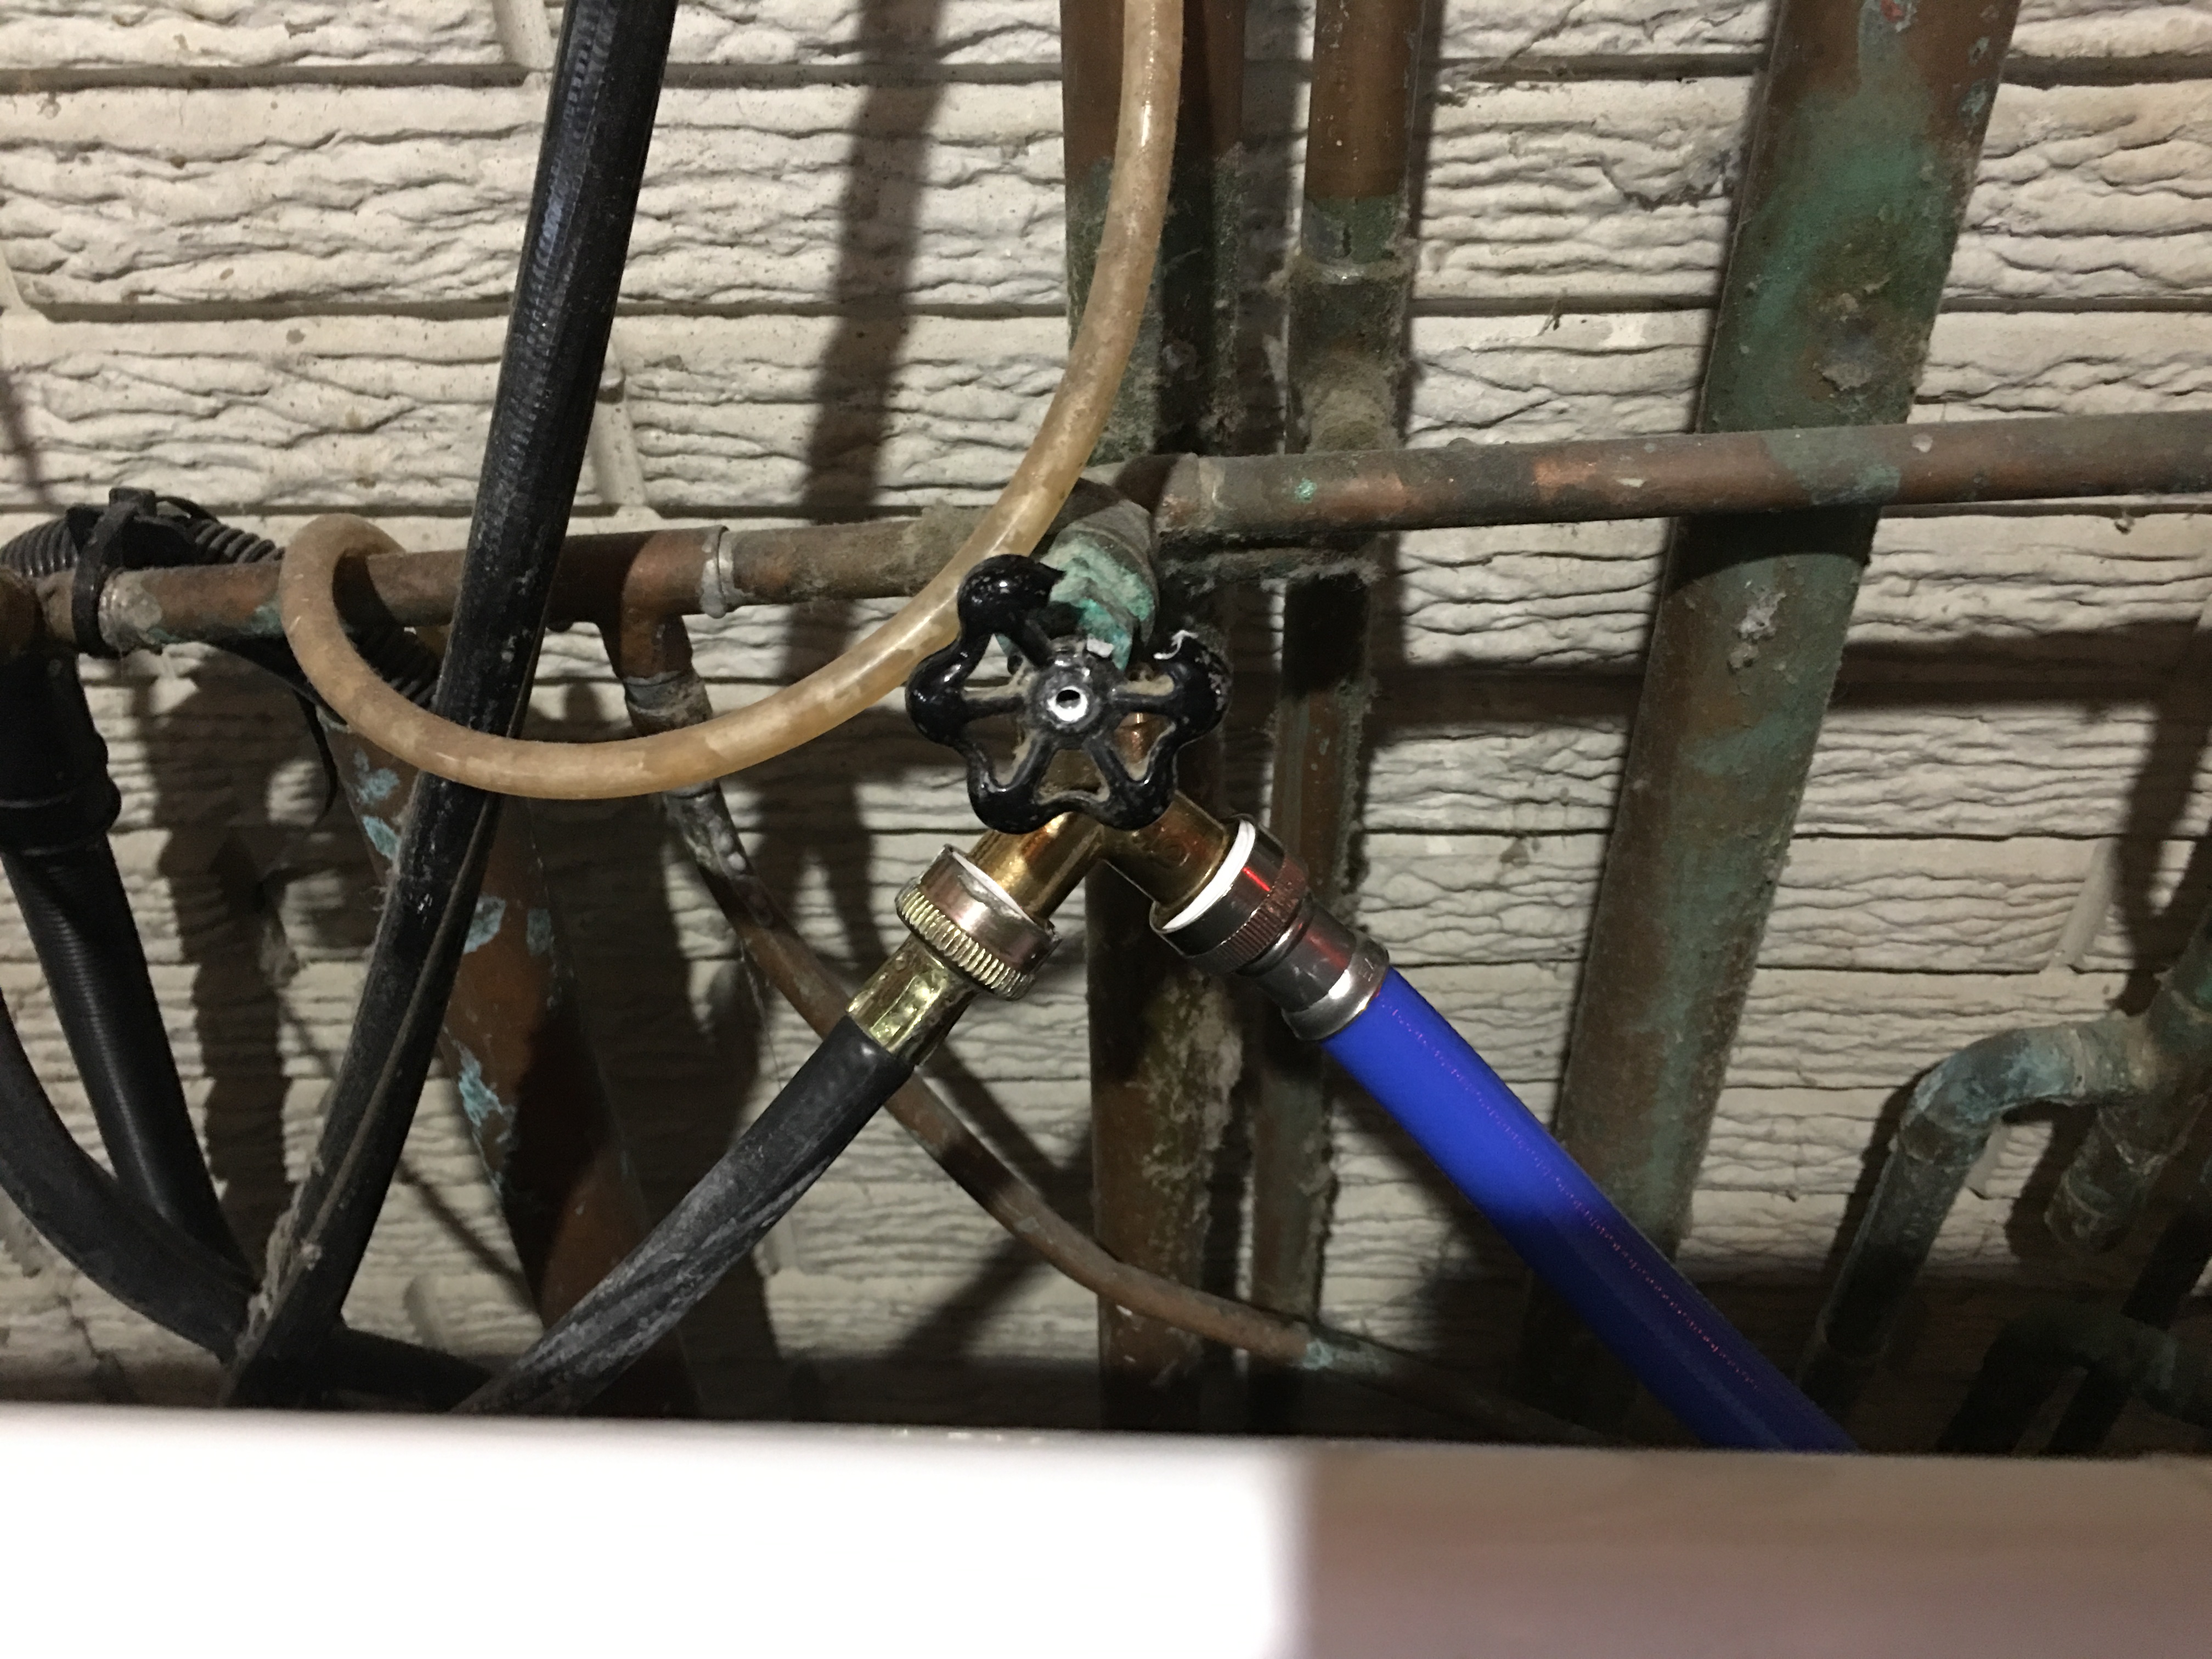
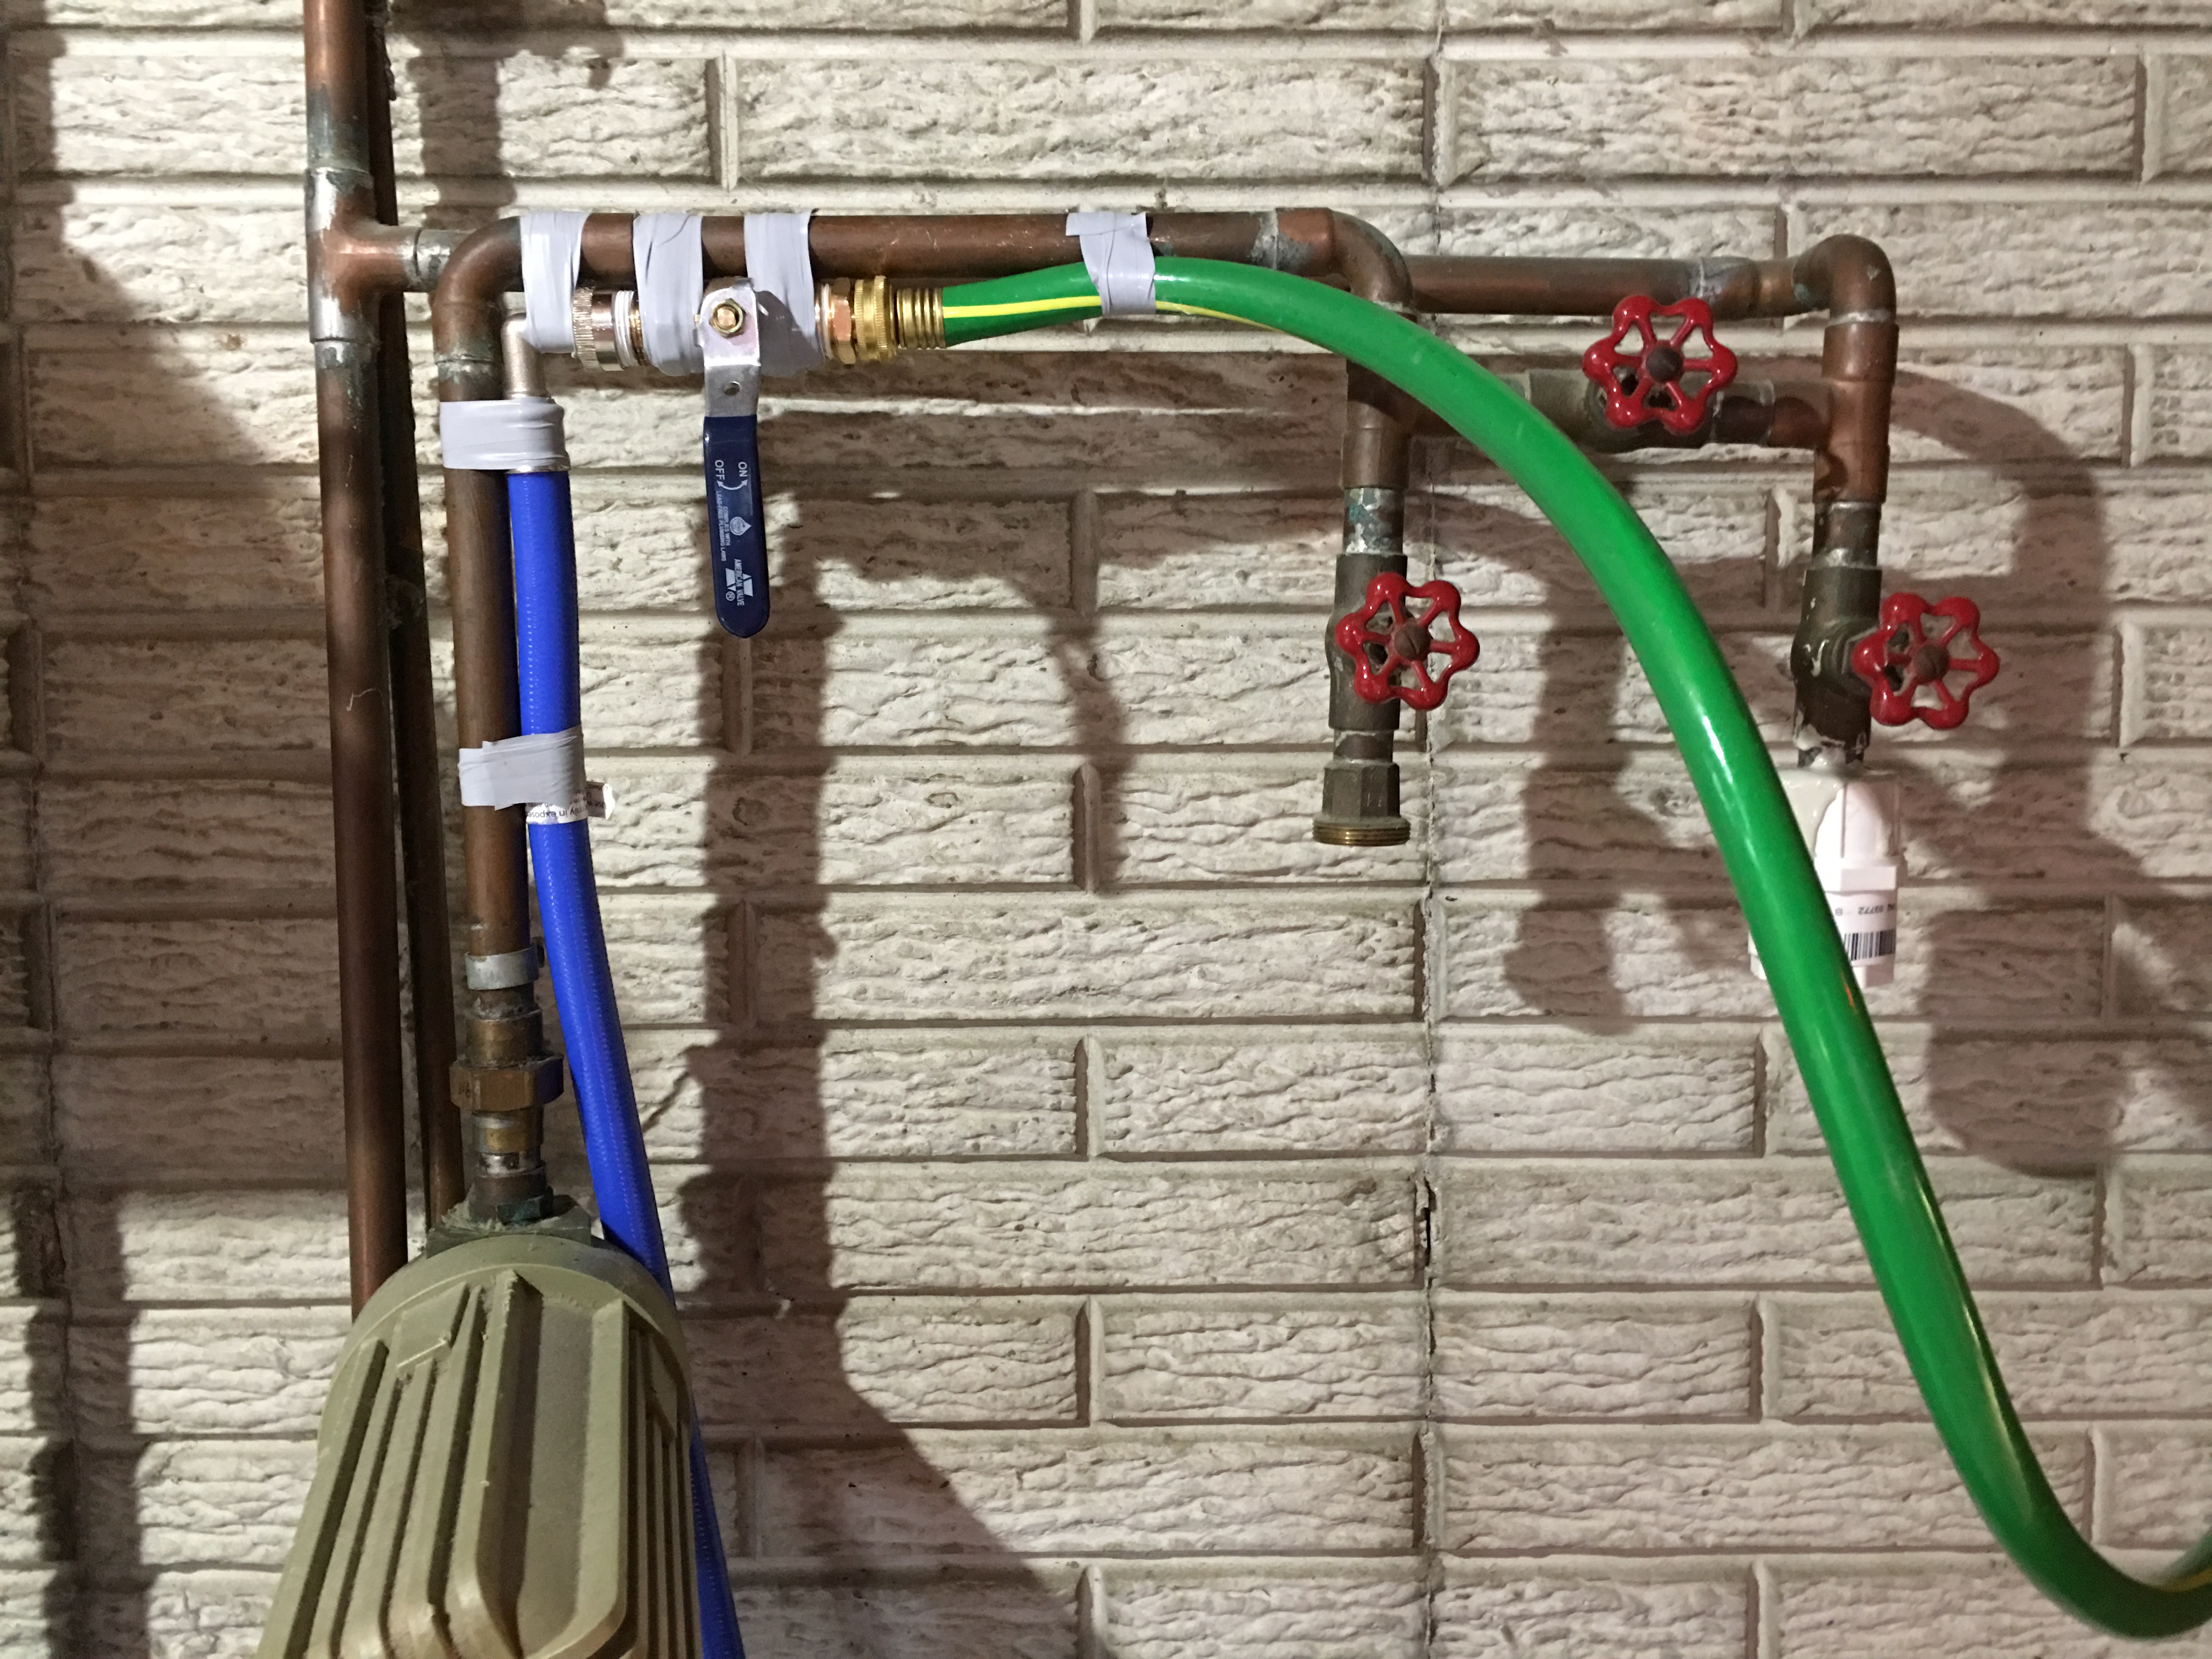
The splitter attached easily enough, followed by the existing utility hose, then the new one.

After doing this, I asked Liz how old that hose was, which we determined to be the one that came with the house, so it’s probably due to be replaced before it catastrophically explodes

Then it was the fun part: assembling the copper parts.  I really wonder how plumbers do this, because I applied the tape and cranked those bastards down until I ached all over, and they still leaked.  Eventually, after experimenting with additional Teflon layers, I got the leaks to stop…mostly.  The garden hose side still drips ever so slightly, but not enough to bother with taking it all back apart and adding more tape, and only when I leave it pressurized.

I let it sit for a time, ball-valve closed and the line under full pressure.  For whatever reason, I expected my handiwork to explode violently, embedding me with copper shrapnel.  But rationally, if anything were to fail, it would be that ancient rubber hose that’s been on the line since the 60s.

That silicon tape got a new use–it’s a much cleaner solution than duct tape, although eventually I might get the right sized hose clamps for a more permanent fixture

I feel much more confident with this setup, though my prolonged work back there with the piping shook my confidence with the existing pipework, like that old utility hose and the shutoff to the outside spigots that’s so rusted I can’t turn it.  Maybe next I’ll learn soldering.

–Simon

Standards

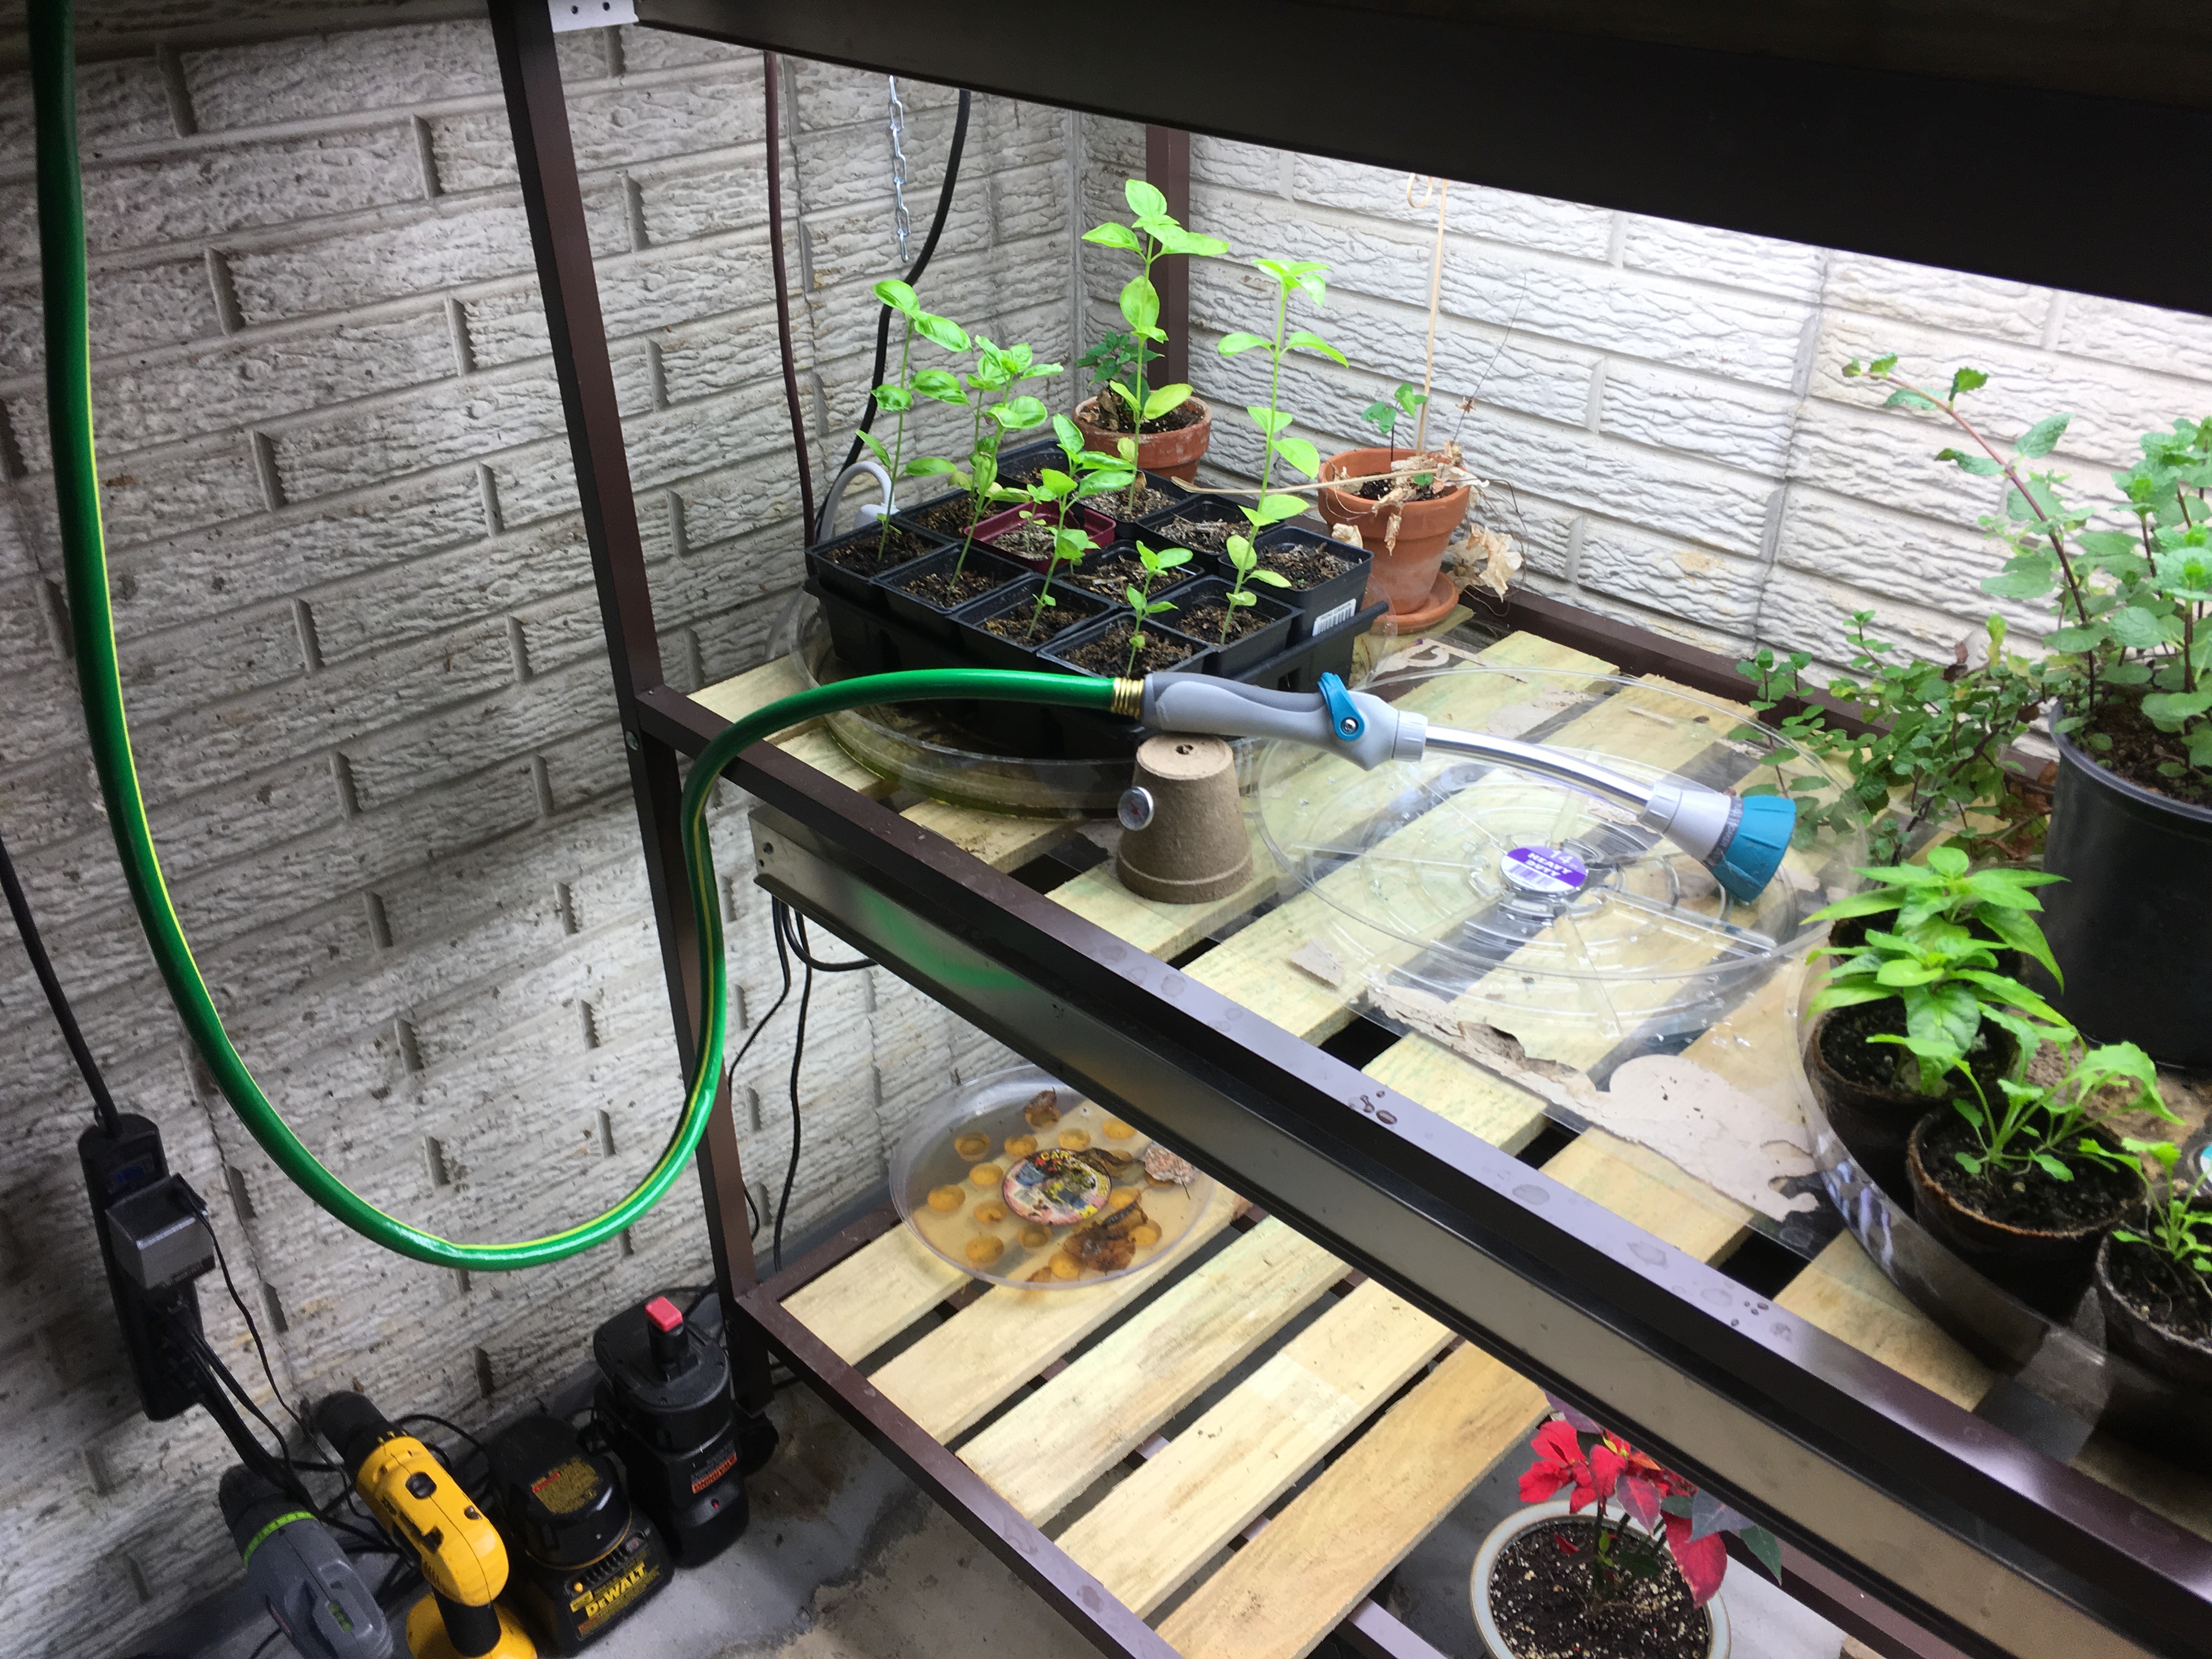
I really like my indoor grow light basement setup.  With the average first frost in the region to be around 10/19, I’ve been revisiting the setup and considering what I’m going to be keeping inside overwinter.  And as I pondered the setup, I thought about how much easier things would be if I had a hose connected down there.  And as it just so happens, it’s only about 10 feet away from the main water line.

This portion of the basement is where the laundry machines are hooked up, as well as a utility sink.  The lines split off from here, feeding two external spigots, and there’s the whole house filter, the water heater, and the general myriad of lines for sinks and bathrooms.  To me, the mess of copper looks like the depths of some steampunk facility.

In the chaos, the main water line passes through two spigots.  The spigots are closed, with a central spigot which bypasses them–open.  It looks like a setup for a water softener.  I don’t know if one was ever installed, because the water here doesn’t need conditioning, but maybe it once did.  Who knows?  Regardless their intended purpose, it gave me an idea–could I just simply connect a hose to one of those spigots?

As it turns out, no.  The threads were much too wide for a standard garden hose.  But surely there’s an adapter, right?

Armed with this logic, I was off to Lowe’s to look at copper fittings.  I quickly discovered that the maximum copper fitting size was 1 inch.  Recalling how wide the spigot was, I gambled and bought a 1 inch to 3/4 inch reducer.  I hurried home to see the fruition of my project, but soon determined that 1 inch was too small.  Curious, why would they not make a copper fitting big enough to fit a copper spigot?

So I went to Home Depot instead.  But I ran into the same problem here.  None of the connectors were big enough.  Staring blankly at the wall of copper, a store employee took pity on me and offered to help.  I explained my plight, and he informed me that they don’t carry anything in copper bigger than one inch, but he could get me the needed size connectors in PVC.

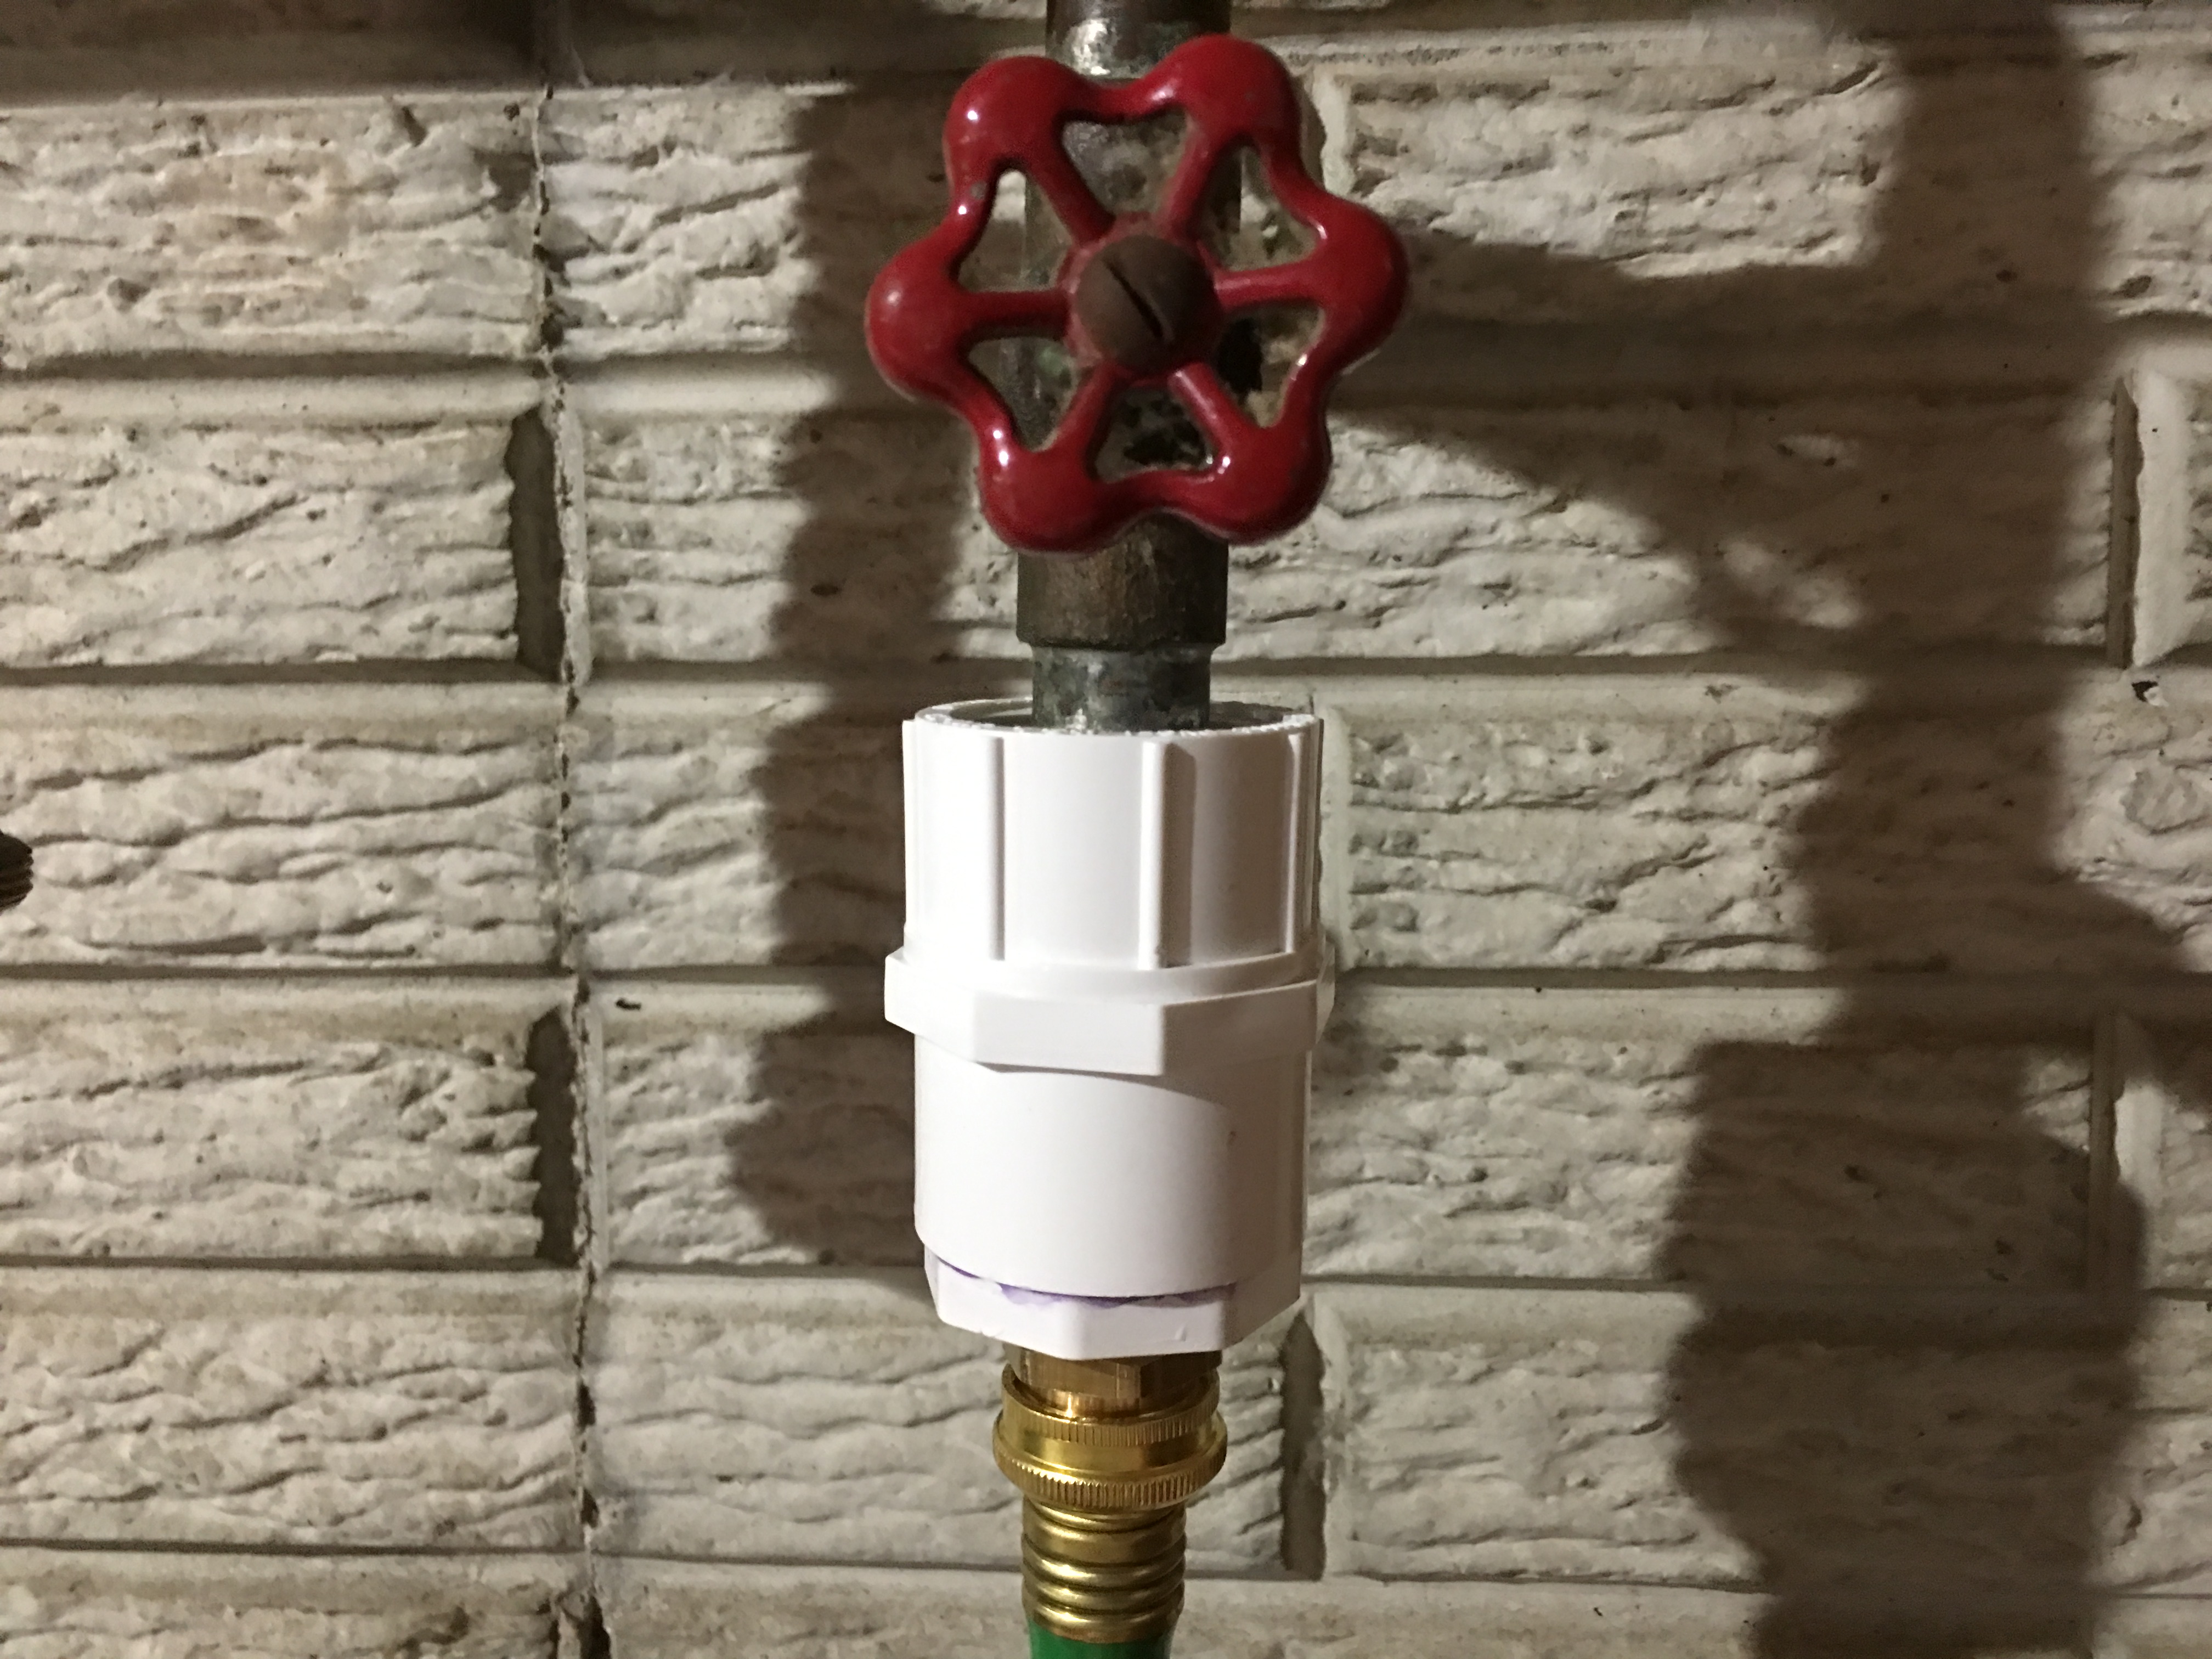
I really wanted copper, but this project wasn’t for any high-impact application, so as long as it would work at all, I could live with PVC.  So, with two PVC adapters and a brass threaded hose connector, I headed back home.  I then attempted to attach the PVC to the spigot, and…it was too big.  What the hell?  I went up one standard size from one inch: 1-1/4.  Why wouldn’t that fit?  And it was only slightly too big, like 1/16 of an inch.  Was this spigot metric?

I stewed over this dilemma, and concluded that I would experiment.  So I wrapped the threads in a bunch of Teflon tape to fill the gap, cranked the PVC down, and filled the resultant void (due to the depth of the PVC threads) with a waterproofing adhesive.  I let it cure for 24 hours.  Maybe that would be sufficient.

It wasn’t.  Even though I didn’t turn the water on very high, it was still the main water line, and the pressure was too great.  The joint failed with a pop and I had to scurry over and shut the spigot.  Curses.

Okay, experiment 2.  I removed all the adhesive and Teflon.  This time, I was armed with self-fusing silicone tape–something designed to seal high-pressure pipes (which I bought on a whim while I was returning the first batch of connectors).  I wrapped the spigot threads with enough tape that it became an effort to crank down the PVC connector.  This stuff was supposed to adhere to any surface and be completely waterproof.  I let it sit for a bit, but it didn’t have any cure time so that hardly seemed to matter.  This time, I decided to test it without any sealant, since the sealant itself wouldn’t hold the pressure anyway.  I turned the water on, higher than I had turned it on with my last attempts.

And…it held.  Huh, maybe this silicone tape is magic after all.  I let the hose stay pressurized for a time, then shut it off and de-pressurized the line.  I refilled the gap with sealant, figuring it might still help by adding support.  And so far, it’s working as I had hoped.  I’m uncertain of this solution’s permanence, and somewhat unhappy with the inelegant and hacked solution, but time will tell.  And if it doesn’t hold up, then I’ll simply splice into the wash machine line instead.  I know I can get proper connectors for that at least.

Still, the irritation lingered, and I searched for an explanation.  Curiously, pipe fittings are not nearly as standard as I had thought, and the actual measurements are approximations which have changed over time.  So whenever this spigot was installed, for whatever connection it was intended, is no longer a current standard.  Sheesh.  Maybe one day I’ll try soldering in a nice ball valve threaded for a garden hose, but for now, I don’t want to risk compromising the main water line and having to call in a professional.

Why the hell aren’t pipes all standard sizes?  Another homeowner lesson.

–Simon

Art (Part 2)

I thought some bladed weaponry would look good above the mantle.  Dad thought some full-size babe pinups would fit the space perfectly.  But ultimately, I somehow ended up with sunflowers.  I suppose pictures of the reproductive parts of plants is sort of like pictures of babes…roll that disturbing thought through your brain a bit.

Admittedly, I like sunflowers.  I wish I had grown some this year.  And I had been living in fear that the mantle would eventually be adorned with paintings of cabins in the woods, so I can live with sunflowers.

But it’s a lengthy stretch–99 inches to be exact, and Liz had acquired 4 individual pictures.  This would create a ratio that would show every slight deviation in alignment, so they had to be mounted with exacting perfection.  Fortunately, OCD can be leveraged to accomplish such perfection, so out came my tool kit and the drafting equipment (paper and pencil).

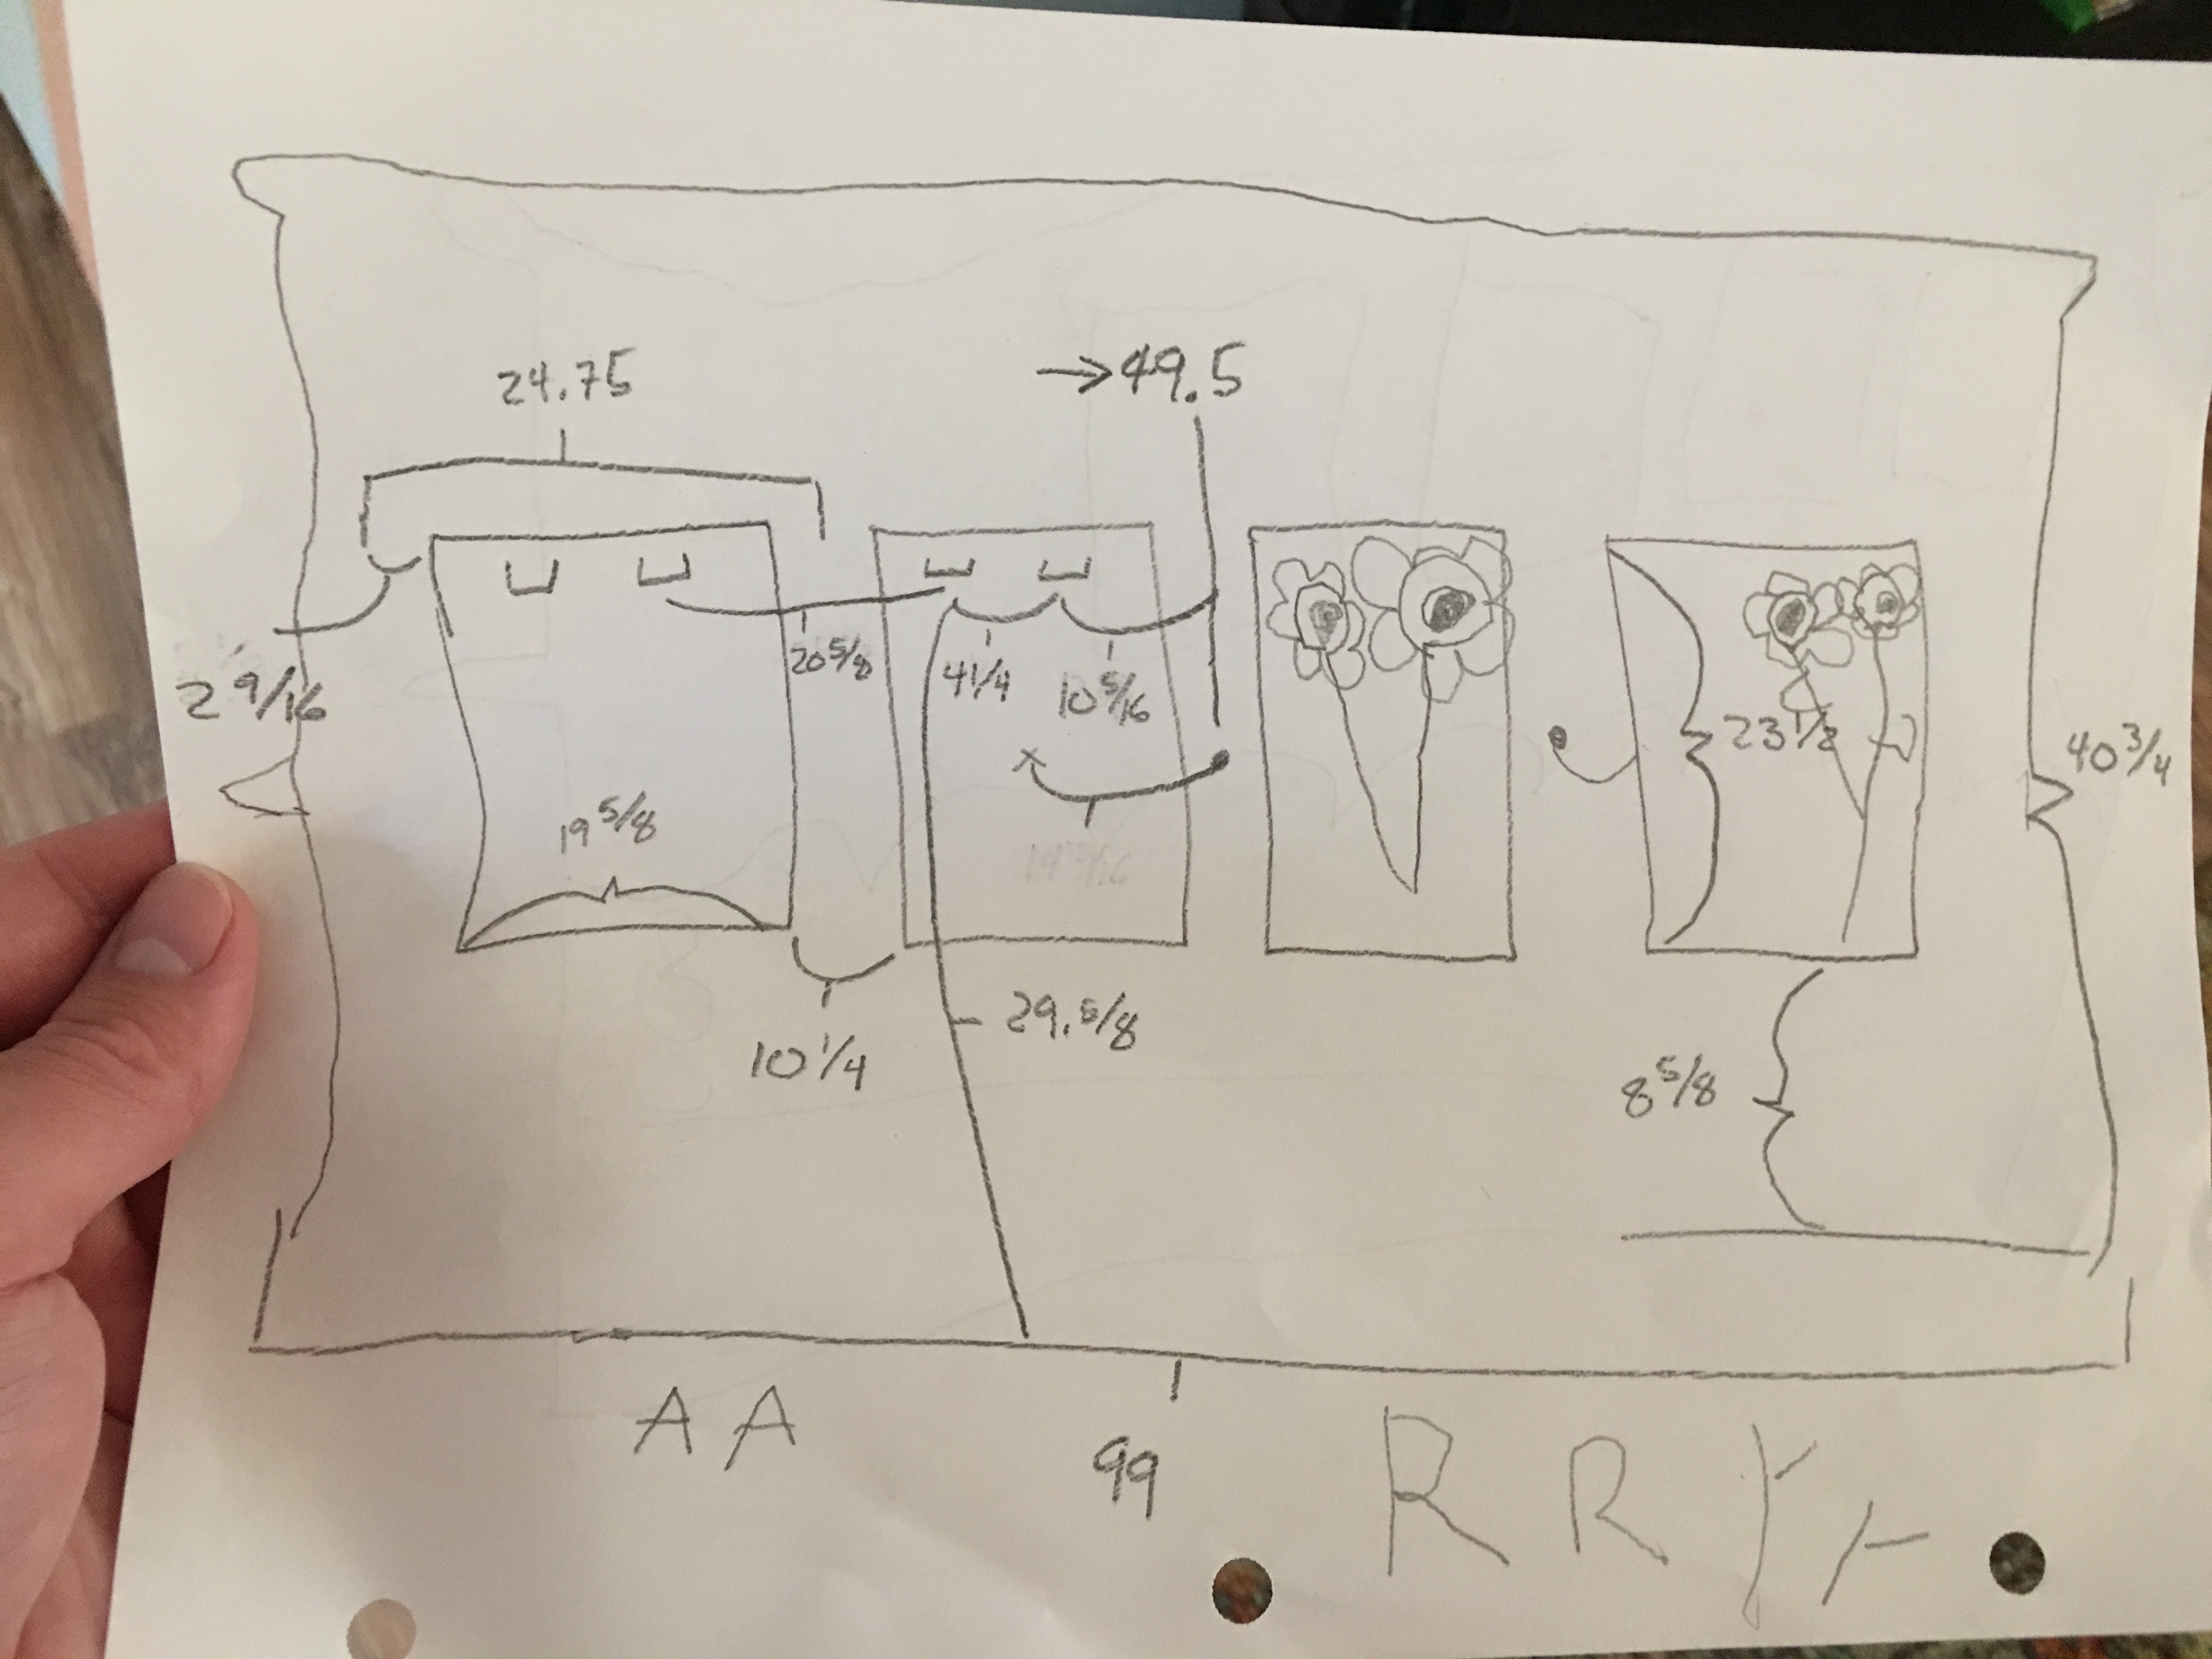
Okay…99 divided into 4 equal partitions would be 24 3/4 inches, so if I measure the exact middle, 49 1/2 inches, and the height is 40 3/4 inches, then the middle is…

…Also consider the width and height of the frames, and the locations of the mounting brackets, and the distance between…

I ended up with this nightmarish blueprint:

The kid drew the flowers in, I guess to complete the facsimile

At least the frames were light so I didn’t have to worry about mounts or studs.  Studs are never where they’re needed, and mounts always seem to have a 50/50 chance of ripping the drywall out.

One more wall decorated.

–Simon