It’s always high on the list of recommended things to do when you move in to a new residence: change the locks. The reasoning is obvious: there’s no way to tell who has a copy of the key. And for all of my various incremental home security improvements, they’d be mostly rendered moot if some acquaintance of the former owner had a key and chose to “visit”. So I finally prioritized a deadbolt swap.
Of course, if I’m doing that, why wouldn’t I take the opportunity to go beyond a simple lock change with a standard residential model and explore something a little more high security?

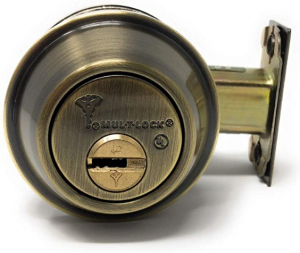
Introducing, the Mul-T-Lock Cronus Junior!
Grade 2, so a step up (I’m assuming). I think grade 1 would have been a waste of money. (I recently reinforced the door hardware with oversized strike plates and 3.5″ steel screws, but the supporting structure is ultimately wood.)
And the tumblers are actually doubled–tumblers inside tumblers. Cool idea. Having explored lock-picking in my youth, I can’t imagine the difficulty here. This isn’t just adding more tumblers, it multiplying the complexity. How do you bump pins when each pin is two pins with different shear lines?
And the price point was 3-4 times that of a standard hardware-grade variety, so not crazy. All in all, a good match for a residential application.
However, the bolt assembly was anything but user-friendly. And while that wasn’t necessarily attributed to the manufacturer, it does have a certain intolerance if existing cutouts aren’t perfectly true–something a residential-targeted product should have.
For example, the bolt hole and lock holes weren’t quite aligned. I could still feed the parts together, but the internal shield then put sufficient tension on the bolt assembly that the bolt wouldn’t extend to the final locked position. A fair amount of trial and error was required before I isolated the problem, which involved some additional boring and filing.
That problem solved, I mounted everything and tried to throw the bolt. It wouldn’t budge, despite working fine before threading the screws. So I disassembled everything and worked the bolt manually with a screwdriver, which worked fine. I took a break before smashing something.

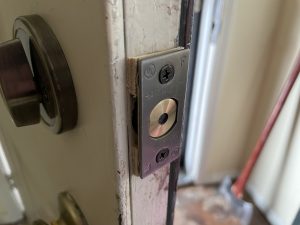
Additional experimentation revealed that the bolt assembly was being pushed down slightly too far, so the bolt was catching on the strike. The door, having been cut wrong, protruded the strike slightly into the jamb, and when mounting the strike it bent the jamb, causing obstruction. So I shimmed the strike against the door to prevent bending, reassembled the lock, and tried it again.

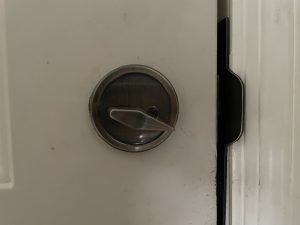
The key worked, but the thumb switch didn’t. Not very useful. I disassembled the lock again and pondered the parts, eventually concluding that I needed to rotate the internal metal sheaf once so that the neutral position aligned with the thumb switch neutral position. I reassembled the lock and tried again, both key and thumb switch, in all possible combinations between the two…dozens of times. Finally, it worked as expected.
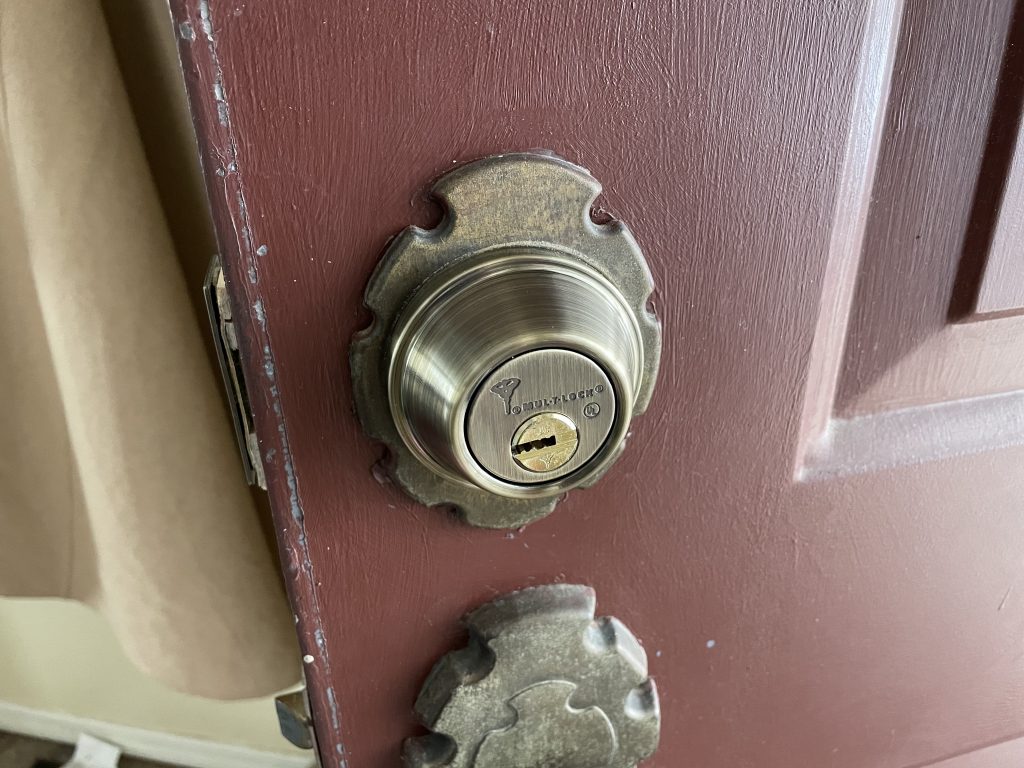
In conclusion, the door’s inconsistent cuts combined with the lock’s low error tolerance made what would normally be a 2 minute project a 2 hour one (additionally, the instructions didn’t cover installing the cylinder into the lock, or adjusting the bolt between its 1 3/8″ and 1 1/2″ settings, but those were reasonably intuitive with some observation and tinkering). But at least the lock is finally replaced and upgraded. Though in all fairness, after removing the old one, it was a really solid lock. All metal, thick parts, and lots of shielding and reinforcement. Had I possessed a tally on all the keys made for it, and were it not a decades-old standard 5-pin system, I would have left it as-is.

Still, it’s nice to have one more security upgrade completed.
–Simon
