So in Part 1, I chronicled my woes regarding a seemingly simple task: connecting a garden hose to an unused water softener spigot in the basement. In short, it was not as easy as I had thought, and I had resorted to an unconventional solution. Unfortunately, that unconventional solution did not withstand the test of time, and when I used the hose later, the sealant popped loudly and water sprayed the wall. The pressure was just too great.
Curious as to how much pressure was in these lines, I researched what standard pressure should be. The answer: 40-60 psi, no more than 75. This only served to cause more questions though, like how deep does water have to be to reach that pressure? Hmm, back to the Internet.
The answer to this question: about 30-40 meters. That’s…pretty deep. I certainly wouldn’t ever want to be that deep under water. And that’s residential pressure, after the reducer. It’s no wonder broken fire hydrants turn into geysers, and why water towers are so creepily tall.
But back to the job at hand. I was determined to get this project to work, so I decided on another tactic that I had toyed with at the time: splitting the washer hookup and connecting a hose directly to that.
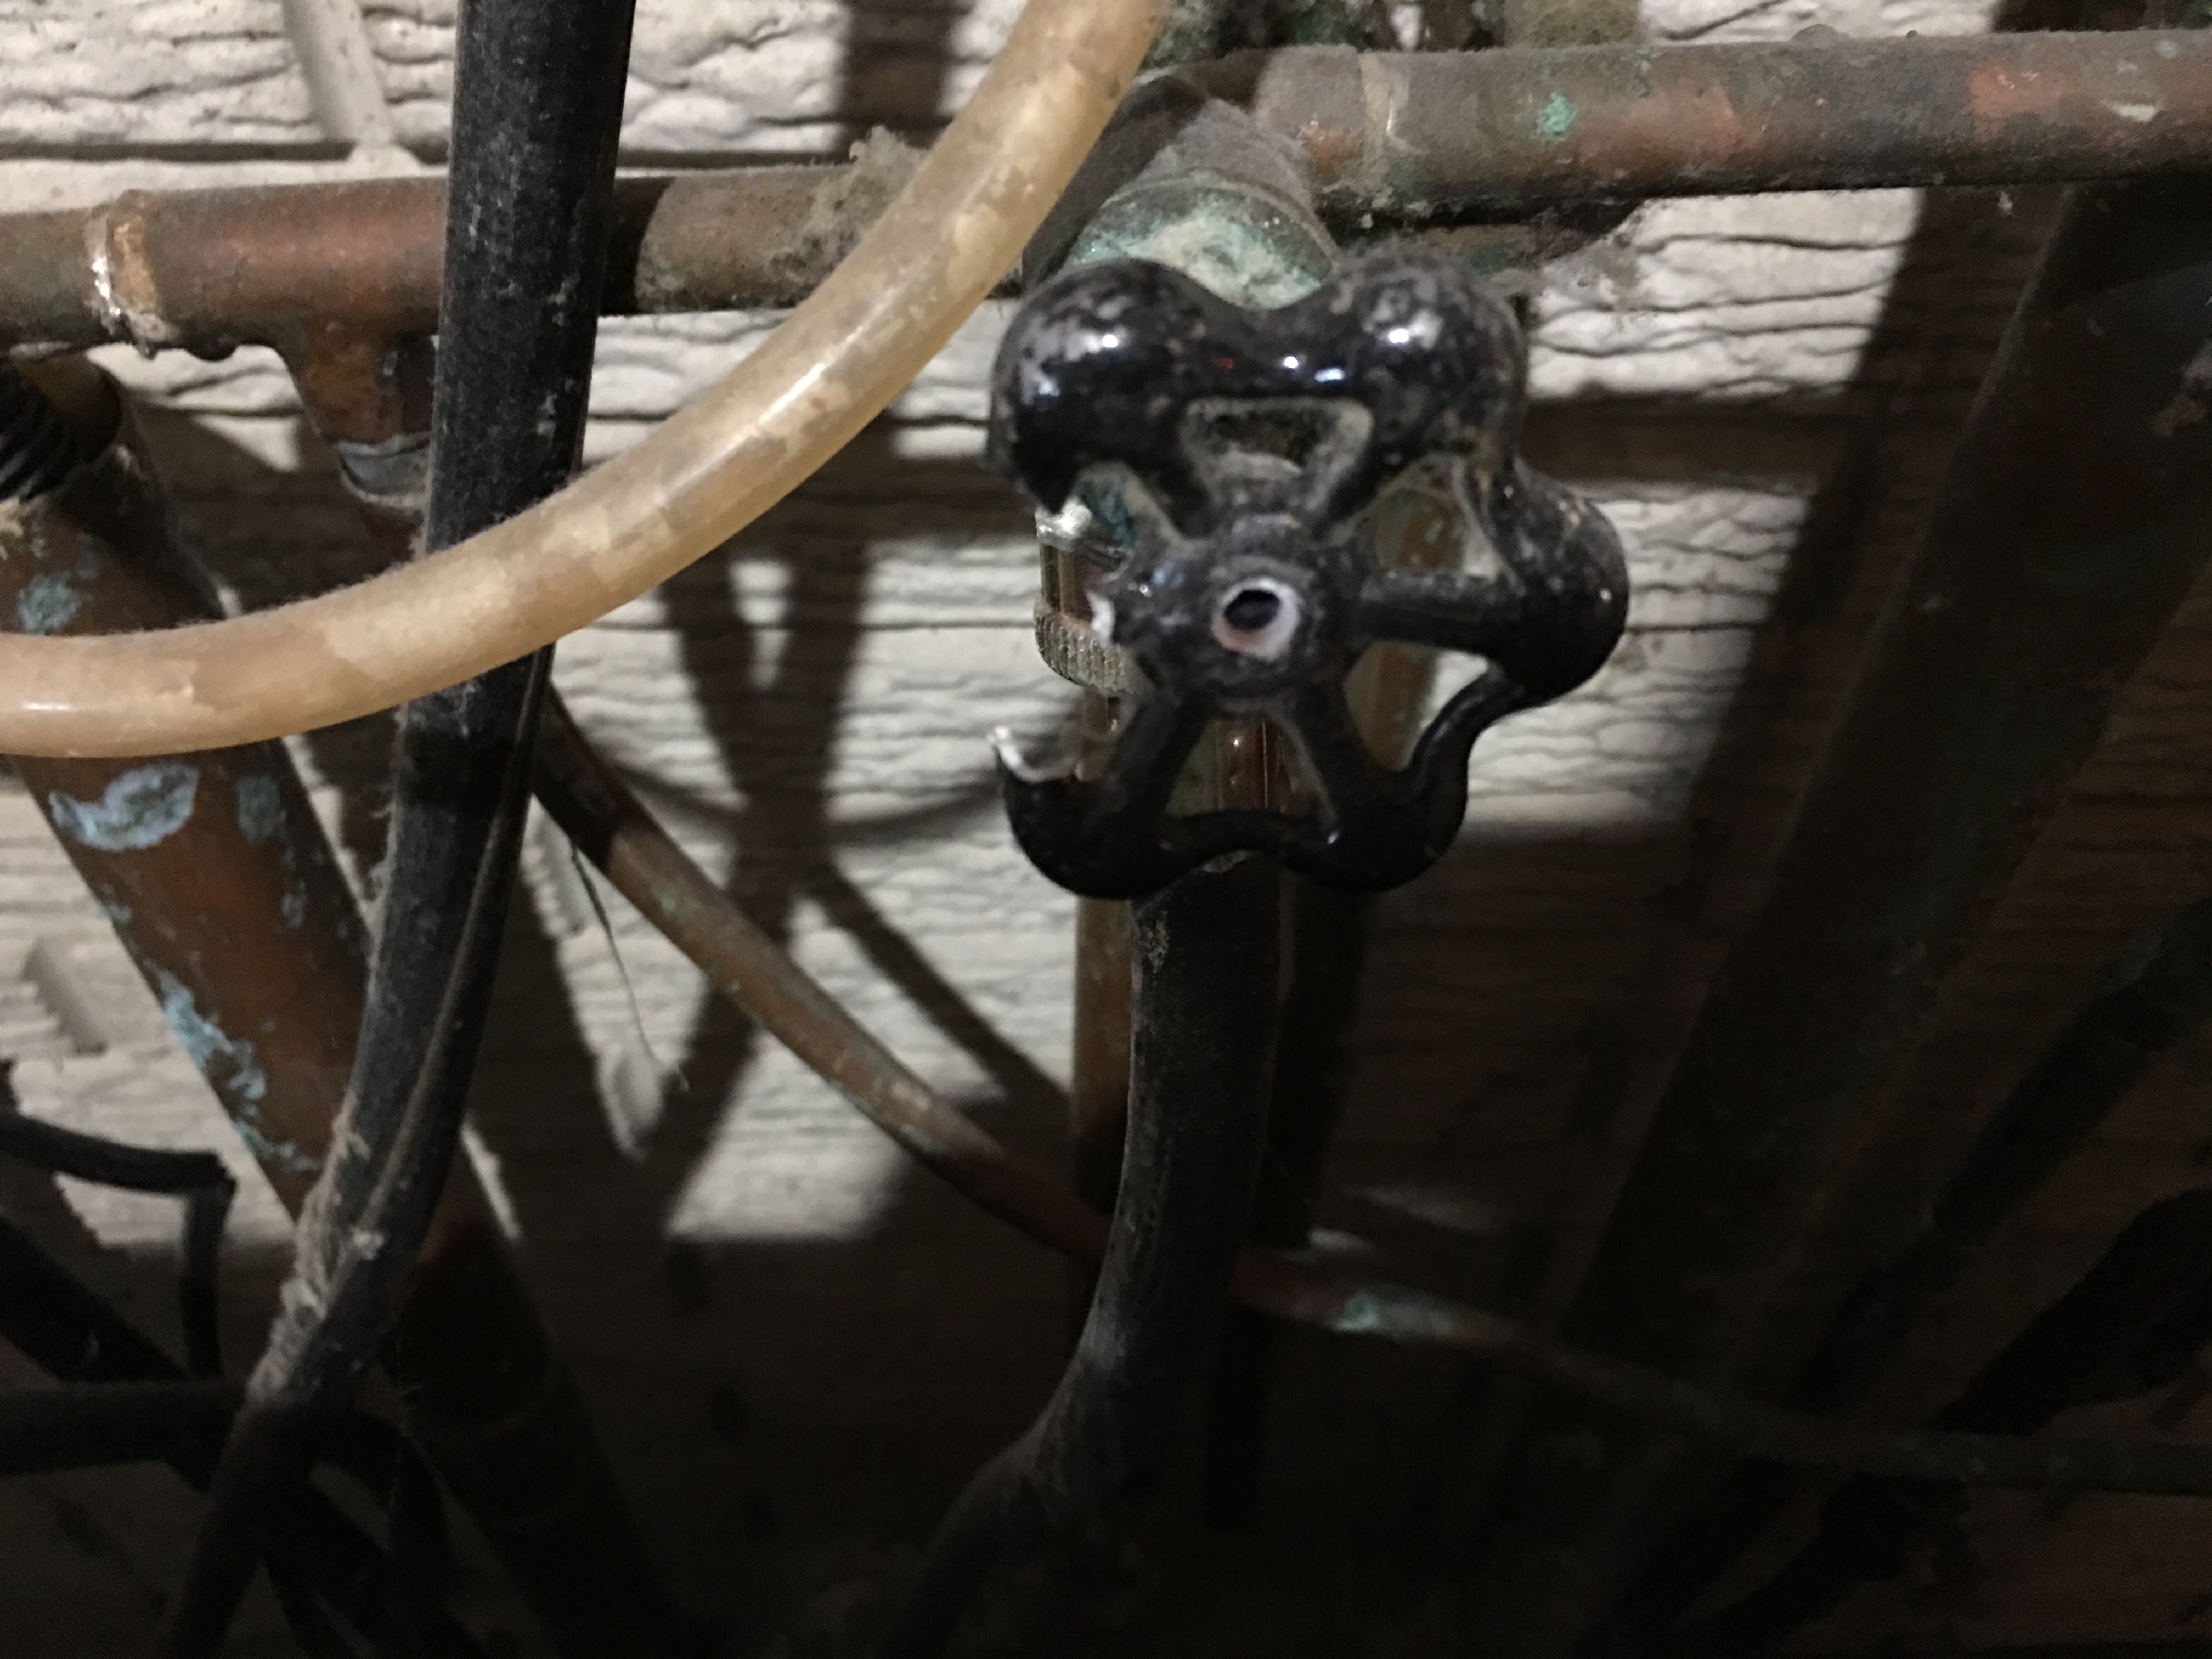
Once again, it was off to Lowe’s to stare at pipe fittings. I admit–I rather enjoy just looking at components like this, formulating solutions in my mind, then allowing my attention to drift to potential future projects. The trouble is, staring blankly at rows filled with utility infrastructure sends visual messages to those around, manifesting into thoughts such as: “This guy has no idea what he’s doing,” or “He’s going to break something or hurt himself,” or “Maybe I’ve watched too much 90s-style man-of-the-house-deprecating sitcoms and I’m judging him too harshly when I really don’t know what he’s capable of.”
I highly doubt that it’s ever that latter thought, however, so in general I try not to tarry too long. Fortunately, my years of work experience have taught me a useful skill: how to look busy when I’m not, and how to look like I know what I’m doing. I must have pulled it off, because no one approached me. And besides which, figuring things out is part of the fun of a project. I don’t want a detailed walkthrough for everything I do in life.
Anyway, I quickly found a copper hose splitter. But–would this fit the laundry hookup? I presumed it would, but I also presumed I would find something to fit the water softener spigot, thinking everything in plumbing was standardized and easy to figure out. Also, the laundry hose stays pressurized, and since I didn’t want to leave a garden hose pressurized constantly, I would need to split the hookup, and then install a value on the hookup I would use for the hose.
Then it occurred to me: I would buy another wash machine line, which is designed to stay pressurized, then terminate it in a valve, then attach the garden hose to the valve. Plus, having a washer hose in my possession at the store would allow me to determine if the splitter would fit. So, I wandered over to the appliances, found a set of hoses, opened the box, and attached the splitter. I was gambling, of course, that the existing hookup and hose were the same size, but since I couldn’t find any size other than 3/4 in the entire store, I took that to be reasonable confirmation that it was a standard.
The next objective: attach the utility hose to a ball-valve. All the valves were female-threaded, so I had to find a male connector. Fortunately, that was easy through trial and error, though I later found out that hose threats and pipe threads are different, but a male 3/4 pipe thread will still attach to a 3/4 female hose thread (though not the other way around). And fortunately, the Internet was pretty unanimous in that doing this, while not the way things were designed, wouldn’t cause any problems. So, I didn’t bother swapping this out for another 3/4 male pipe to hose thread adapter–which is what I attached to the other side of the valve for the garden hose. For whatever reason, it didn’t occur to me that utility hoses had hose thread–something new to learn I guess.
The difference is that hoses use pressure to seal against a rubber gasket, because they’re also designed to be removed if desired, whilst pipe thread is meant to be cranked down and left sealed eternally (bypassing the need for a washer), and is so threaded finer to reduce gaps. For those who weren’t aware of or considered this distinction, myself included, there’s a brief explanation.
Having all the parts (splitter, utility hose, male thread connector, ball-valve, male thread connector to garden hose), I set off for home.
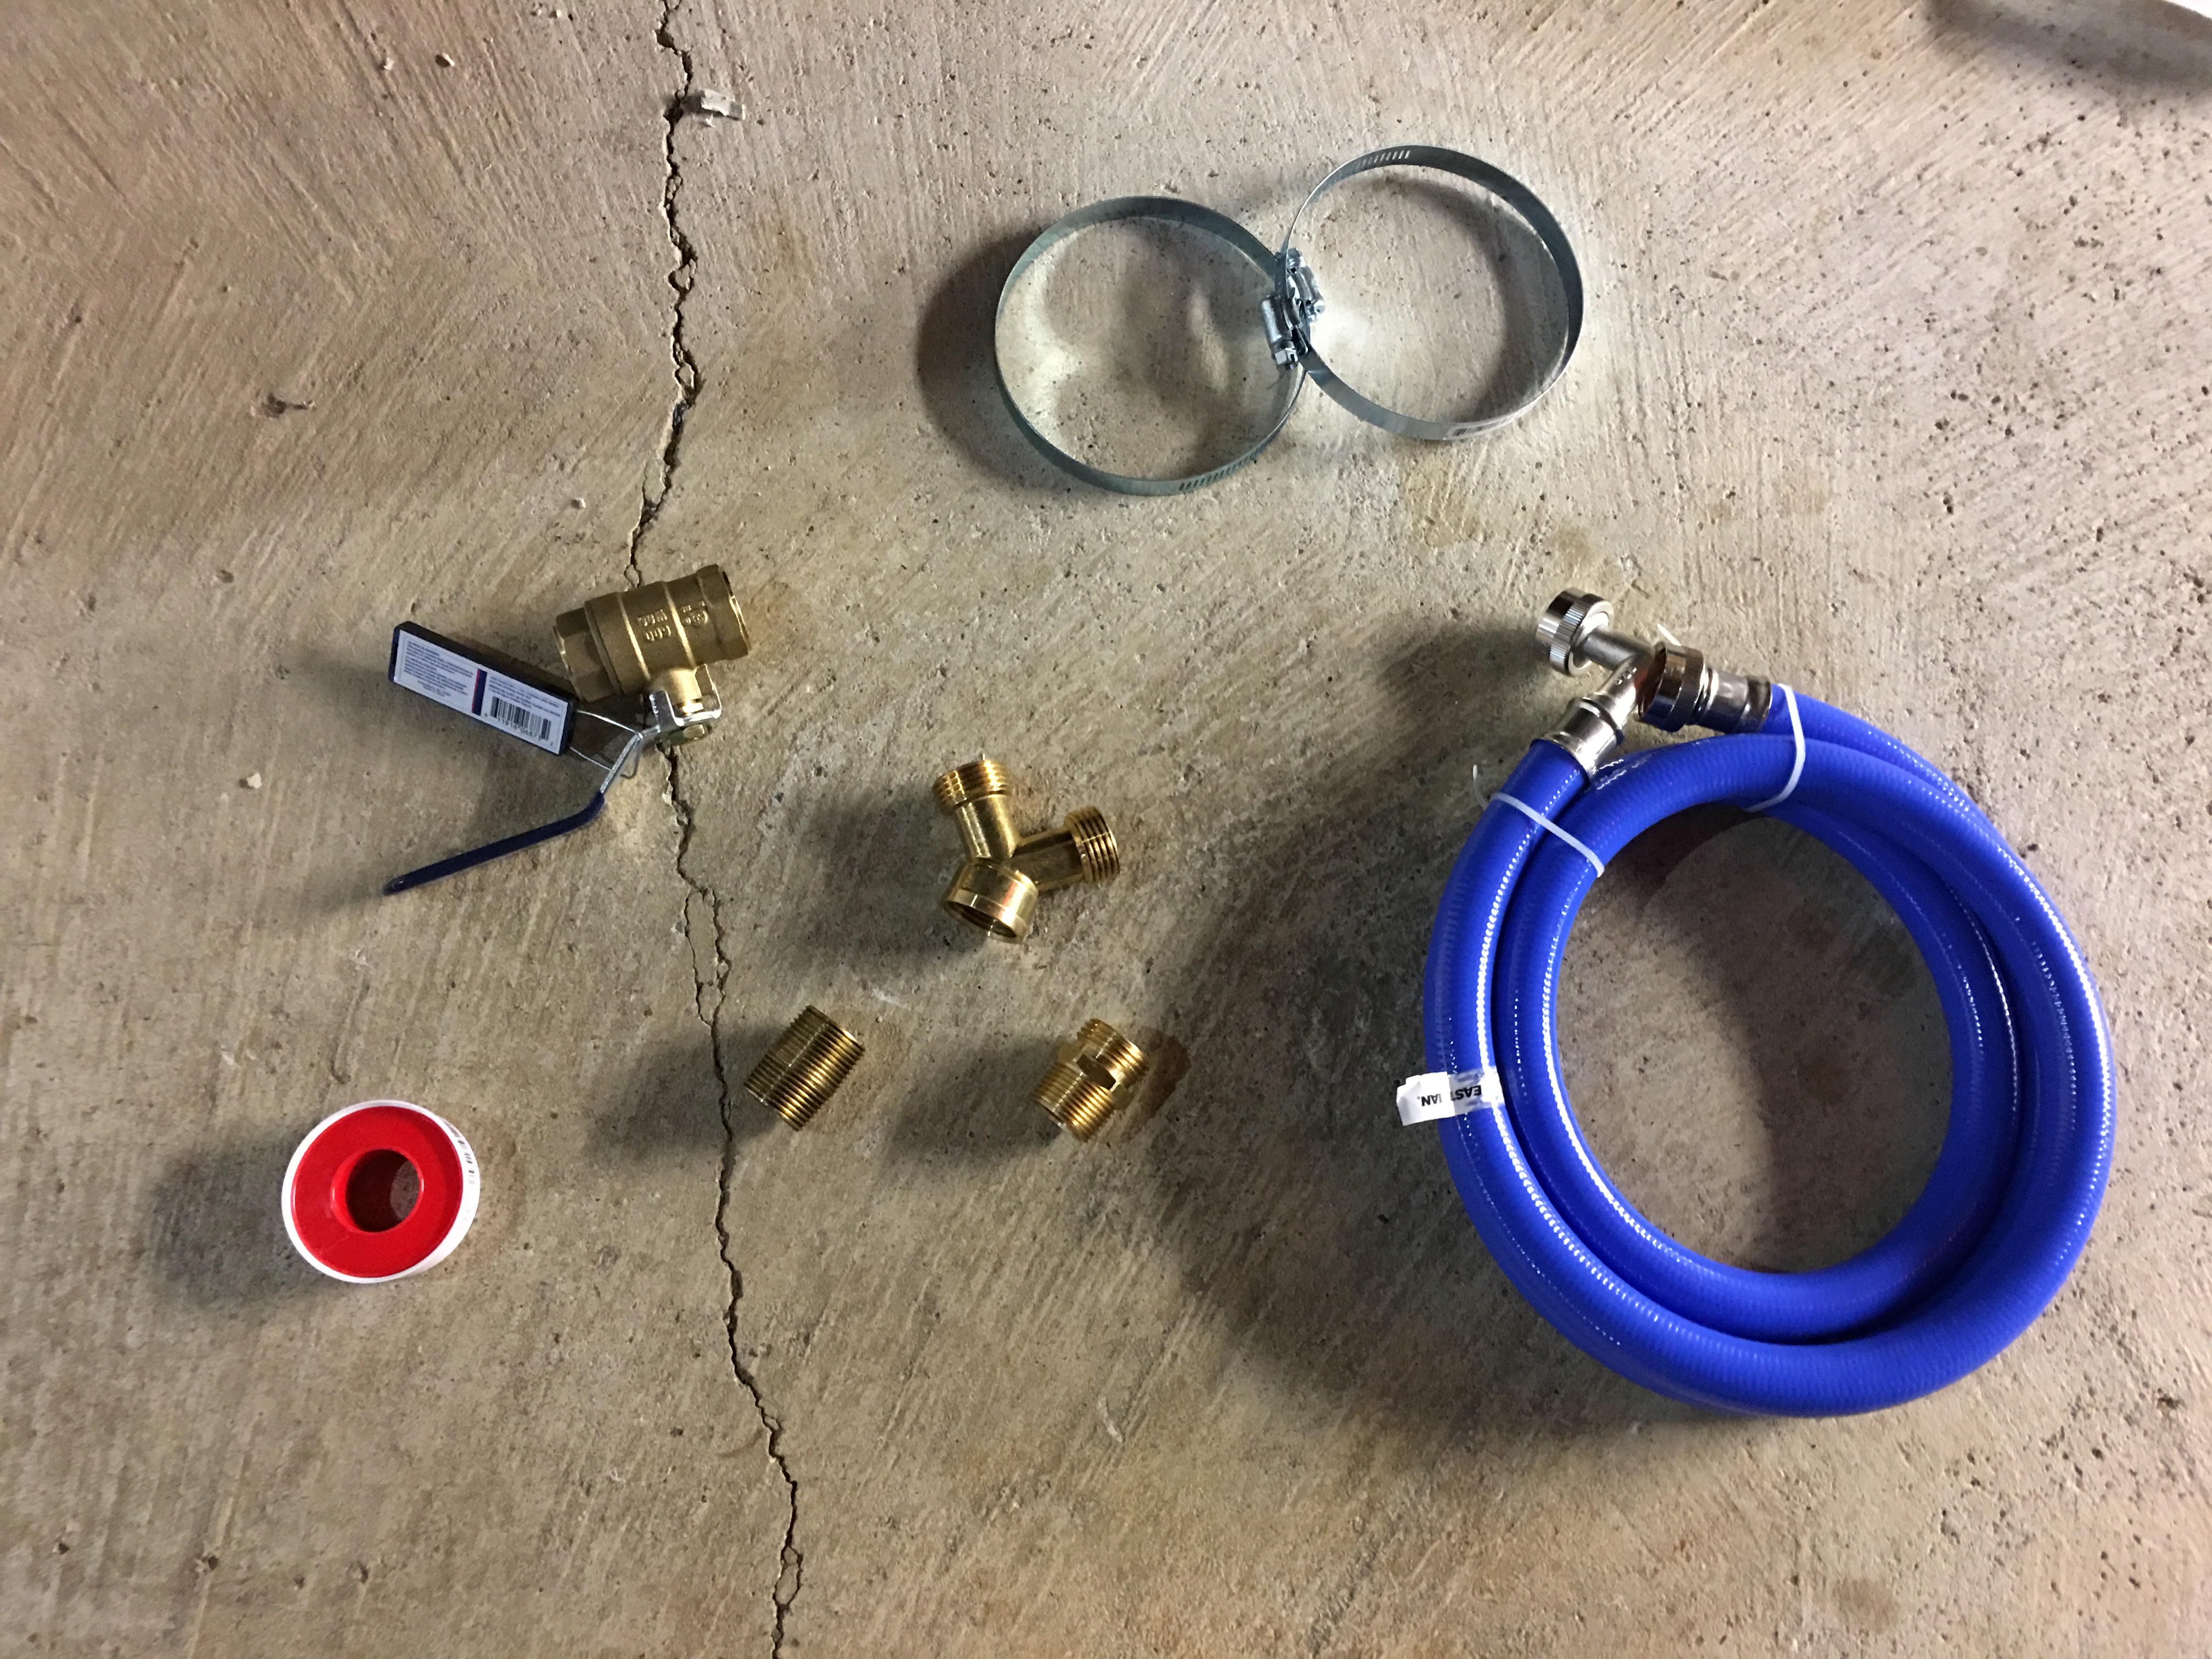
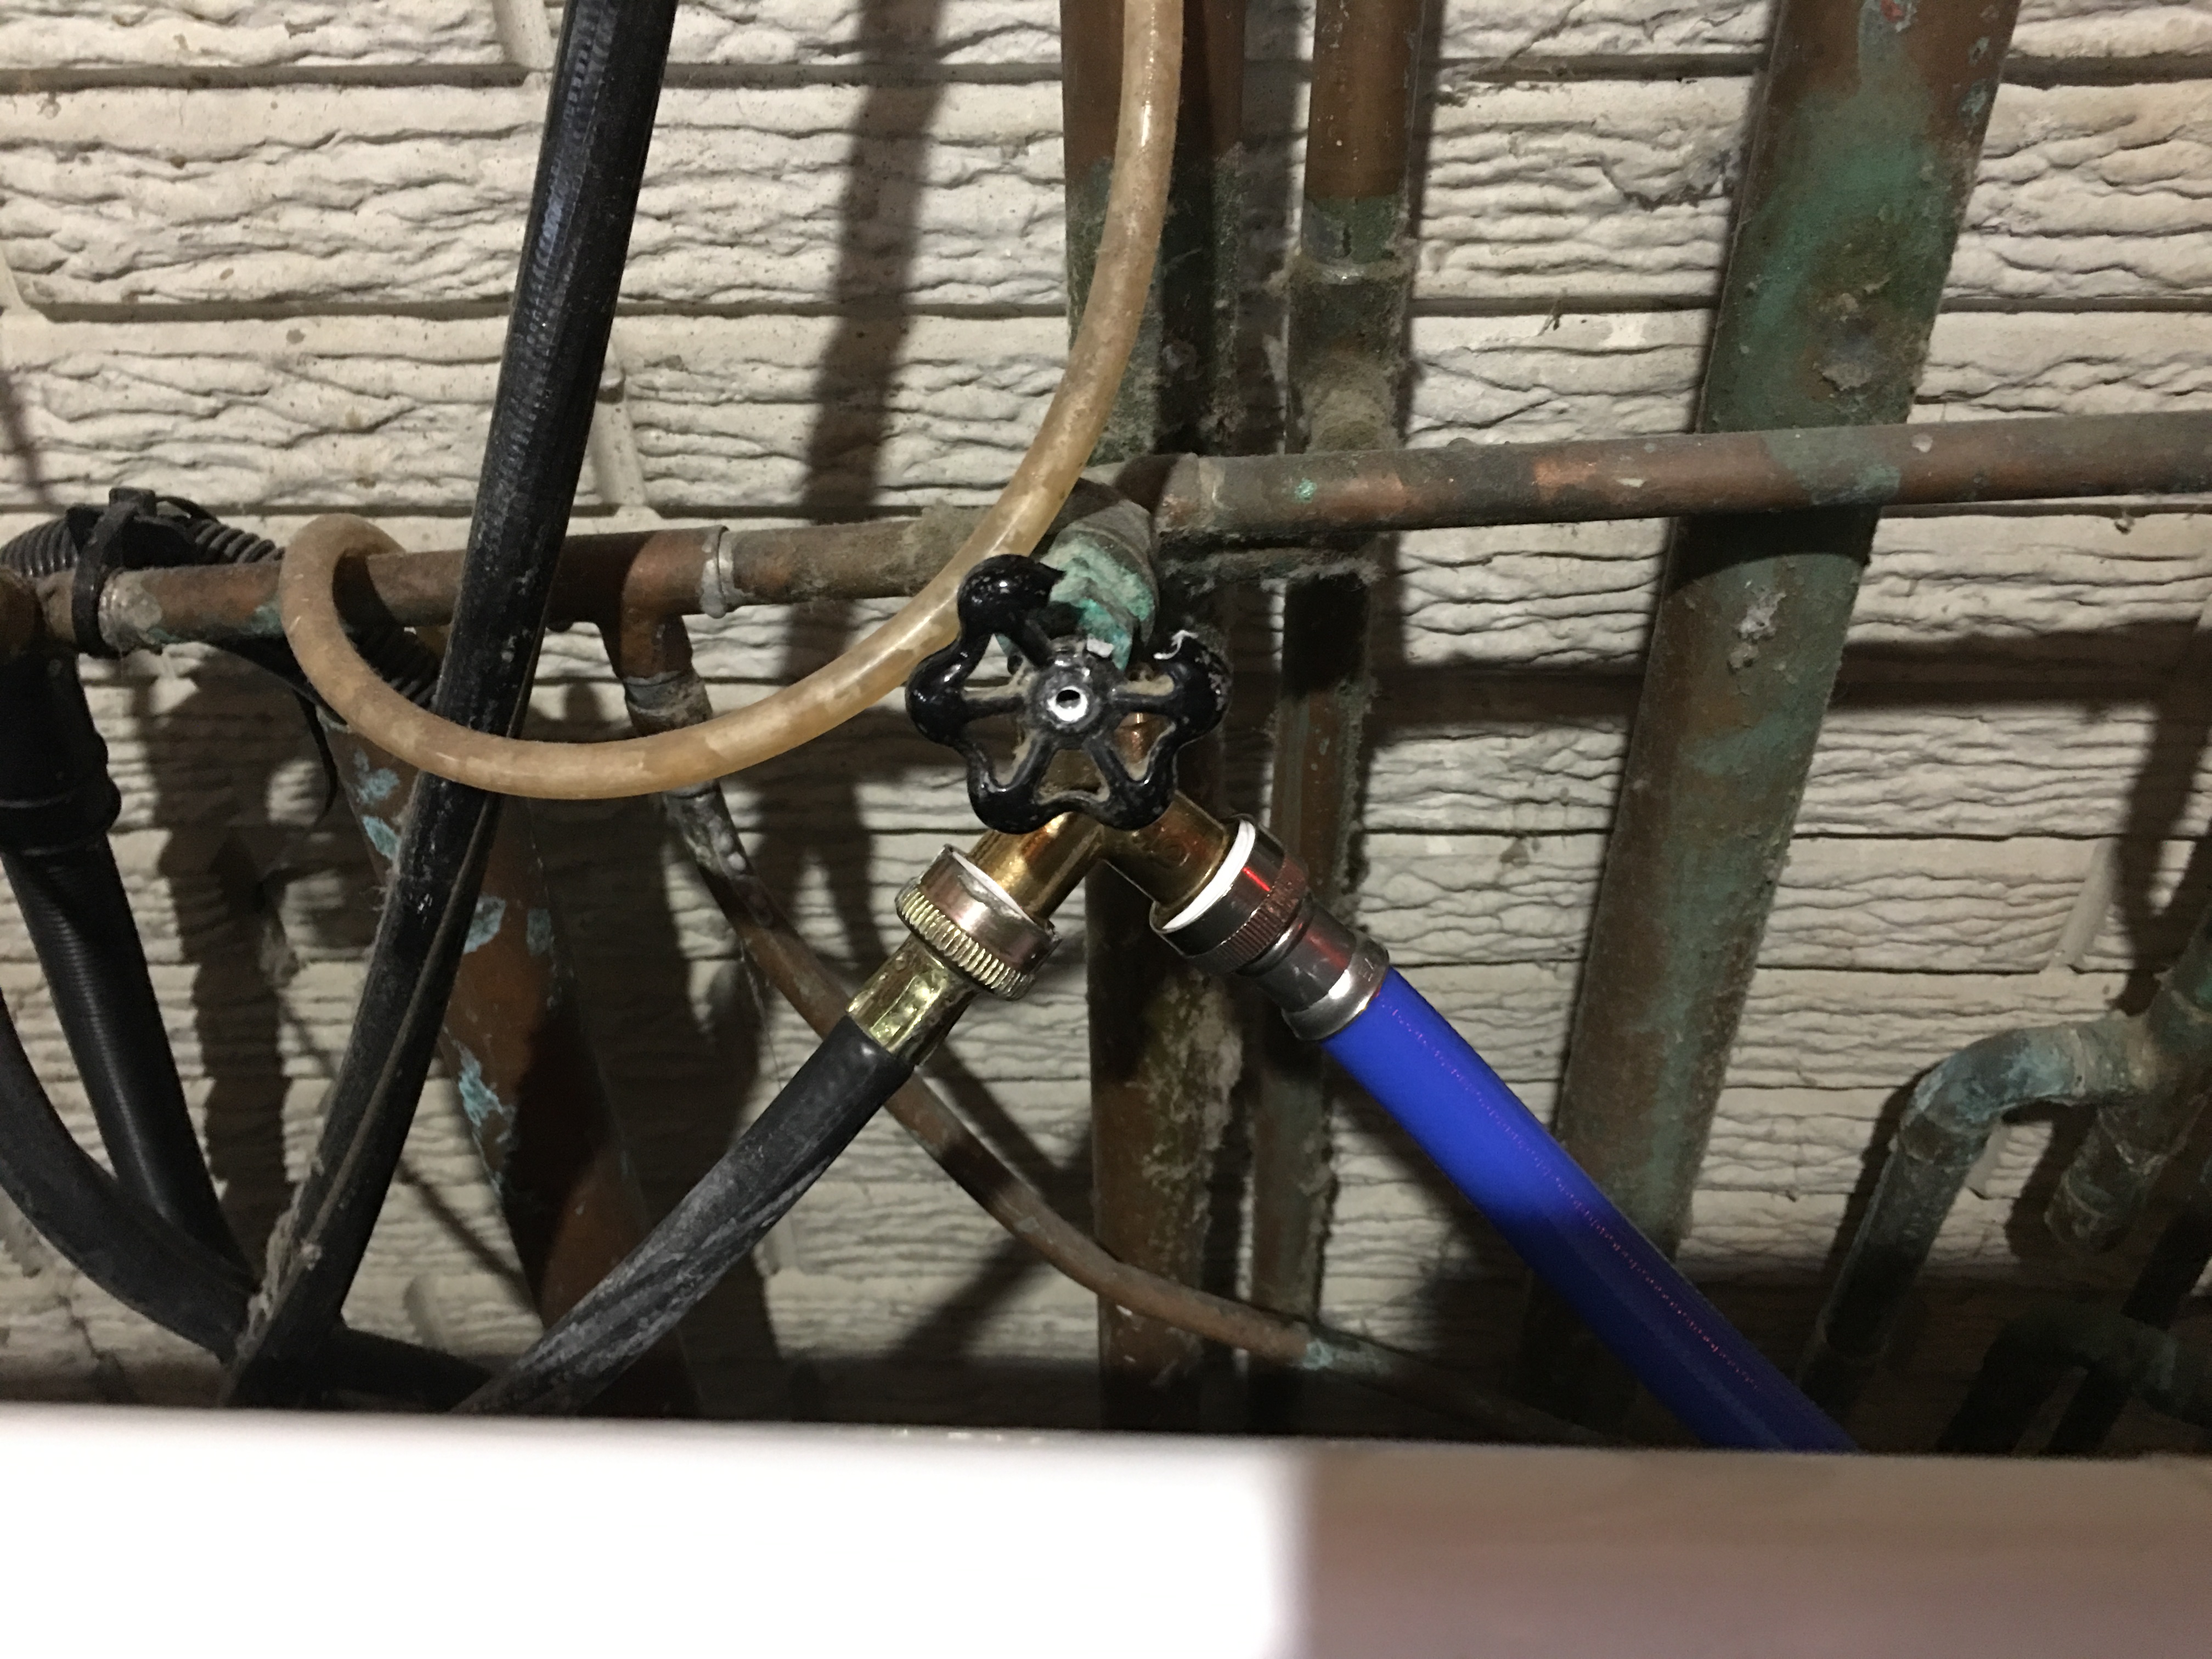
The splitter attached easily enough, followed by the existing utility hose, then the new one.
Then it was the fun part: assembling the copper parts. I really wonder how plumbers do this, because I applied the tape and cranked those bastards down until I ached all over, and they still leaked. Eventually, after experimenting with additional Teflon layers, I got the leaks to stop…mostly. The garden hose side still drips ever so slightly, but not enough to bother with taking it all back apart and adding more tape, and only when I leave it pressurized.
I let it sit for a time, ball-valve closed and the line under full pressure. For whatever reason, I expected my handiwork to explode violently, embedding me with copper shrapnel. But rationally, if anything were to fail, it would be that ancient rubber hose that’s been on the line since the 60s.
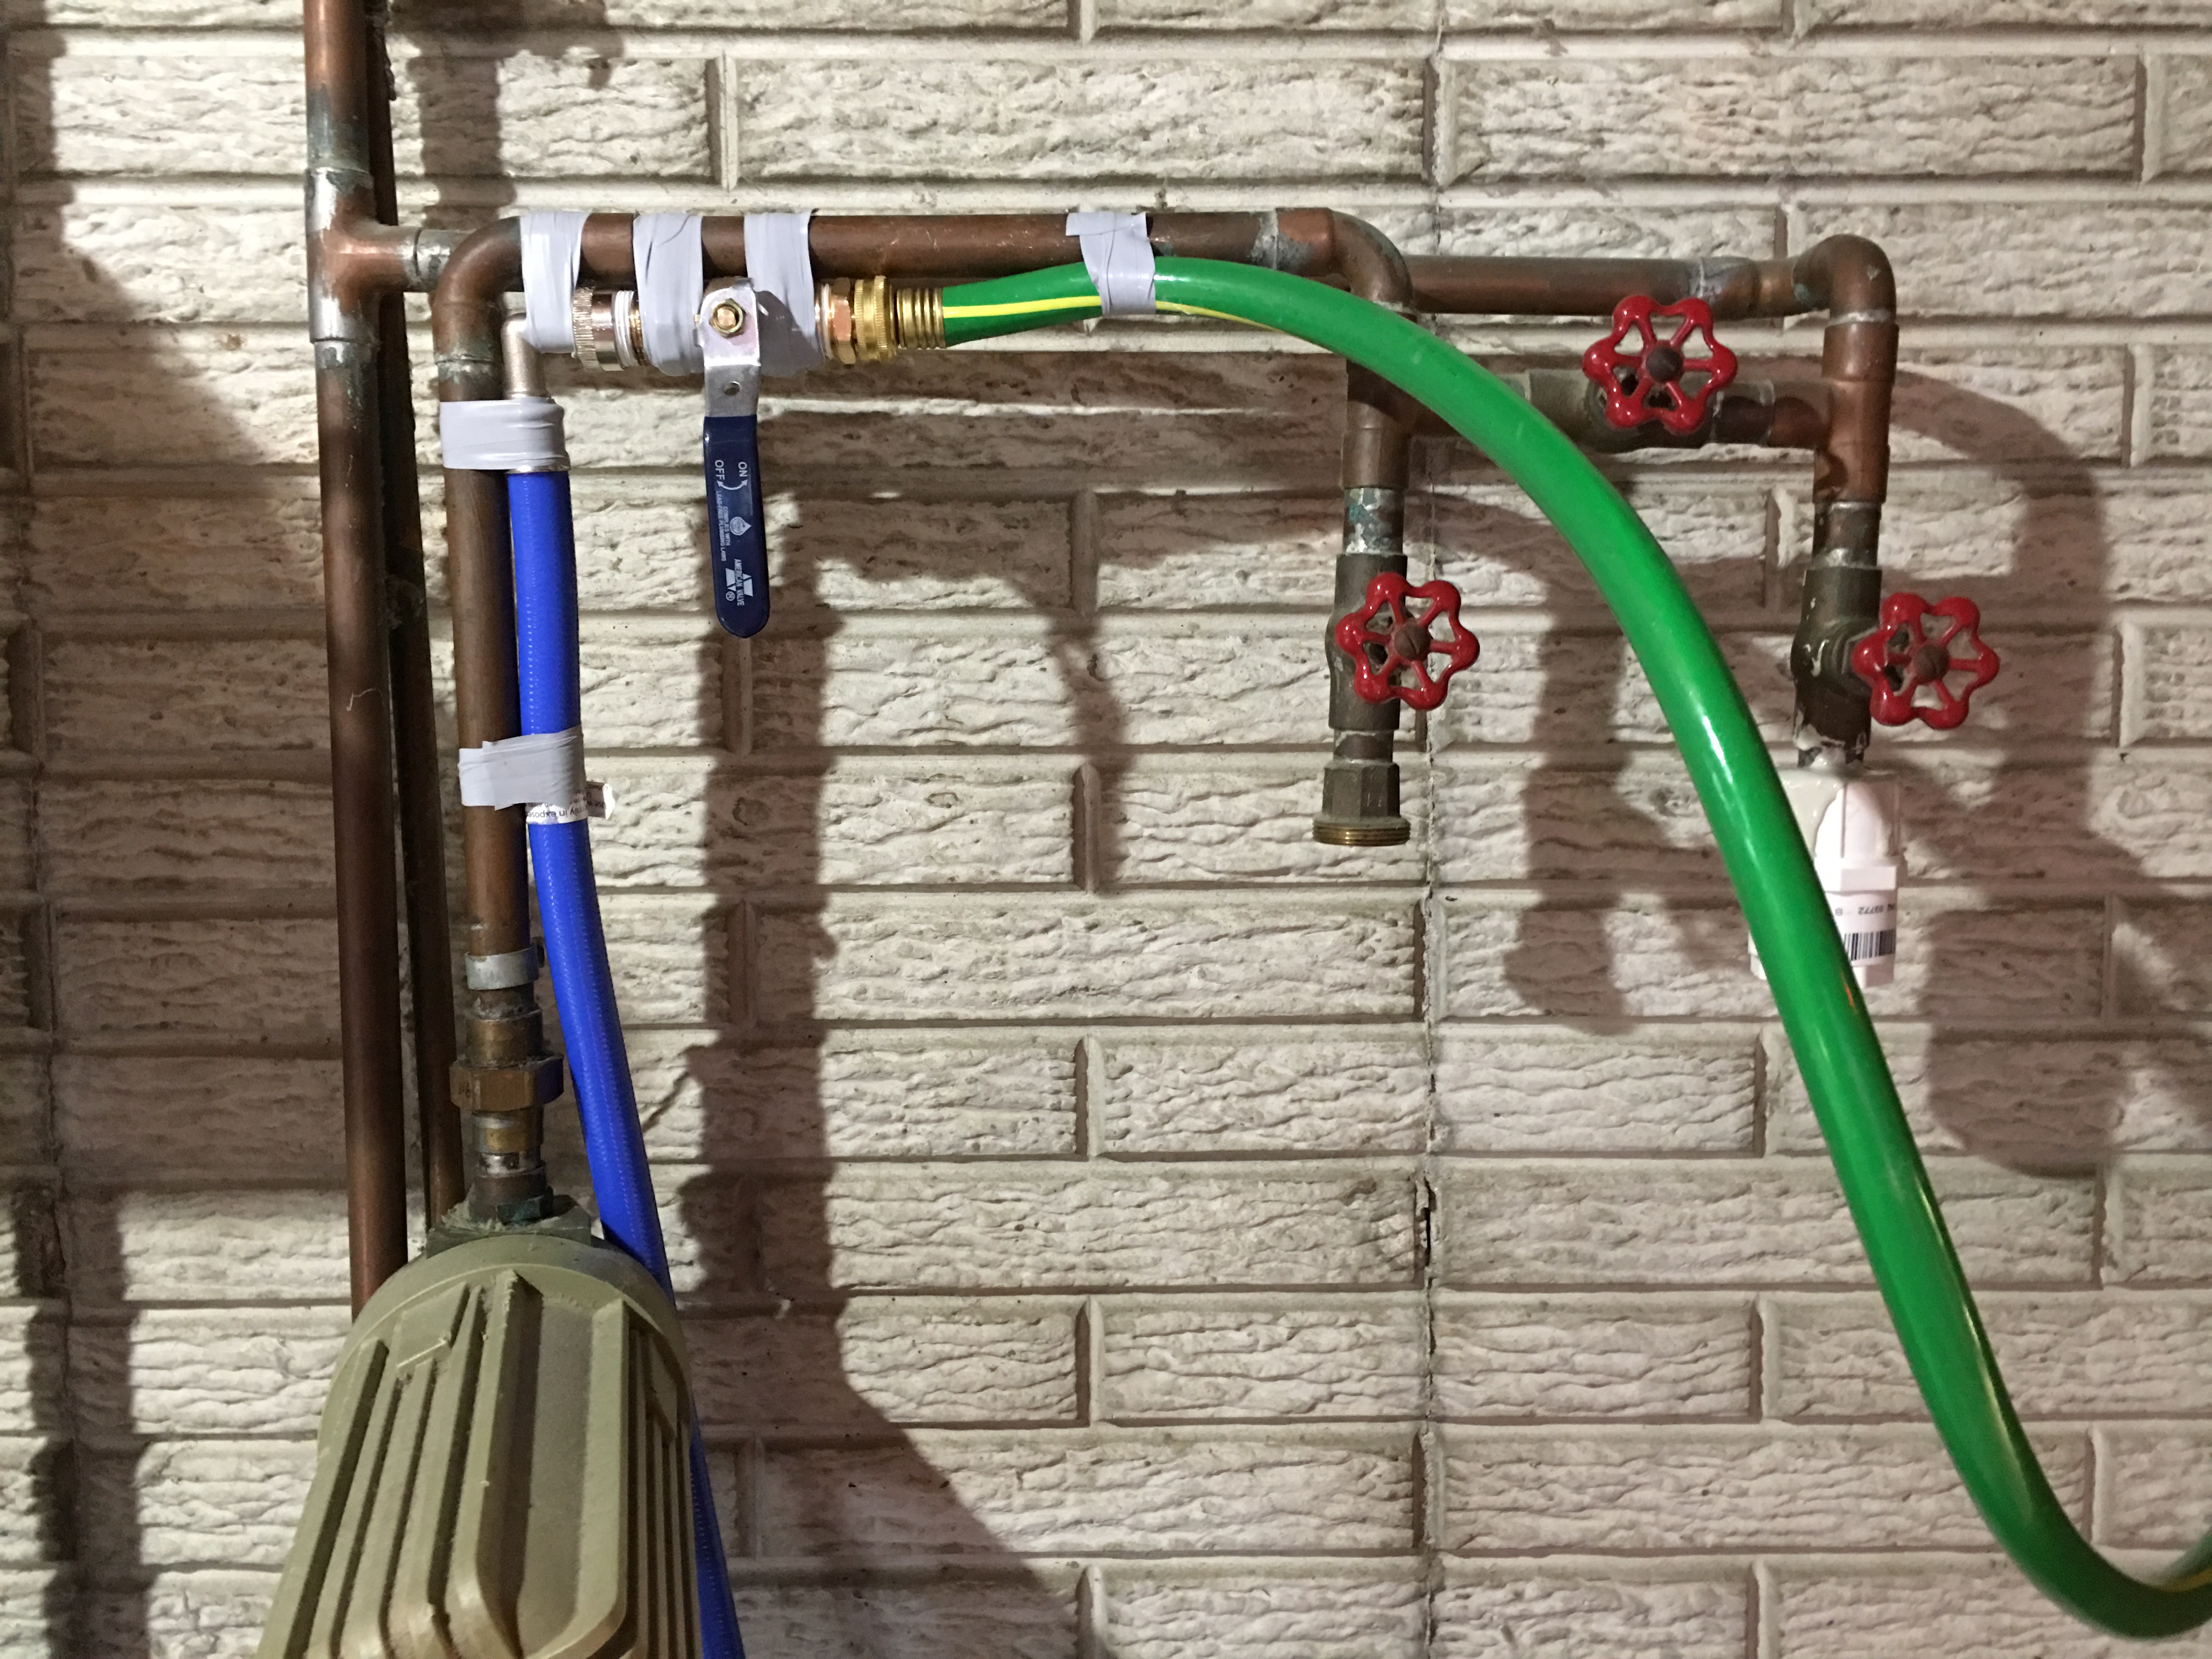
I feel much more confident with this setup, though my prolonged work back there with the piping shook my confidence with the existing pipework, like that old utility hose and the shutoff to the outside spigots that’s so rusted I can’t turn it. Maybe next I’ll learn soldering.
–Simon
